blend door repair
The "blend door" in the HVAC systems on the Bullnose trucks is frequently a problem as it uses a plastic hinge that is going to break, the question is just when. Our member Chris/ckuske and his friend have designed a replacement door for the factory Integral A/C systems which they 3D print. You can purchase one of them, as explained on the Bullnose Blend Door Purchase tab.
And our member James191145 has created the instructions on how to access the door for replacement, as shown on the How-To Access Blend Door tab. Note that you can click on the pictures to see them full sized.
And our member James191145 has created the instructions on how to access the door for replacement, as shown on the How-To Access Blend Door tab. Note that you can click on the pictures to see them full sized.
You can purchase a newly-designed blend door for the factory-installed Integral A/C system at Bullnose Creations. The instructions for installing it are below, but don't forget to go to the How To Access Blend Door tab to see how get access to the door.
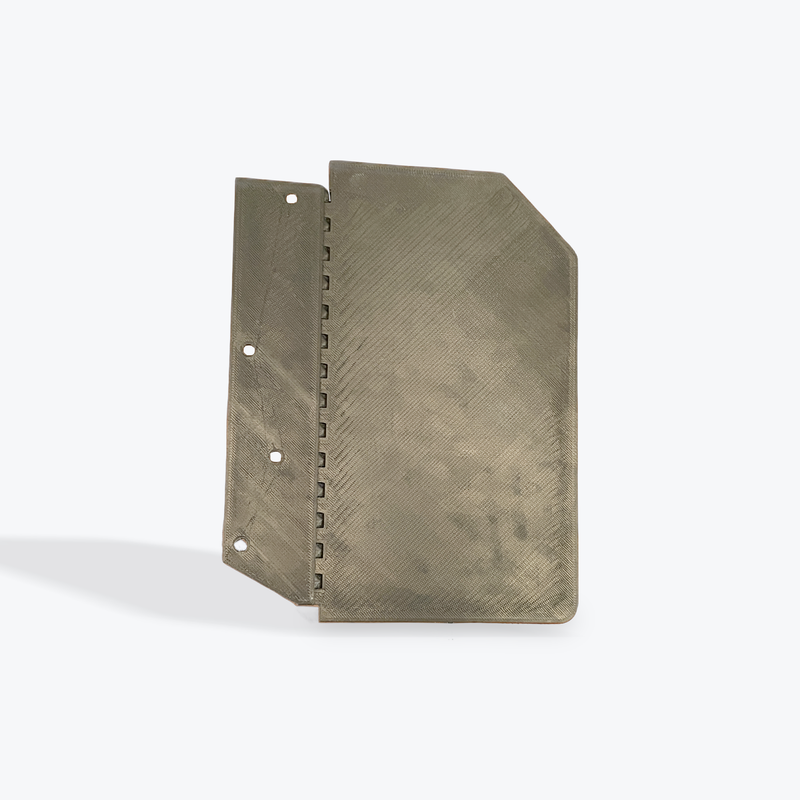
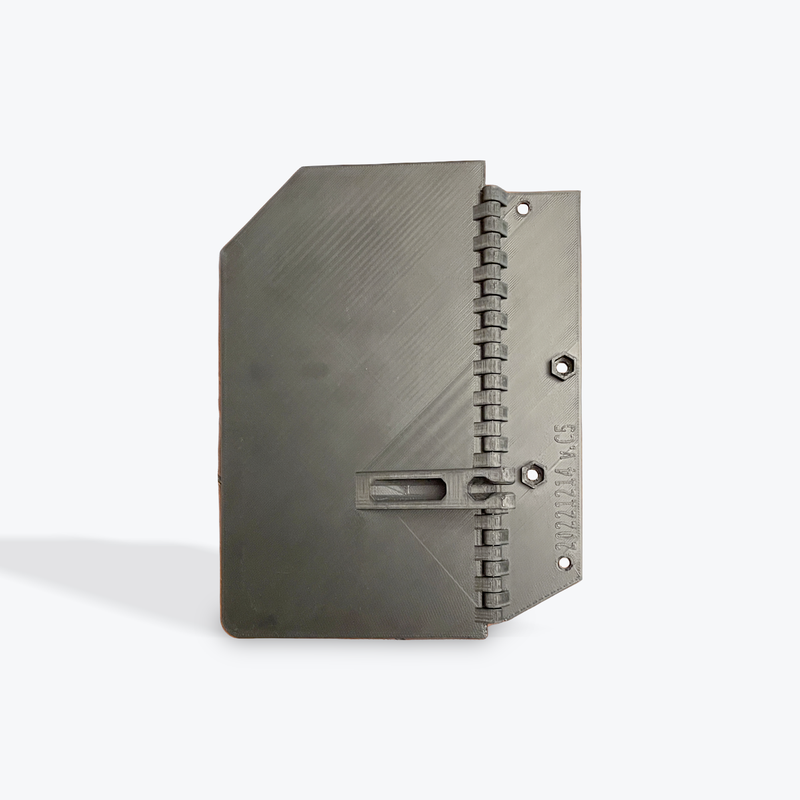
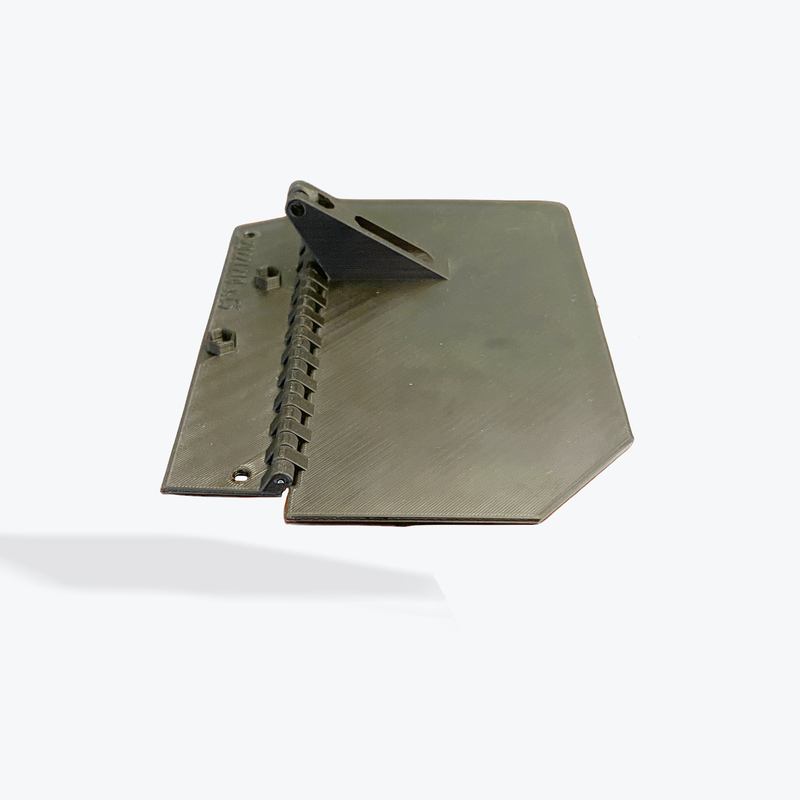
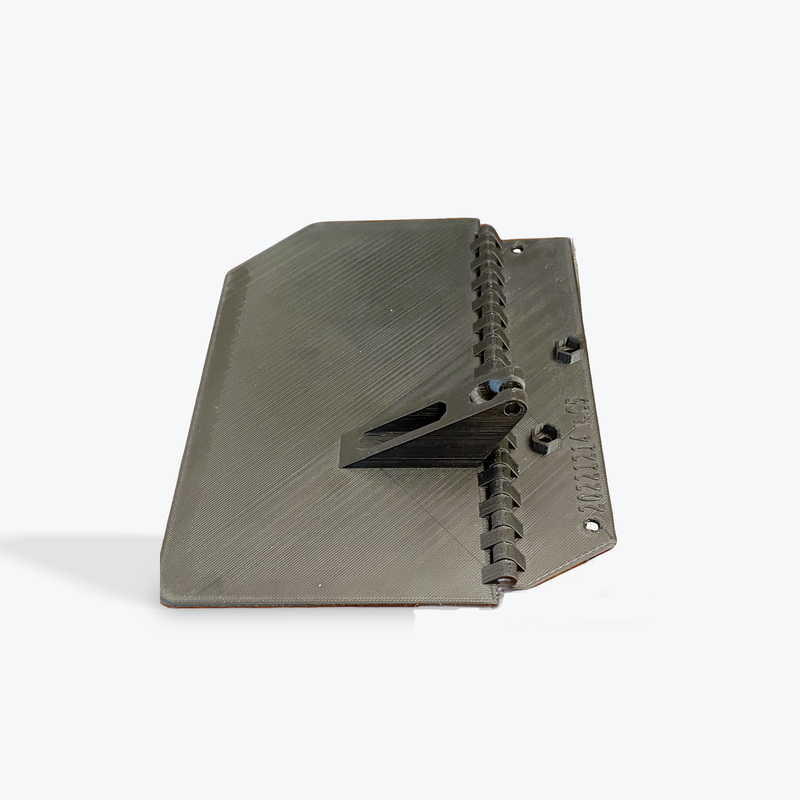
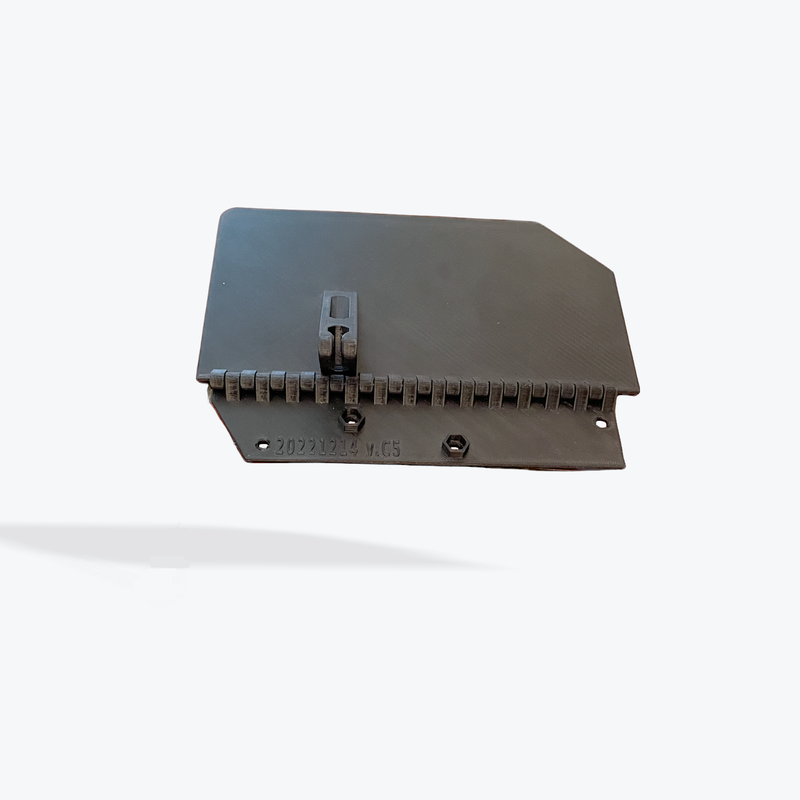
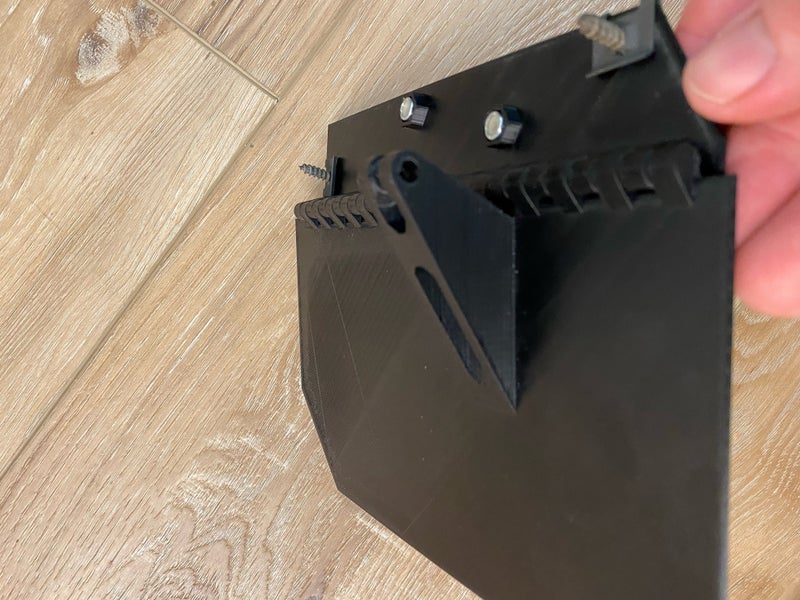
Here's what the blend door they offer looks like. (Click on a picture to see a larger view.)
Here's what the blend door they offer looks like. (Click on a picture to see a larger view.)
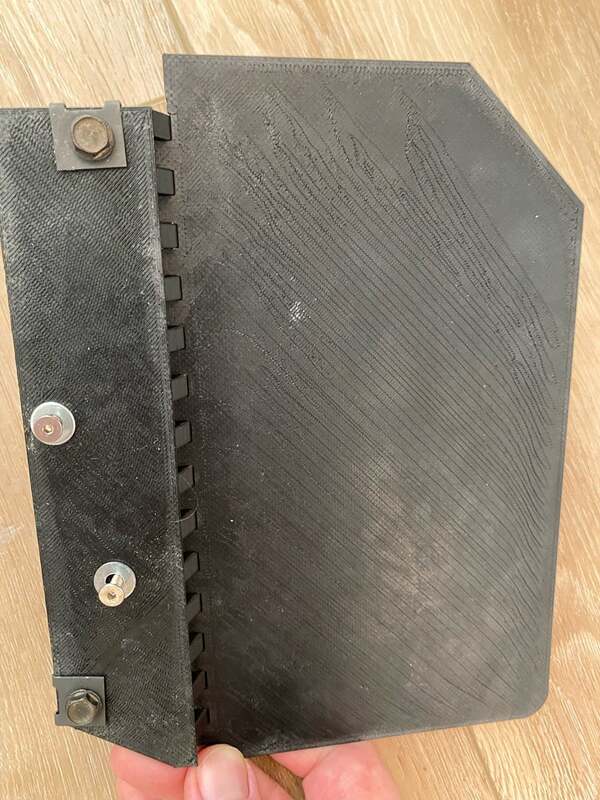
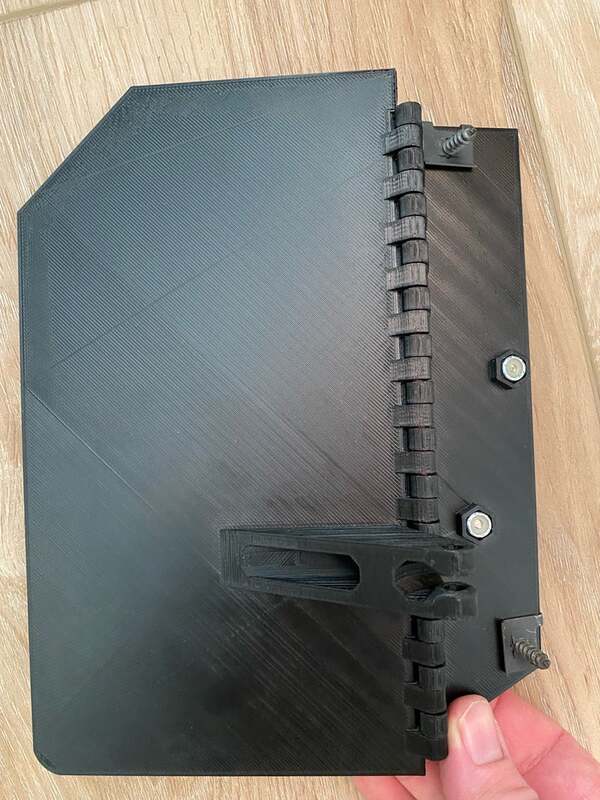
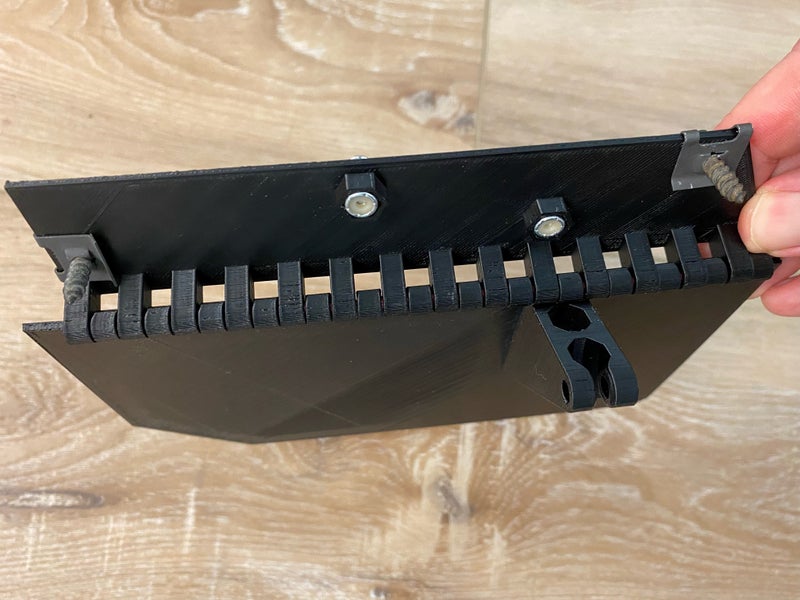
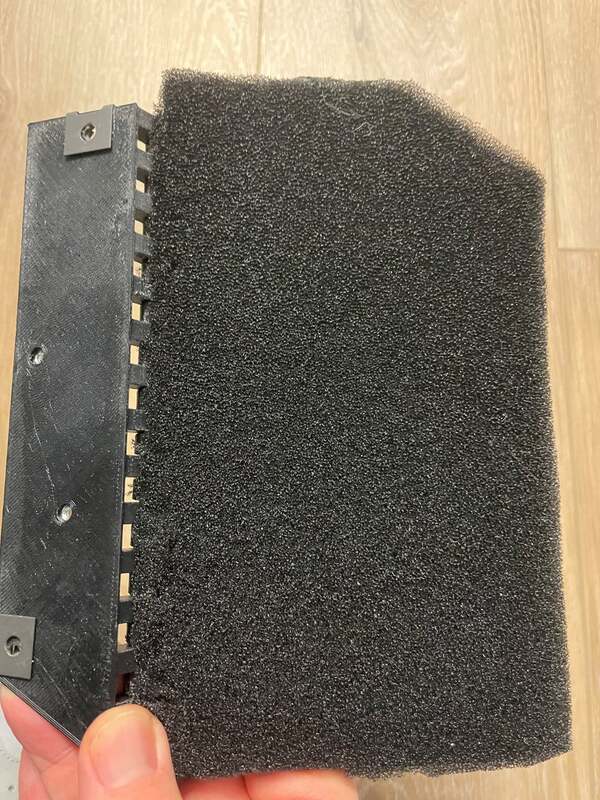
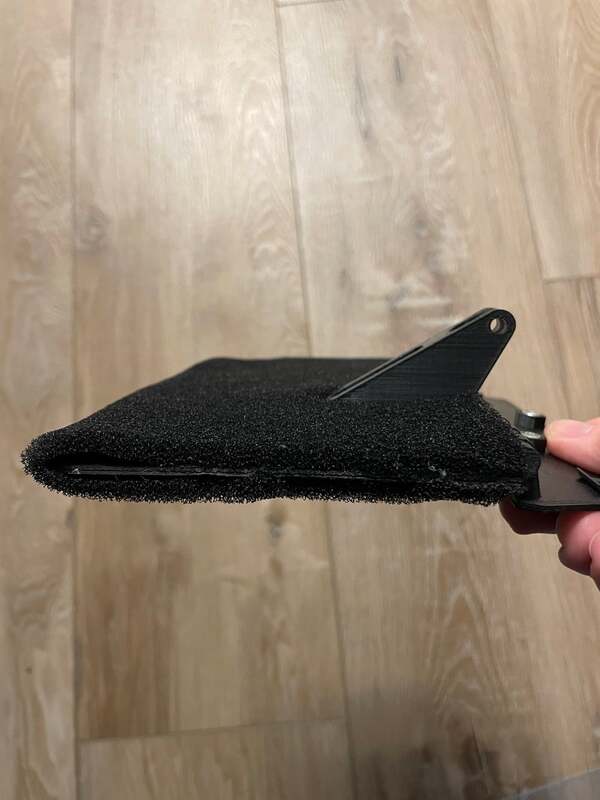
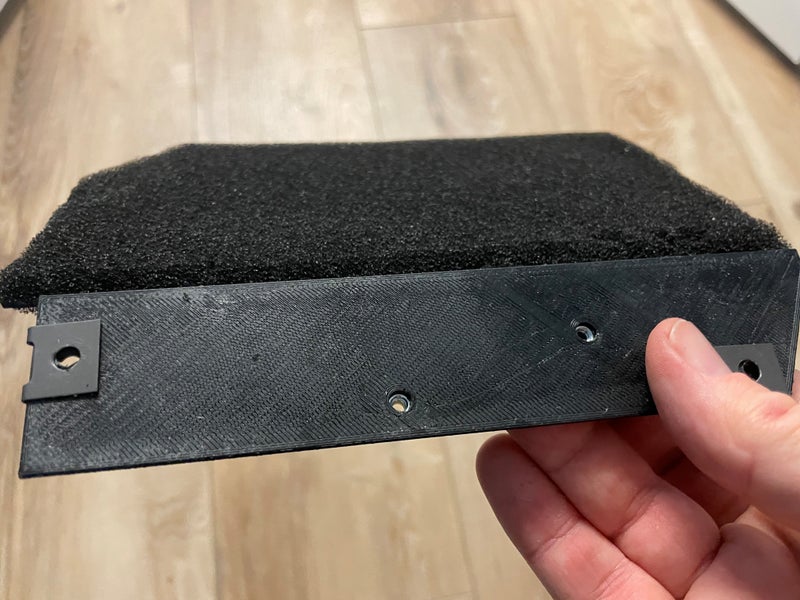
And here's what the blend door should look like after you add your own hardware and foam. (Again, click on the picture to see a larger view.)
|
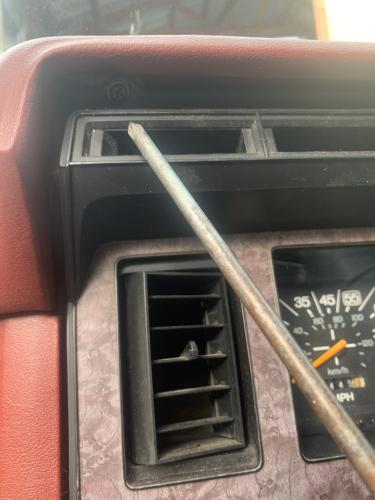
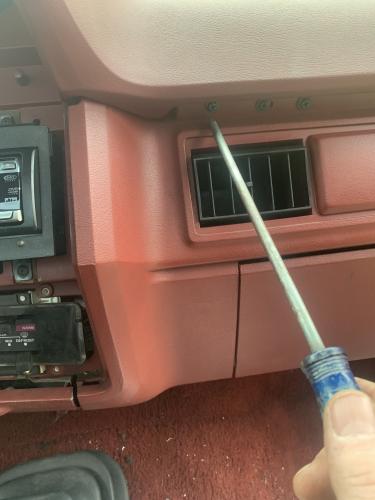
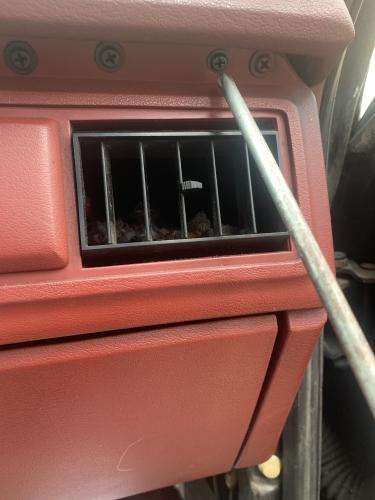
First I removed the Instrument Panel Bezel. There are three screws securing this bezel and two knobs for the headlights and Windshield Wipers. Remove the three screws in a row above the instrument cluster. (diesels also have a connector for the "wait to start" indicator that will need to be unplugged)
|
|
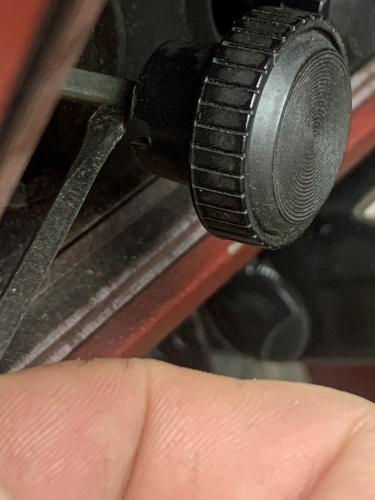
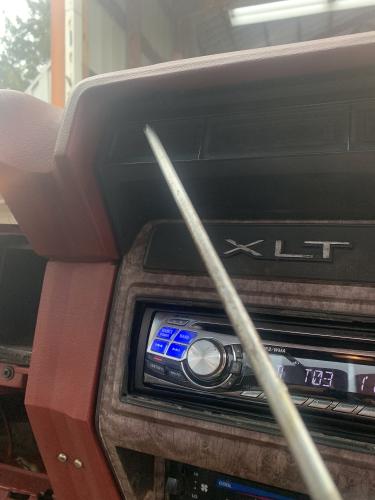
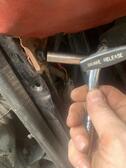
There is a notch in the knobs to provide access to the retention clips. Insert a small straight blade screwdriver into notch and pull the screwdriver towards you. This should release the knob fairly easily. Now You can remove the Cluster Bezel. You will have to twist the bezel a little where it goes around the column to remove. Be careful , it's 40 years old!
|
|
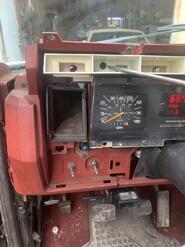
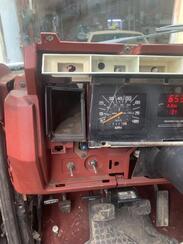
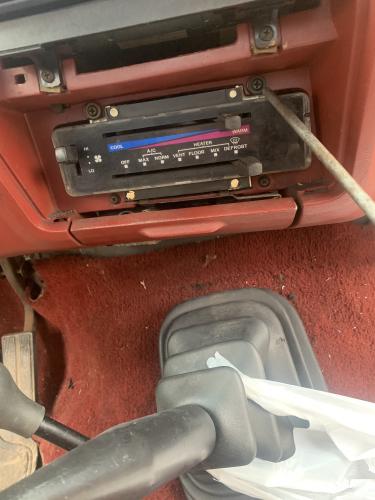
Remove the Phillips screws around the perimeter of the instrument cluster. Reach around the left side and remove speedometer cable. Sometimes it can be difficult. Pinch and pull the cable until it releases. Now reach to the right side and unplug the wiring connector from the cluster. It is a wide rectangular connector. Squeeze the left and right side of the connector until it releases. Be gentle the foil circuit on the back of the cluster can easily be damaged.
|
|
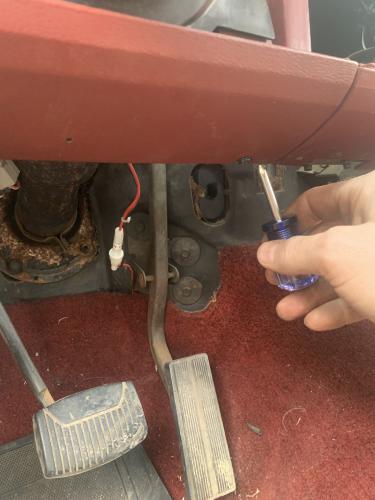
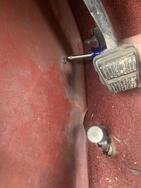
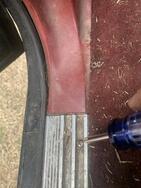
Remove the left and right kick panels. The first door sill plate screw will need to be removed. The kick panels have one screw each in the middle below the dash. Slide the bottom of the kick panel out from under the sill plate and pull the bottom towards you. There is a plastic "christmas tree" retainer that may be difficult to get loose if yours have never been removed so be careful. 40 year old truck.
|
|
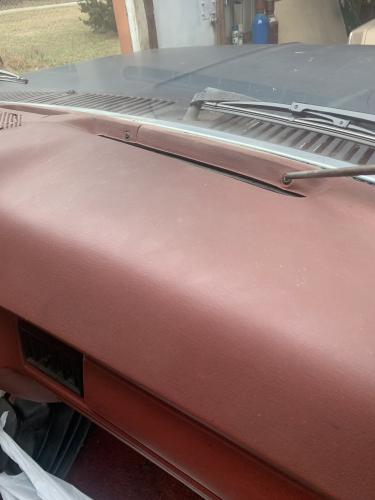
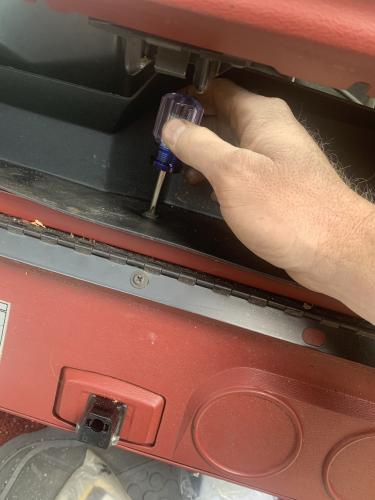
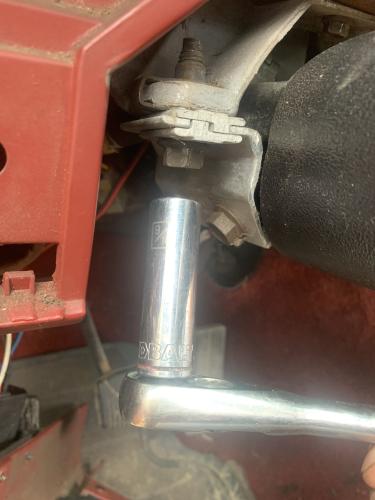
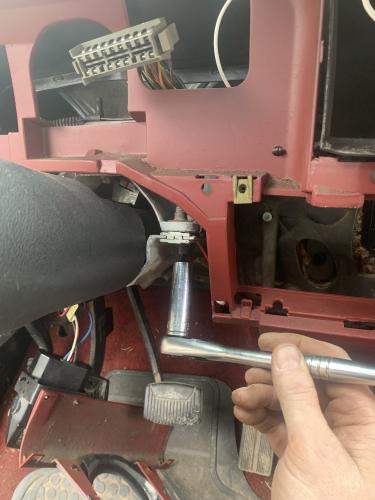
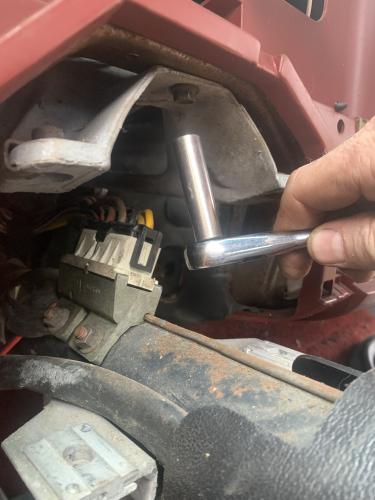
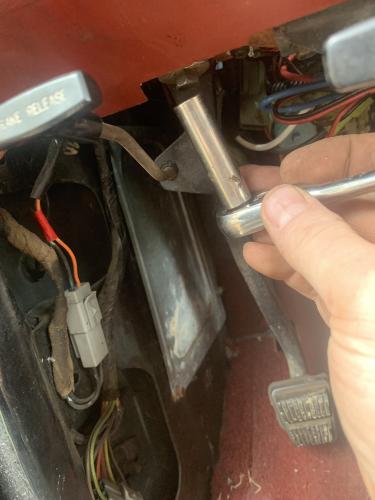
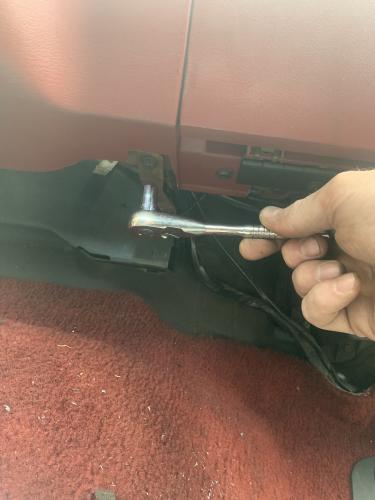
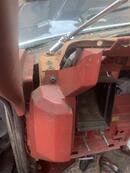
There are four bolts on each corner of the dash that need to be removed. The two upper ones are near the intersection of windshield and pillar post on each side. The two lower ones are inserted from the side. The passenger side is behind the glove box door. When you remove these four your dash should be free so be ready!
|
Let the dash roll toward the floor until you have enough room to service your broken door.
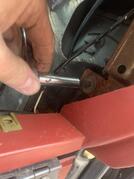
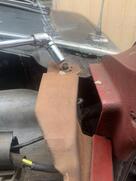
You will Need to remove two rivets two screws and the actuator arm pin to get the old broken door out.
You will Need to remove two rivets two screws and the actuator arm pin to get the old broken door out.

