saginaw conversions
How to convert your Bullnose truck to use the Saginaw power steering pump.
Ford's C2 power steering pump was used on both the F-Series and Bronco Bullnosed trucks. But, it is noisy and lacks the boost of the Saginaw pumps used in the E-Series vans, so many people convert their Bullnose to use the Saginaw. In some cases that is easy, and some not.
Ford's C2 power steering pump was used on both the F-Series and Bronco Bullnosed trucks. But, it is noisy and lacks the boost of the Saginaw pumps used in the E-Series vans, so many people convert their Bullnose to use the Saginaw. In some cases that is easy, and some not.
How to install a Saginaw Power Steering Pump in a IDI V-Belt Truck
By Andrew Ebers (IDIBronco)
By Andrew Ebers (IDIBronco)
This will be an overview of how I was able to install a Saginaw power steering pump from a Ford van into my IDI powered Bronco. For a little background, I had noticed the steering assist from my stock C2 pump had been getting less and the noise had been increasing. I decided to do something about the problem and started to do a little research and found that the parts in the van I had sitting out back could be used (with some work) to convert to the Saginaw pump and correct the problem. I try to use what I have access to rather than go and buy new parts or conversion pieces, so in typical fashion I dug around my junk parts and found most of what I needed to complete this project.
|
STARTING POINT
|
COMPLETED SWAP
|
|
Details:
1985 Ford Bronco 1985 F250 Powertrain (6.9 IDI) 1980 Ford E150 parts van (300 I6) Required Tools: Mig Welder typical Hand tools (wrenches, screw driver, etc.) grinder, saw, file |
Required parts:
Saginaw Pump Stock Saginaw Pulley Stock Saginaw Mounting Bracket (modified) V Belt 1 inch shorter than stock (gates 9590, 59.5" length) Round Tube 1" O.D. & 1/2 I.D., 6" long minimum (or close dimensions) Power Steering Hose (I ordered a new one for a 1986 van, gates 359470) (modified) |
|
Directions
Remove parts required from the parts donor. This included removing the Saginaw pump, complete with bracket and pulley. This turns out to be quite easy if you have a van with a 300 I6, No Ac, and flat front tires. The access to the parts is pretty simple. I went ahead and removed the pressure and return hoses at this time with the pump, but as it turned out I didn't use either of them. Next, I pulled the C2 pump, pulley, mounting bracket out of the bronco as a unit and also removed the power steering pressure hose as it would not be reused. |
|
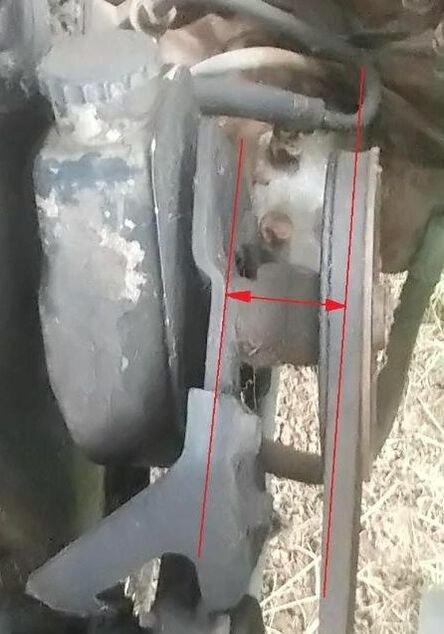
MEASURING THE C2 OFFSET
Now the fun part of measuring everything begins. I did this conversion with the plan being to match the offset of the center line of the pulley from the mounting surface at the front edge of the C2 bracket. You will have to be a bit understanding, because finding pictures that will demonstrate exactly what I am talking about are not the simplest to come up with... I quickly made the executive decision to let the measurements be "Close Enough" on all areas of this project as making a part like this accurate to more than about 1/16 of an inch is a bit ridiculous. V belts can handle a bit of misalignment and I feel this is well within the limits of their use. I measured this offset as being 1 3/8". |
|
MEASURING THE SAGINAW OFFSET
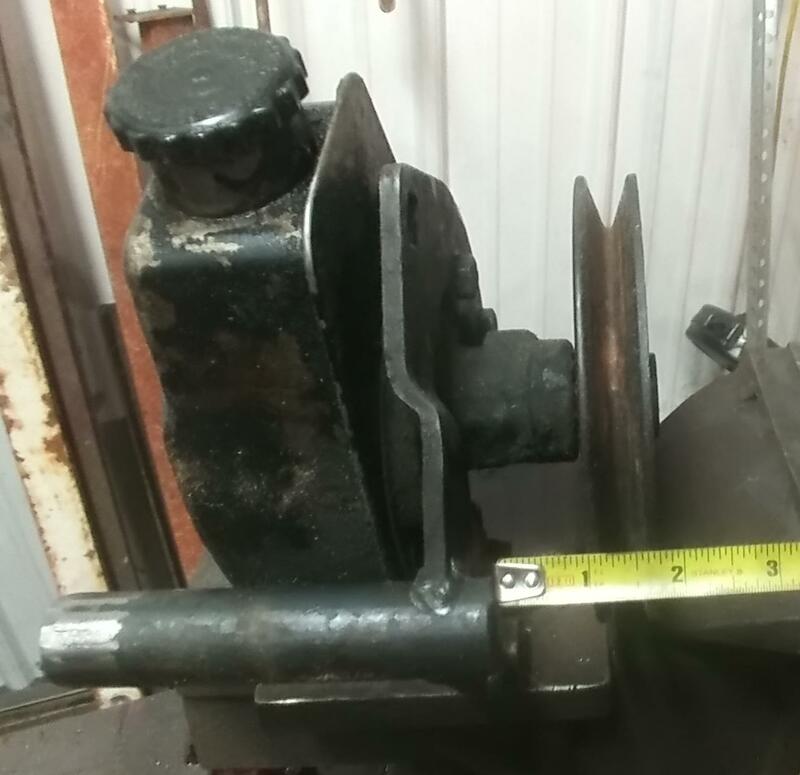
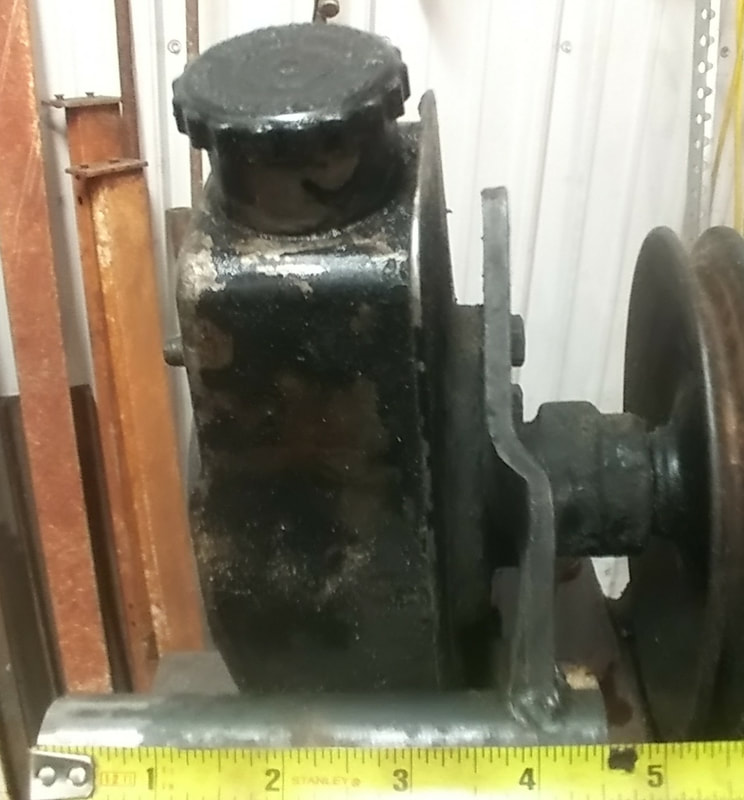
When I measure the offset of the Saginaw pump and bracket I measured the offset to be 1 3/4". This means If I ran the Saginaw pump and bracket against the mount it would offset the pump 3/8" too far forward (1 3/4" - 1 3/8" = 3/8'). To rectify this I would have to space the pump and bracket 3/8" farther to the rear of the engine compared to how it was originally intended. Additionally, the bracket is very different in design compared to the C2 bracket. The C2 bracket I measured to be 4 9/16" from front to back where it mounts between the front mount and the head. This is important because it is how the pump is held rigidly in place both front to back and provides the twisting support to offset the torque applied from the belt. The issue is the Saginaw bracket from the 300 I6 is only approximately 1/4" thick. So in order to make the full 4 9/16" required I would have to have a spacer behind the pump bracket as well. The spacer would need to be sized at 3 15/16" (4 9/16" - 3/8" (front spacer) - 1/4" (bracket thickness) = 3 15/16"). |
PIVOT-TO-ADJUSTER-BOLT DISTANCE
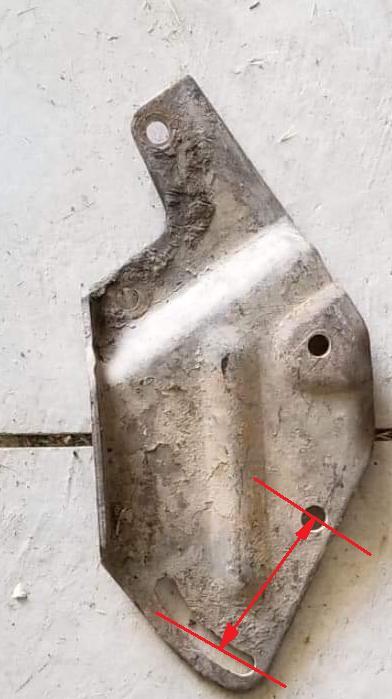
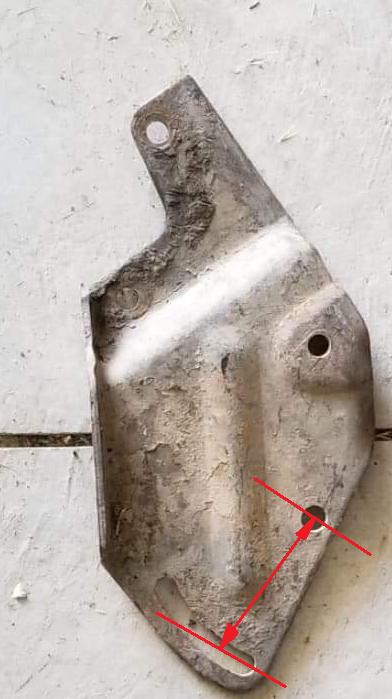
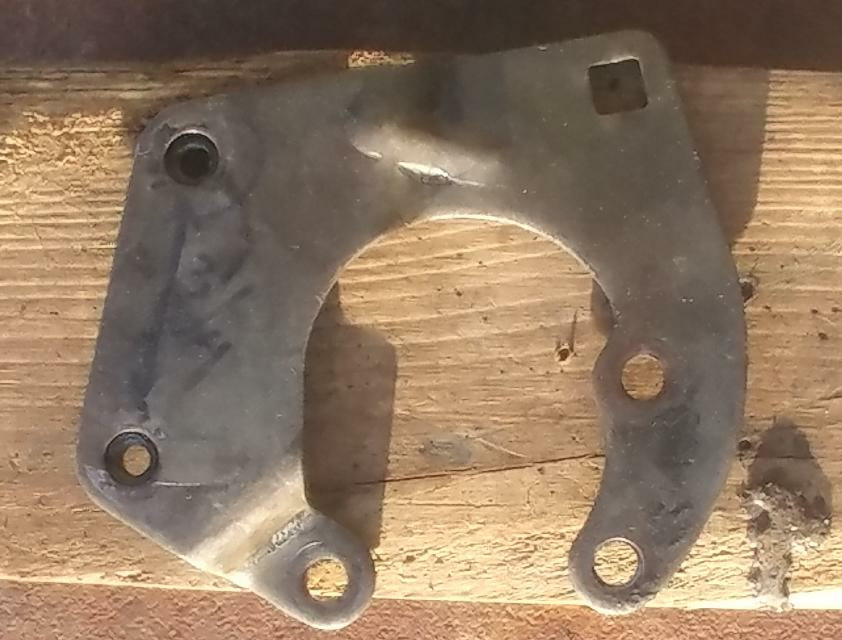
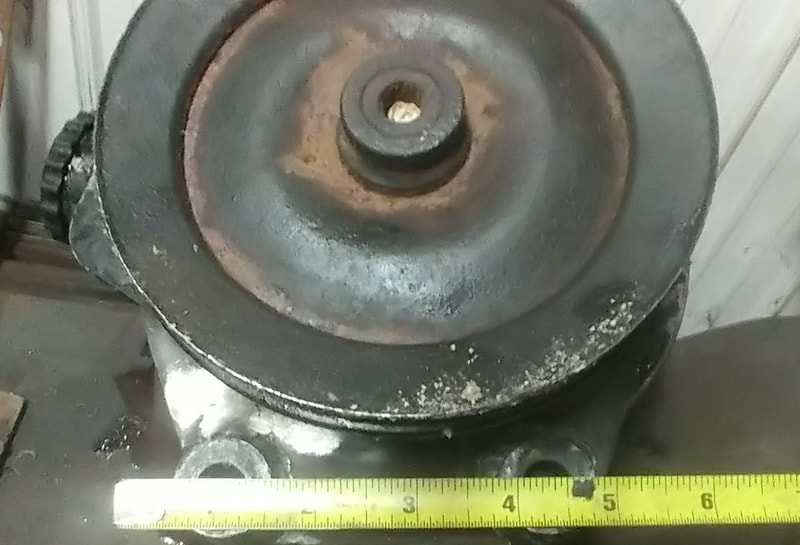
The next issue is the pivot to adjuster bolt distance. The C2 bracket has a spacing of 3 1/4".
The Saginaw bracket has a spacing of 3". So you have to modify the Saginaw bracket to get the center of hole to center of hole distance to be 3 1/4".
The next issue is the pivot to adjuster bolt distance. The C2 bracket has a spacing of 3 1/4".
The Saginaw bracket has a spacing of 3". So you have to modify the Saginaw bracket to get the center of hole to center of hole distance to be 3 1/4".
|
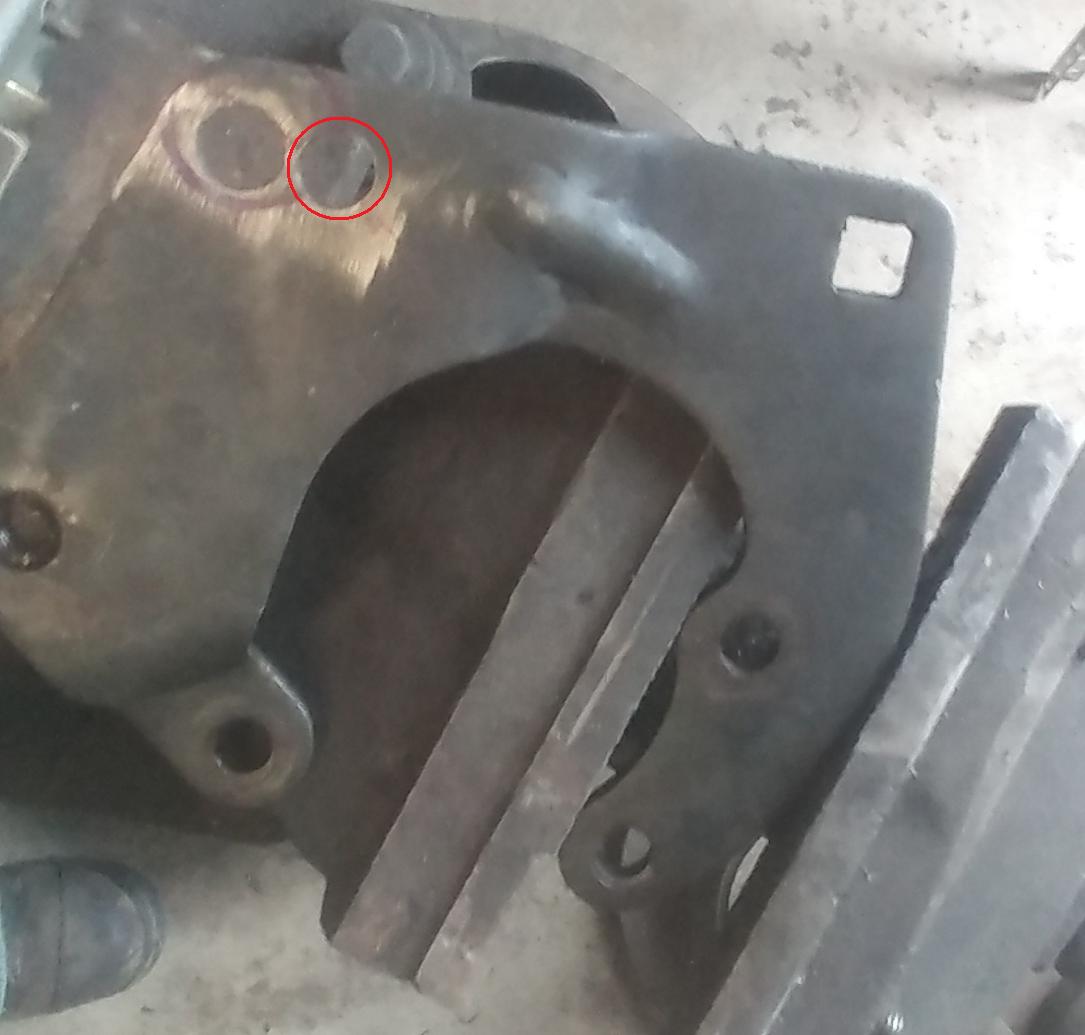
I first attempted to just move the pivot hole to make this distance work within the confines of the bracket area. I drilled a hole where I thought this would work, but it created 2 problems. You cannot move the pivot hole that direction because it reduces the amount of area the pump and bracket can swivel to adjust for belt tension, and the bolt will no longer clear the pulley for installation.
|
I then decided to fully modify the bracket. Up until this point I had thought I could just get away with drilling a hole and some spacers, with no welding. The welding would now be required in order to get 3 1/4" spacing between the holes and keep the ability to adjust the belt/install the bolt.
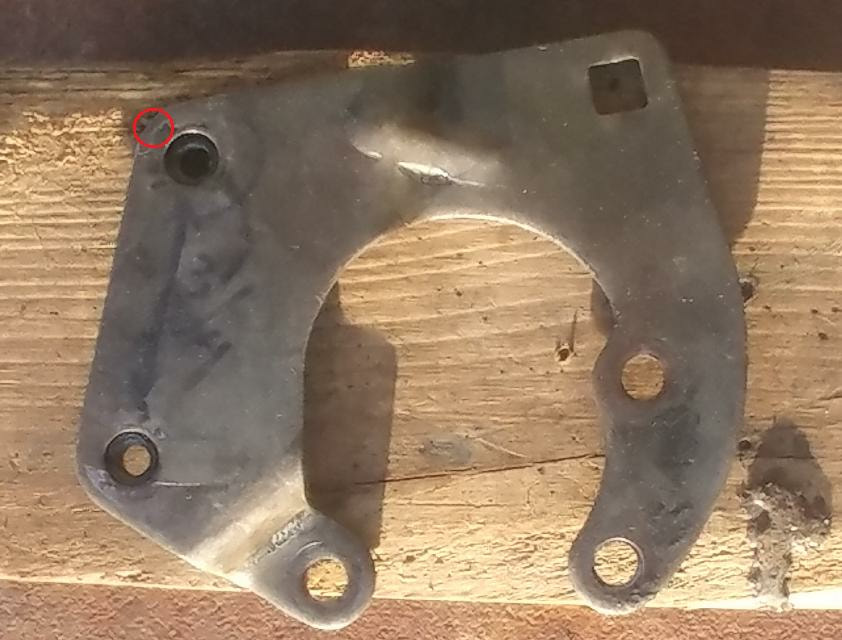
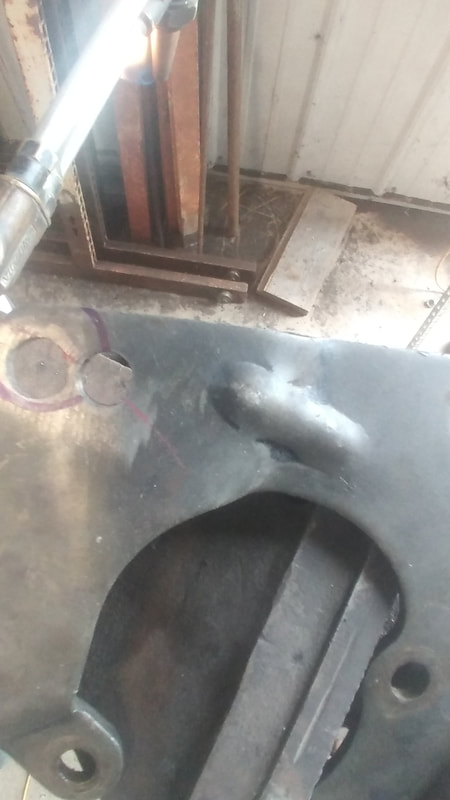
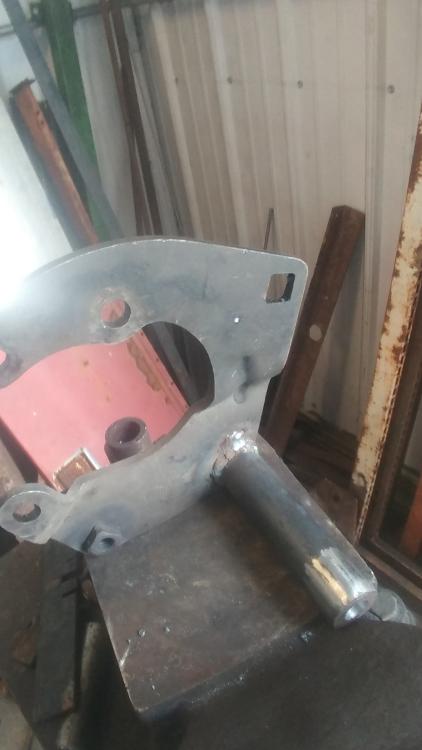
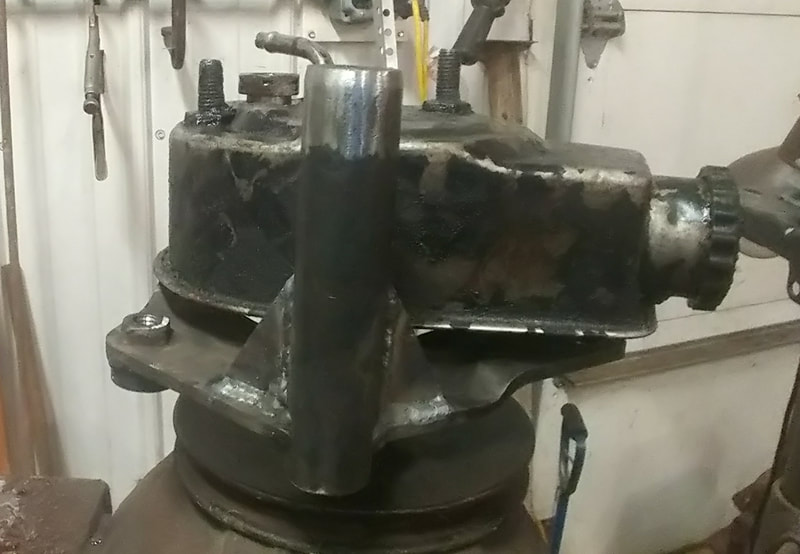
What I decided to do was to cut some of the bracket away to weld a 4 9/16" tube to the bracket to make the bracket mimic the design of the C2 bracket. The red circle indicates where I will cut it away in the picture on the left. In the picture in the center you can see I had outlined in blue where I intended to remove the metal for the tube to be mounted. You have to grind away the welded nut on the back of the bracket for the hole you intend to modify. And the picture on the right shows the added spacer.
What I decided to do was to cut some of the bracket away to weld a 4 9/16" tube to the bracket to make the bracket mimic the design of the C2 bracket. The red circle indicates where I will cut it away in the picture on the left. In the picture in the center you can see I had outlined in blue where I intended to remove the metal for the tube to be mounted. You have to grind away the welded nut on the back of the bracket for the hole you intend to modify. And the picture on the right shows the added spacer.
TUBE MEASUREMENTS
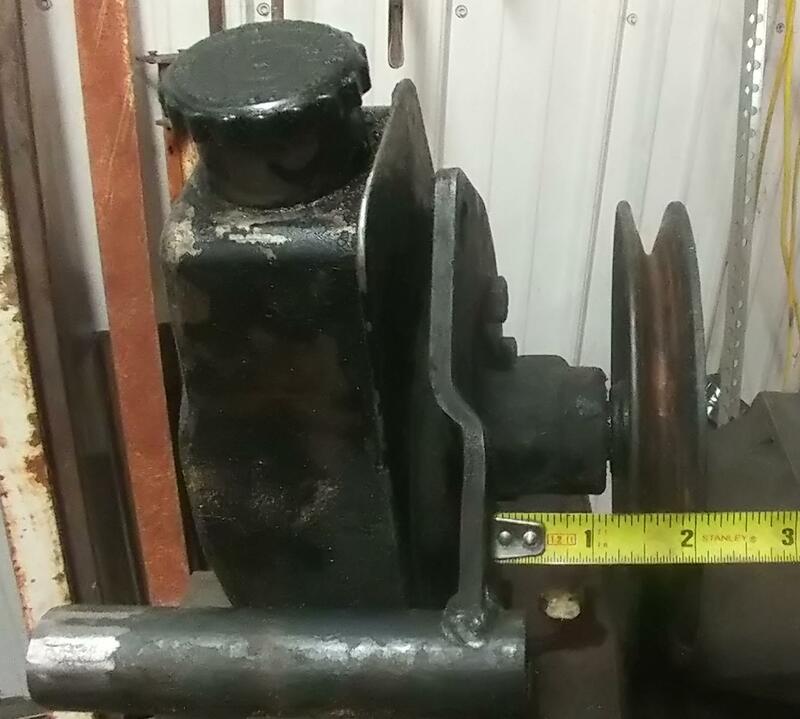
Then I took several pictures to show the critical measurements.
Then I took several pictures to show the critical measurements.
TEST FITTING & GUSSET INSTALLATION
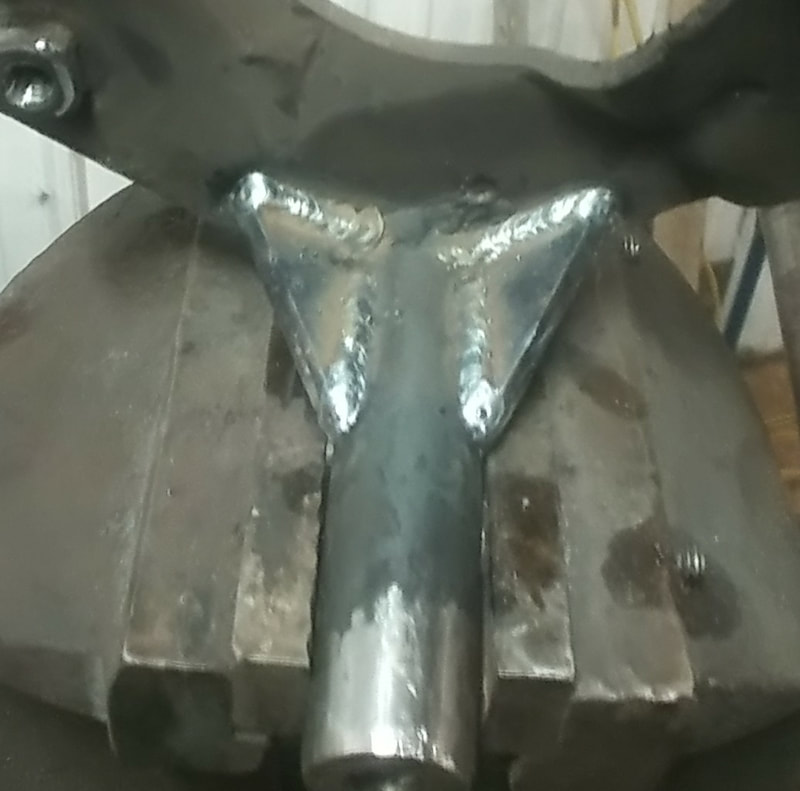
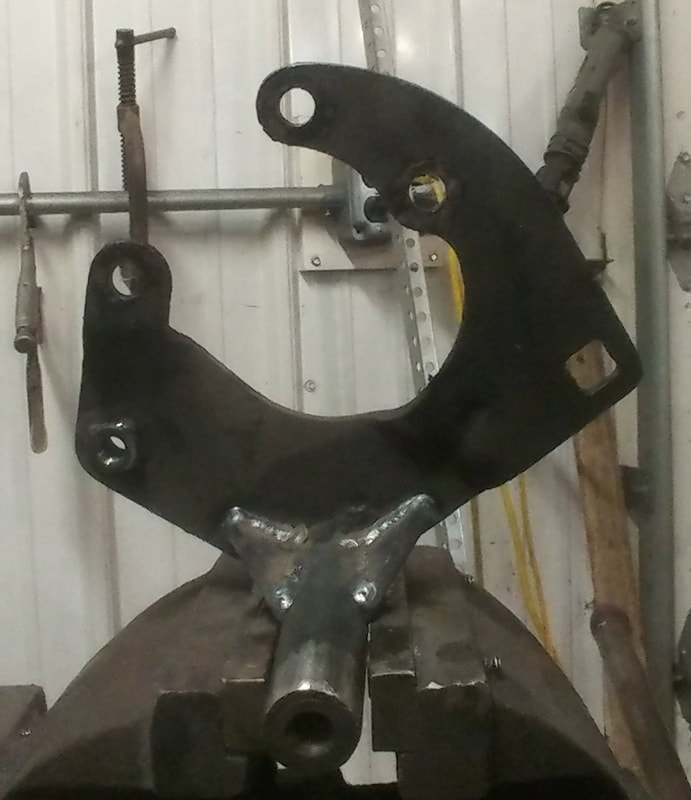
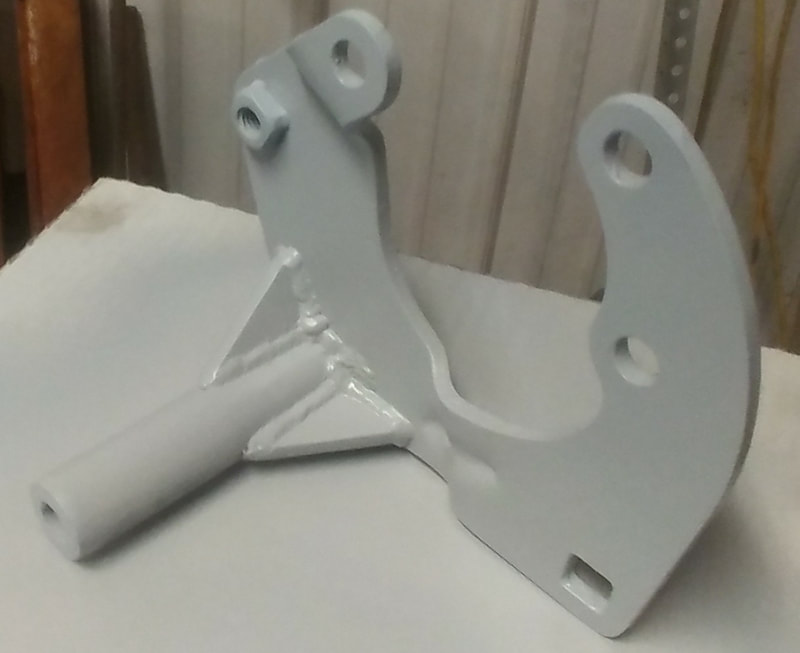
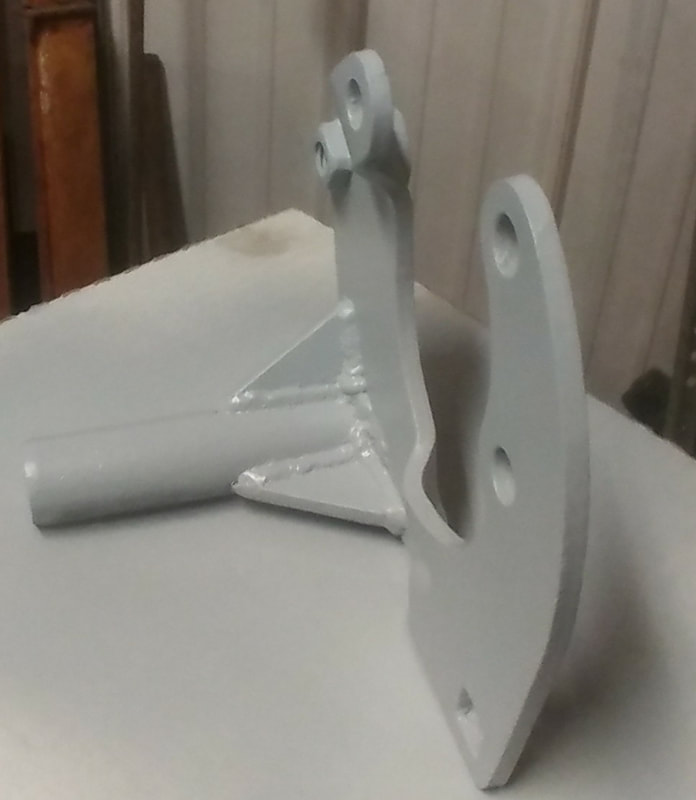
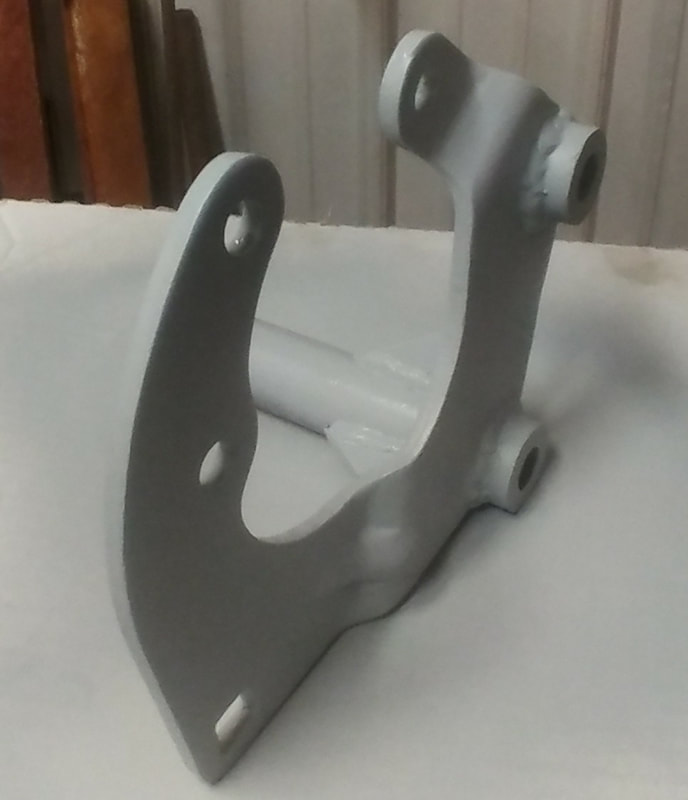
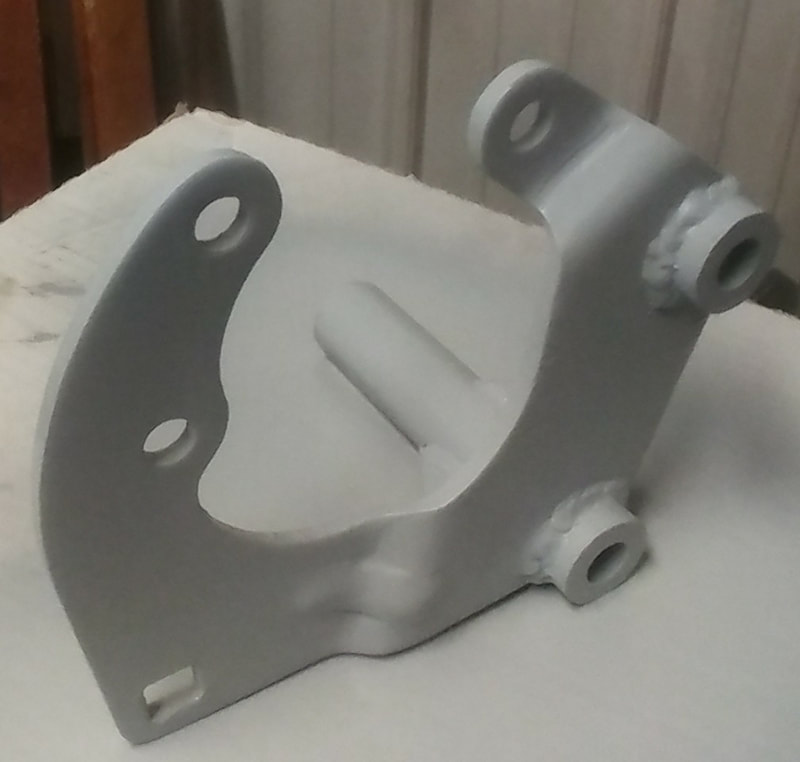
Next, I test fit the pump in the Bronco to check for clearance, alignment, and belt length. It was apparent the factory belt would be too long, and I had plenty of room for gussets. So out it came again for gussets.
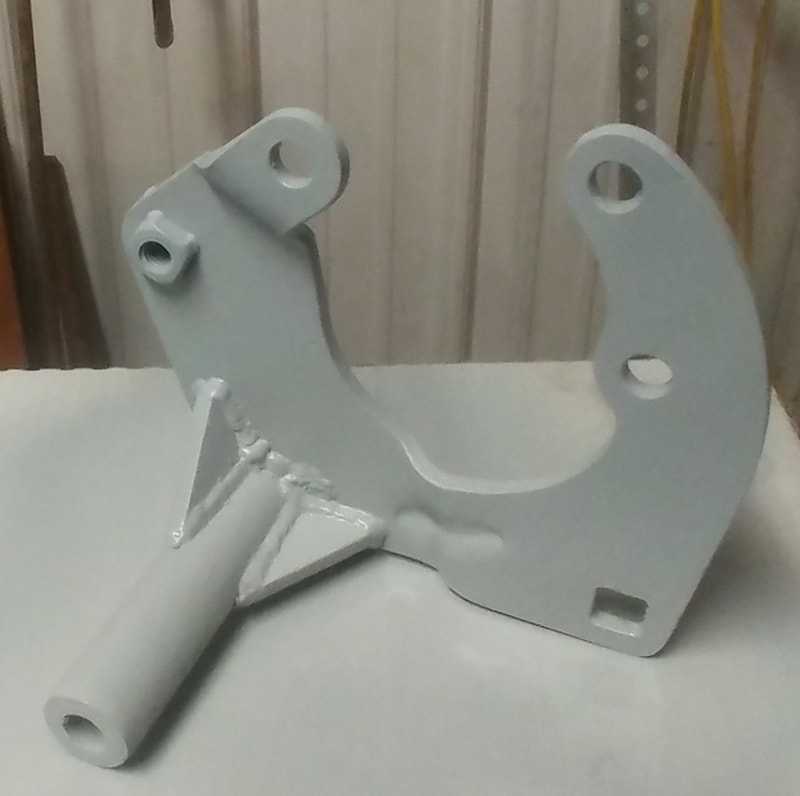
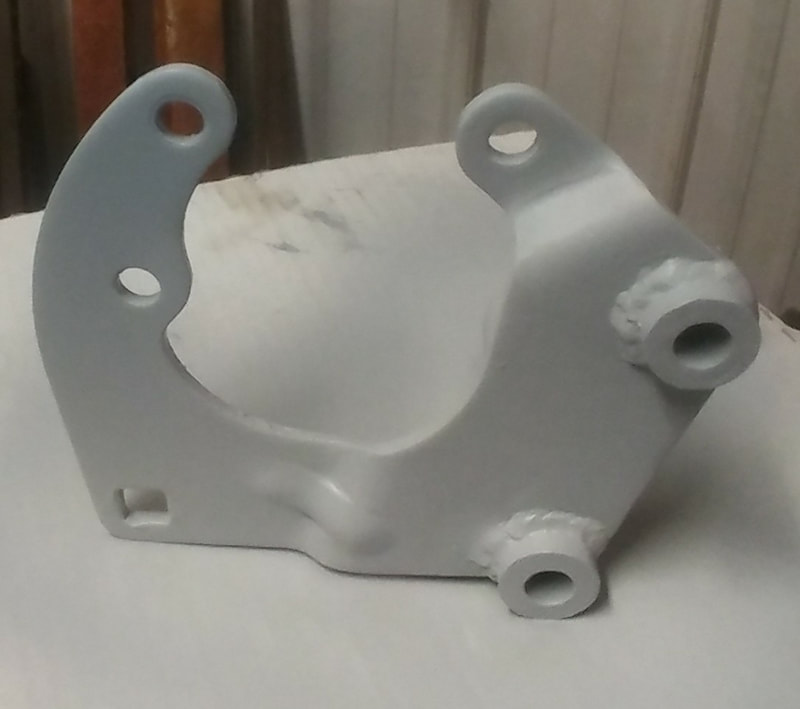
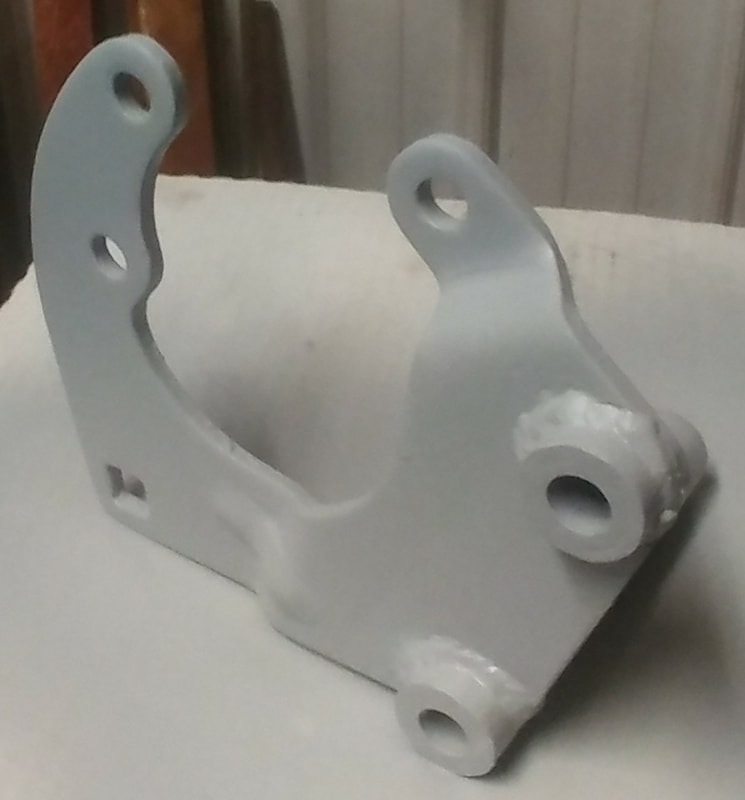
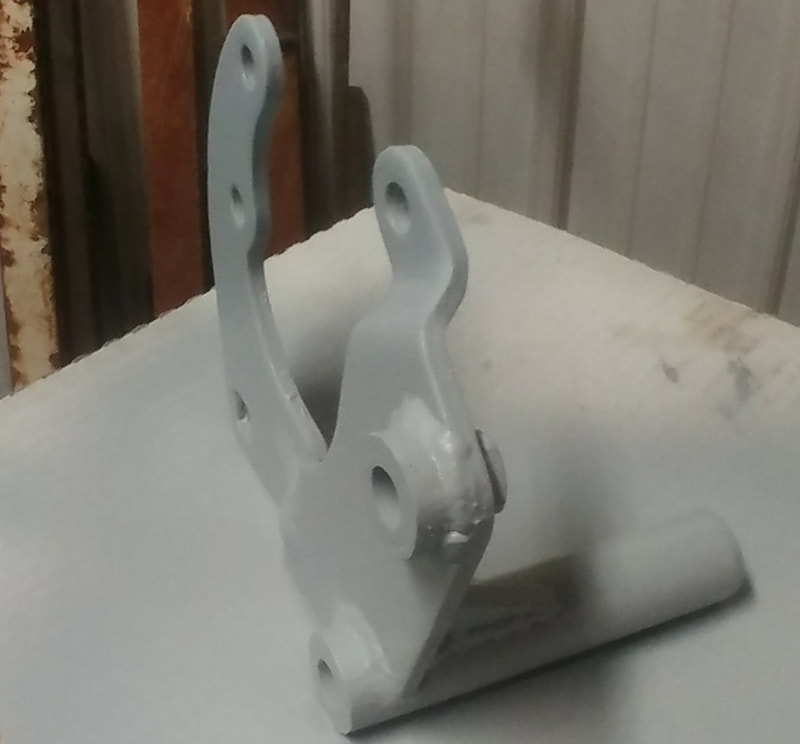
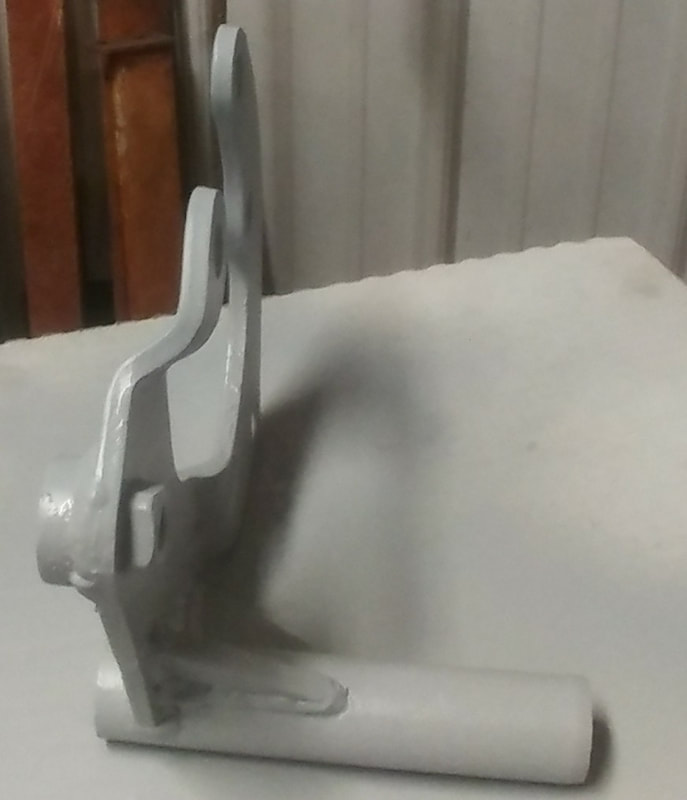
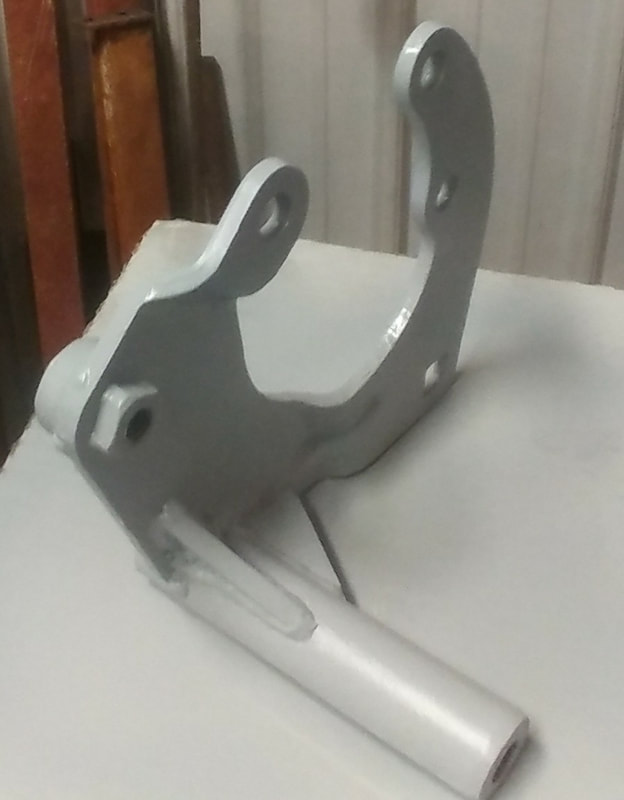
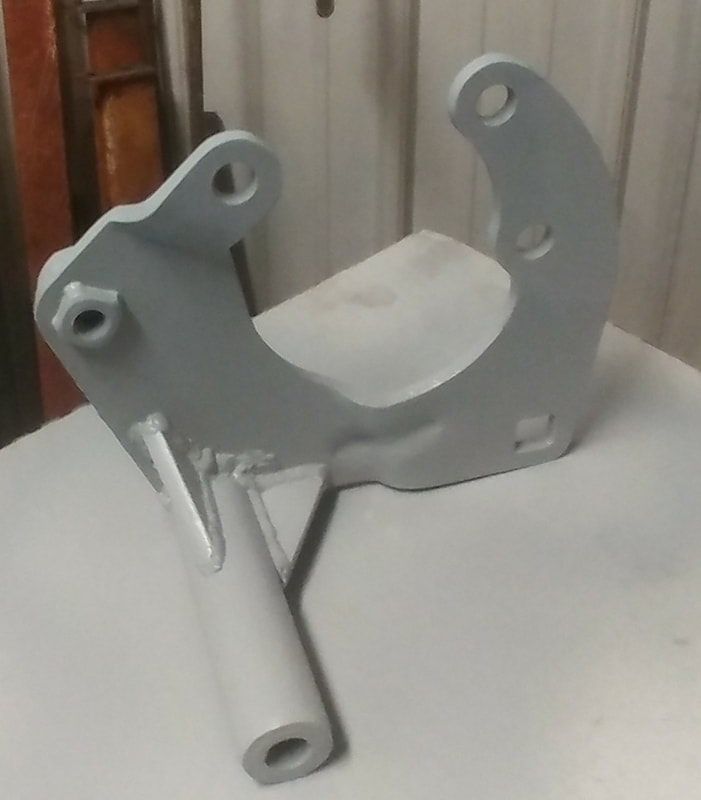
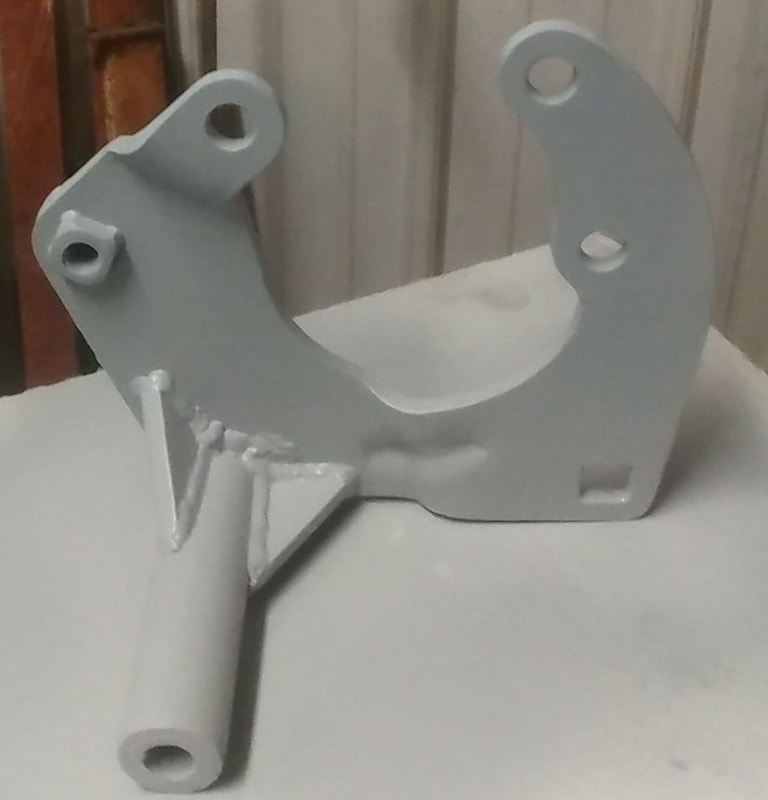
I then cleaned everything and shot it with some primer. Here I am including several pictures from many angles, as the primer makes everything easy to see. If someone wants to duplicate my work these may be helpful.
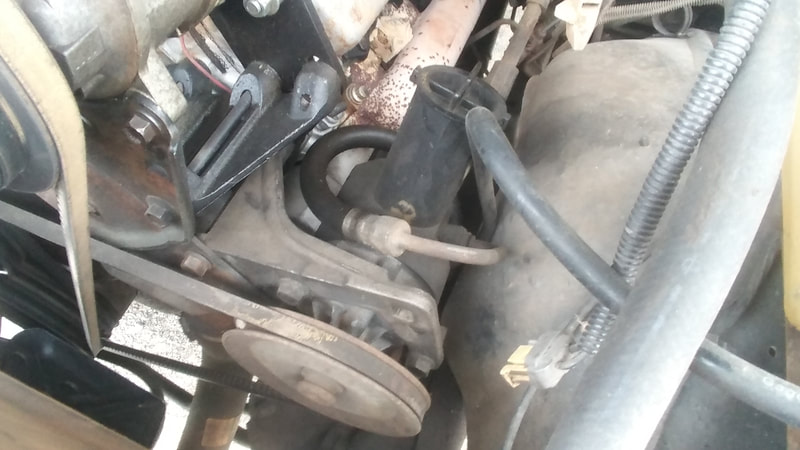
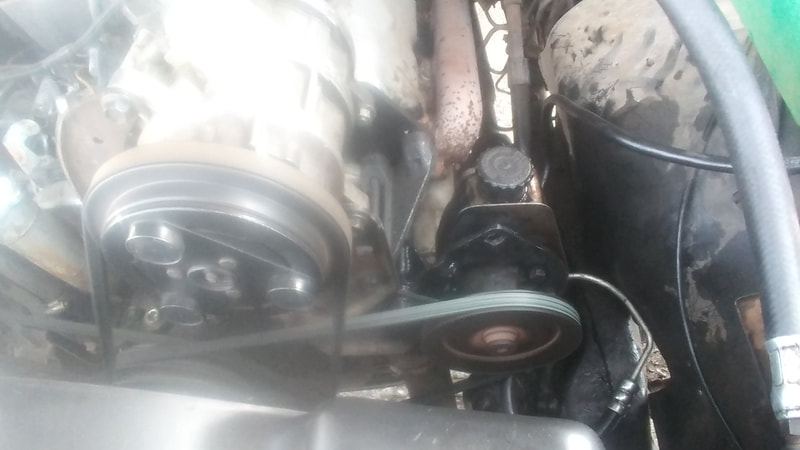
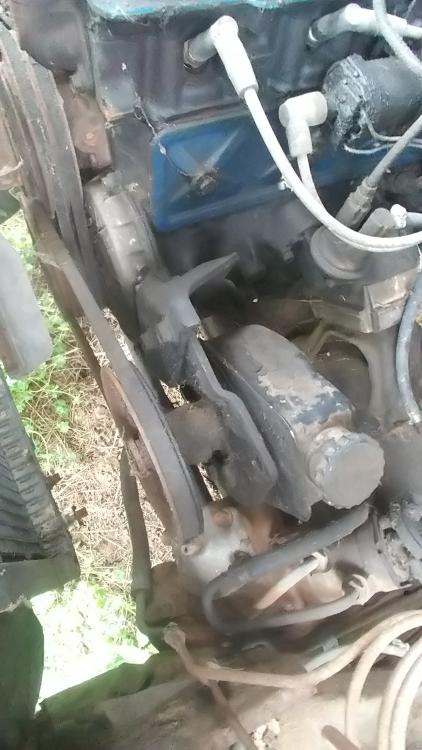
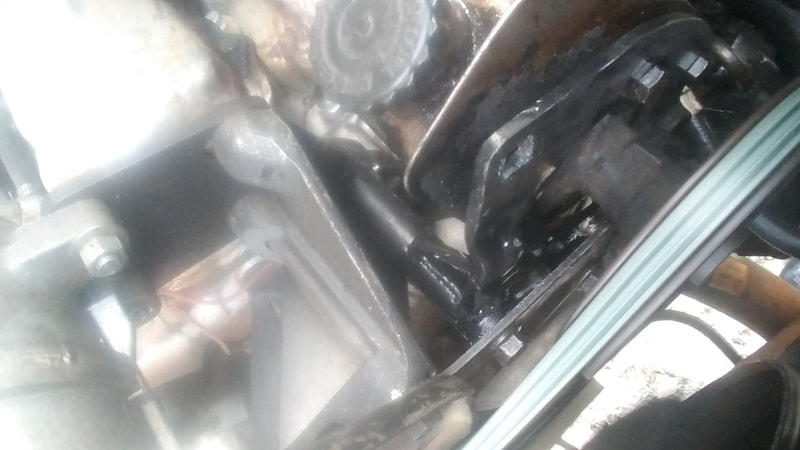
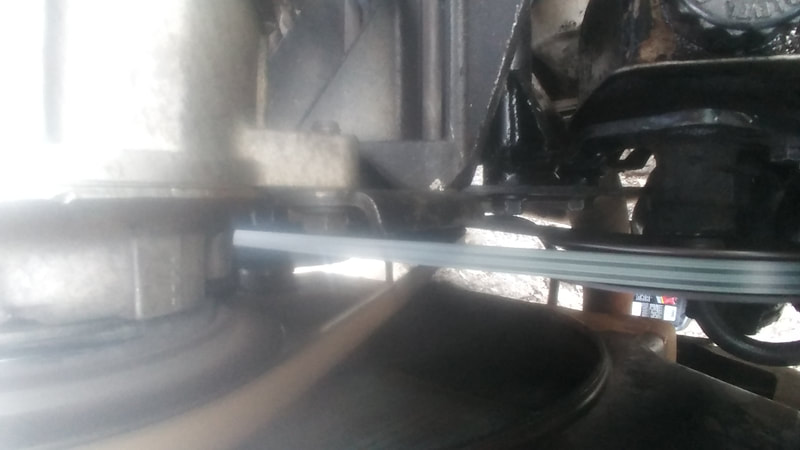
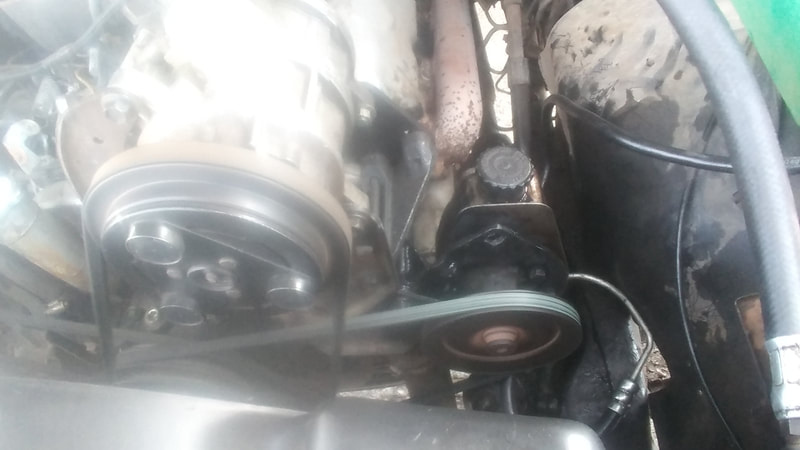
The only real pictures I have of the pump installed aren't great, but the results of the conversion are wonderful. There no longer is squealing and I have great assist for the steering even when stopped.
Conclusions
I would highly recommend anyone to do this conversion. The C2 pump has been a great annoyance for me on several vehicles now. I have converted a couple of them previous to this adventure, but this swap was by far the most involved. I want to thank anyone who has helped or posted about doing this conversion as I did read and research a great deal before embarking on the project. I did try to include some of the problem solving required to get the alignment of the belts to come out, as this same process can work for different pulley offsets and brackets if you cannot access the same bracket I used. You just have to verify where you want the pulley to end up and space everything accordingly. I could have used a gas V8 bracket to modify, but I felt that the 300 I6 bracket offered a greater amount of simplicity as it is just a simple flat bracket and not a horseshoe shape. In the end I think I ended up with a pretty strong bracket and a great pump. Now I need to decide what the next project will be.
I would highly recommend anyone to do this conversion. The C2 pump has been a great annoyance for me on several vehicles now. I have converted a couple of them previous to this adventure, but this swap was by far the most involved. I want to thank anyone who has helped or posted about doing this conversion as I did read and research a great deal before embarking on the project. I did try to include some of the problem solving required to get the alignment of the belts to come out, as this same process can work for different pulley offsets and brackets if you cannot access the same bracket I used. You just have to verify where you want the pulley to end up and space everything accordingly. I could have used a gas V8 bracket to modify, but I felt that the 300 I6 bracket offered a greater amount of simplicity as it is just a simple flat bracket and not a horseshoe shape. In the end I think I ended up with a pretty strong bracket and a great pump. Now I need to decide what the next project will be.
