salvaging rosewood
How To Salvage Rosewood Interior Panels On 1980 - 84 Ford Trucks
By Jonathan Donald
By Jonathan Donald
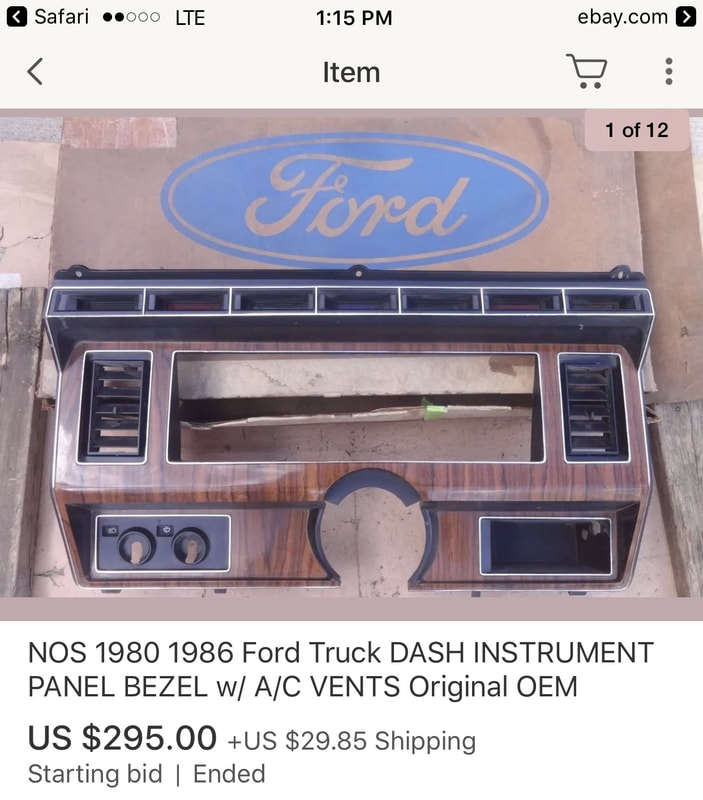
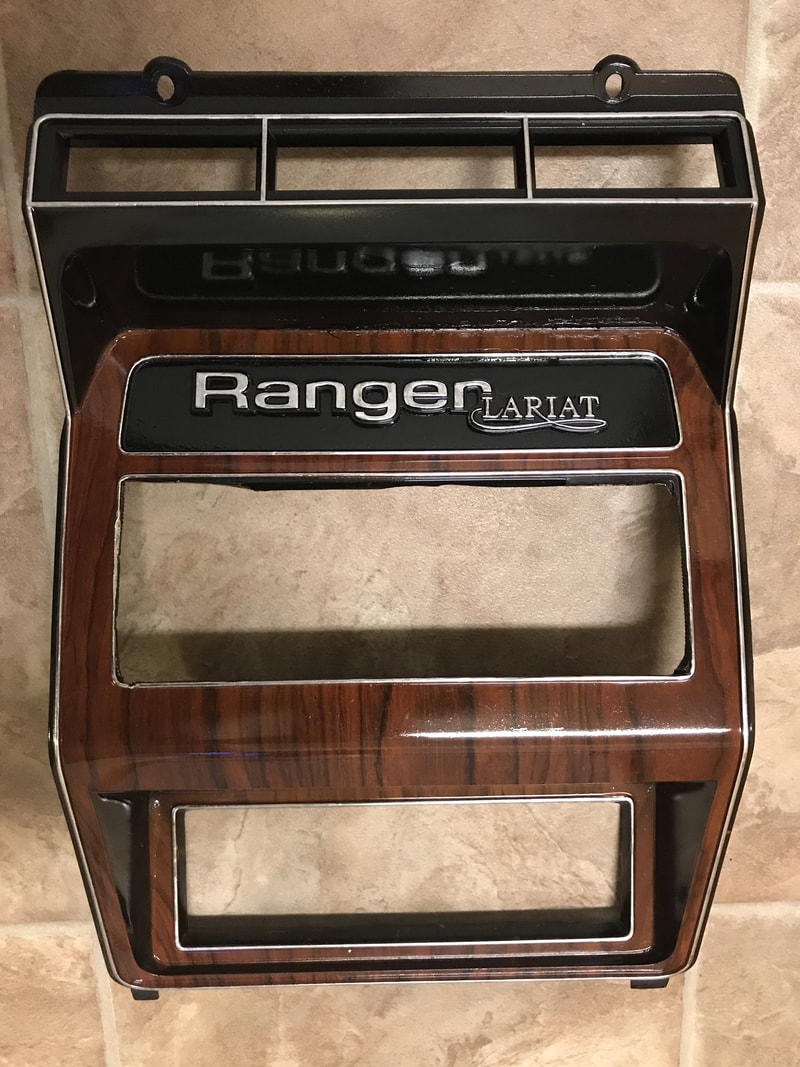
Some of the most loved interior accents on bullnose Fords are the “rosewood” faux woodgrain trim pieces found in the 1980-1984 trucks. Unfortunately, they are not as durable as the more common weave bezels, and they are often not very attractive anymore. NOS replacements still turn up on eBay from time to time, but they are rare and can be quite expensive:
|

eBay listing of a NOS Rosewood radio bezel
|
LEVEL 1 RESTORATION:
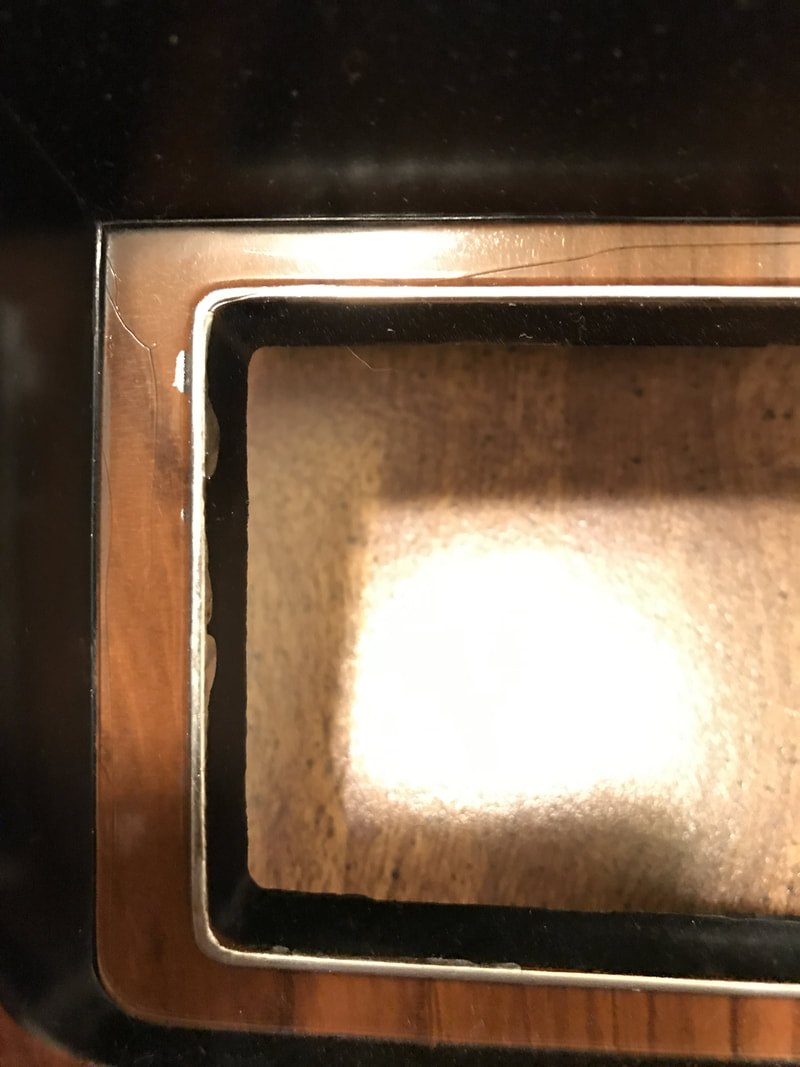
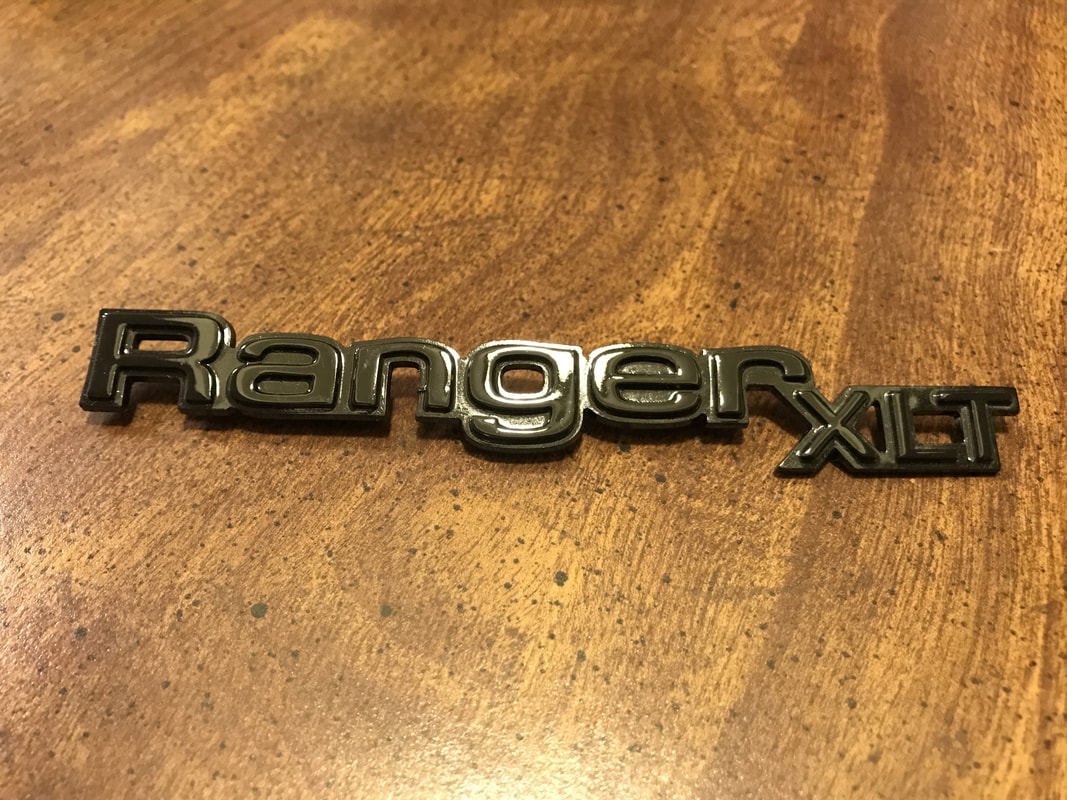
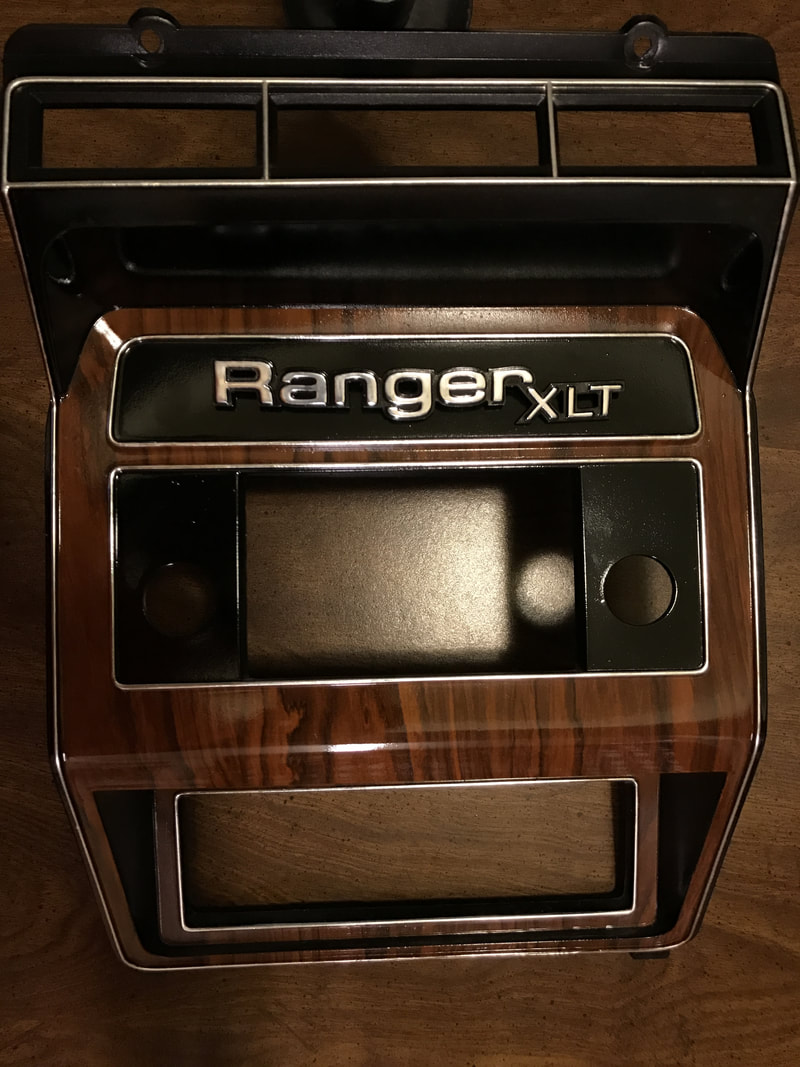
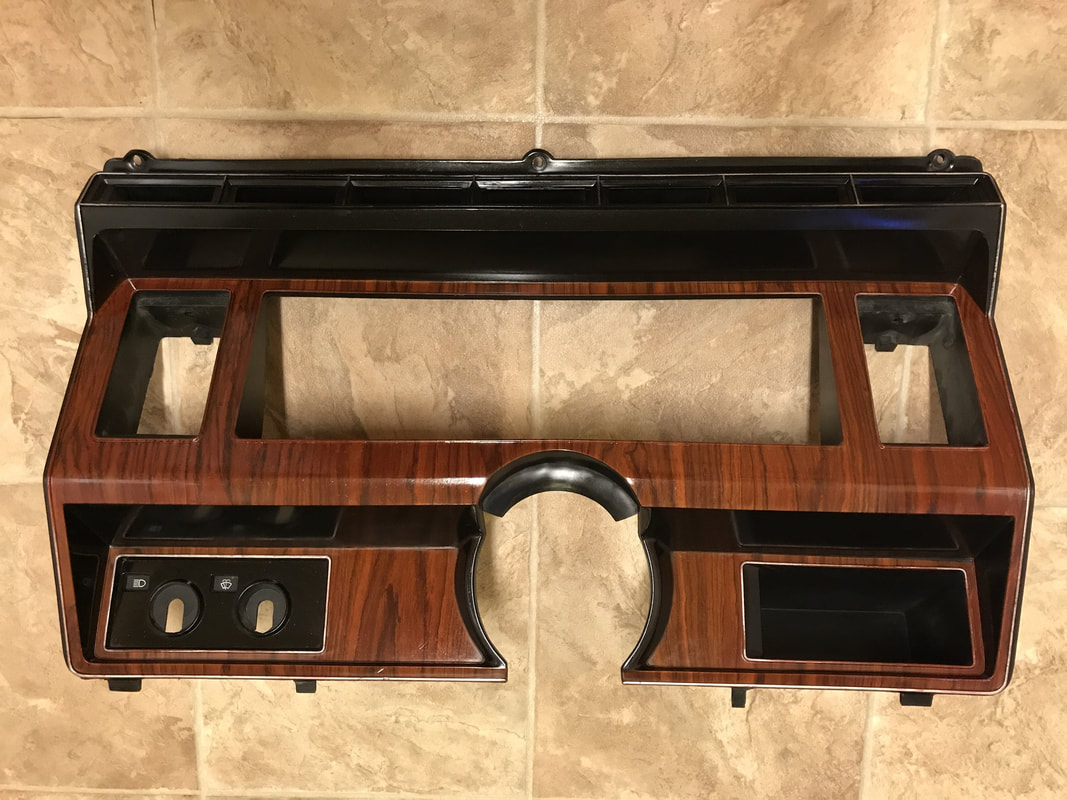
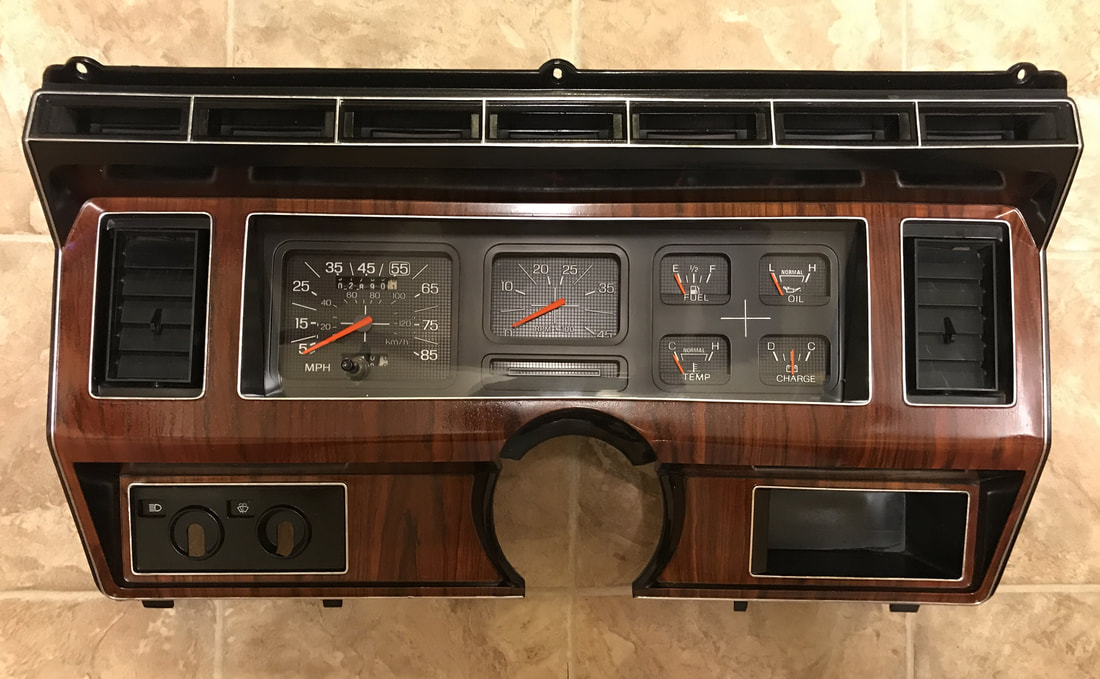
Decent used pieces are getting tougher to find as well, but are generally available after some searching. I was fortunate enough to find a pair of well-preserved dash bezels in the local salvage yard, but even these had silver edging that was wearing away, and the surface luster was turning dull and starting to crack when examined under magnification. They were still quite nice to look at, but not as sharp as they came from the factory
Decent used pieces are getting tougher to find as well, but are generally available after some searching. I was fortunate enough to find a pair of well-preserved dash bezels in the local salvage yard, but even these had silver edging that was wearing away, and the surface luster was turning dull and starting to crack when examined under magnification. They were still quite nice to look at, but not as sharp as they came from the factory


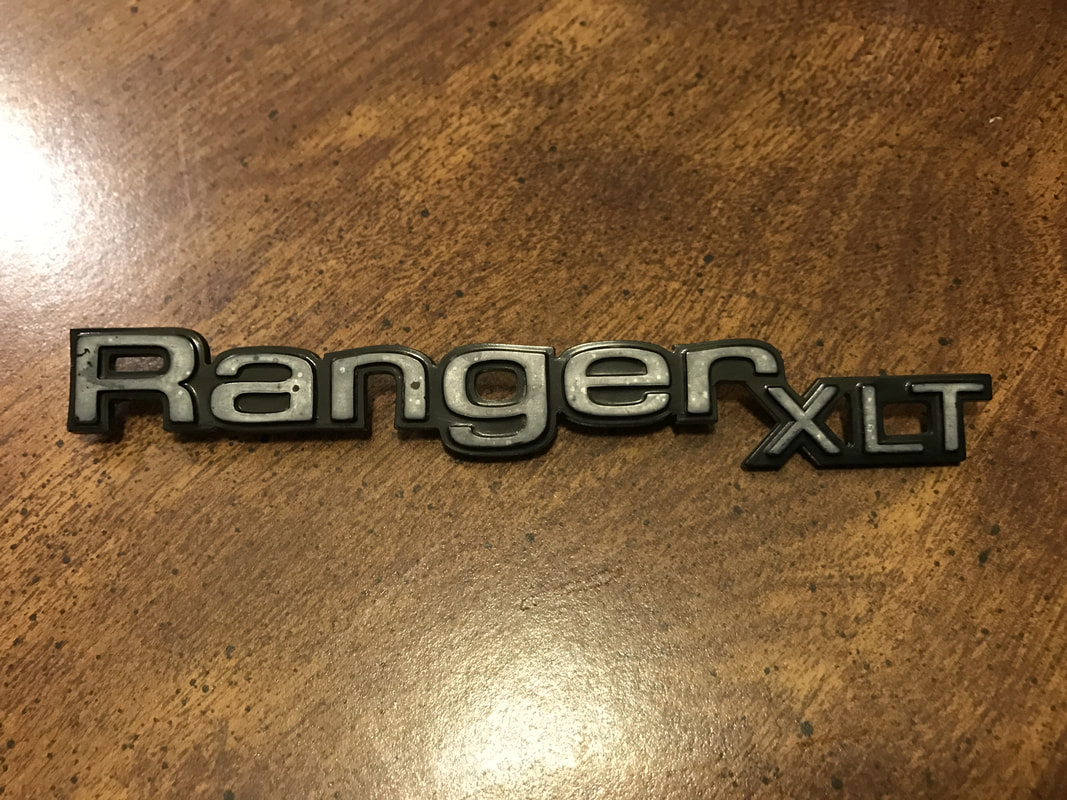
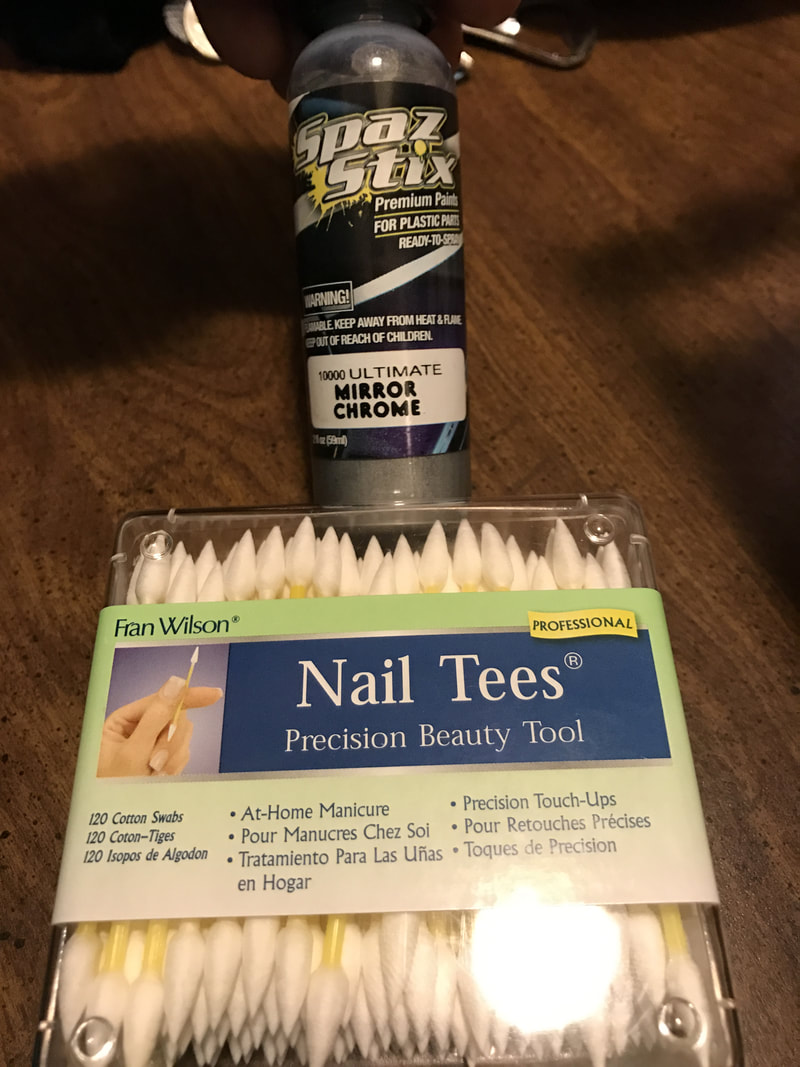
My original plan was just to repaint the silver edging and change the radio bezel nameplate to a ‘80/’81 style emblem for my 1981 F150. A fairly good way to refurbish the edging is with a silver paint pen from the craft store. However, I was hoping to achieve a more chrome-like finish, and my internet research pointed me to Spaz Stix 10000 ultimate mirror chrome air brush paint. This is the only non-aerosol product I found that can be hand painted to produce a chrome-like result. I tried applying the paint with an extremely fine detail brush and the results were disappointing. The paint is thin and splatter-prone and it liked to run down the edges of the bezel beads. It also dried a dull silver color just like the craft store paint pens with no chrome-like shine whatsoever. It was ugly, messy, and difficult to apply since its intended use is for air brushing. Luckily is cleans off easily with 90% isopropyl alcohol.
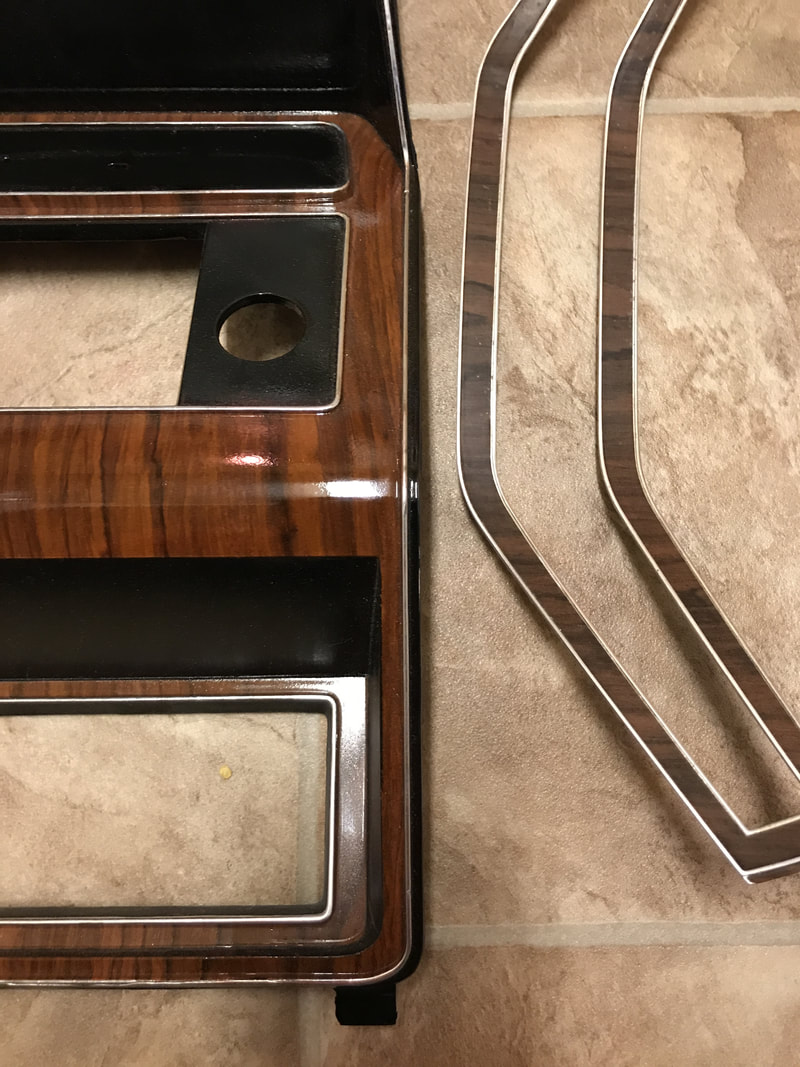
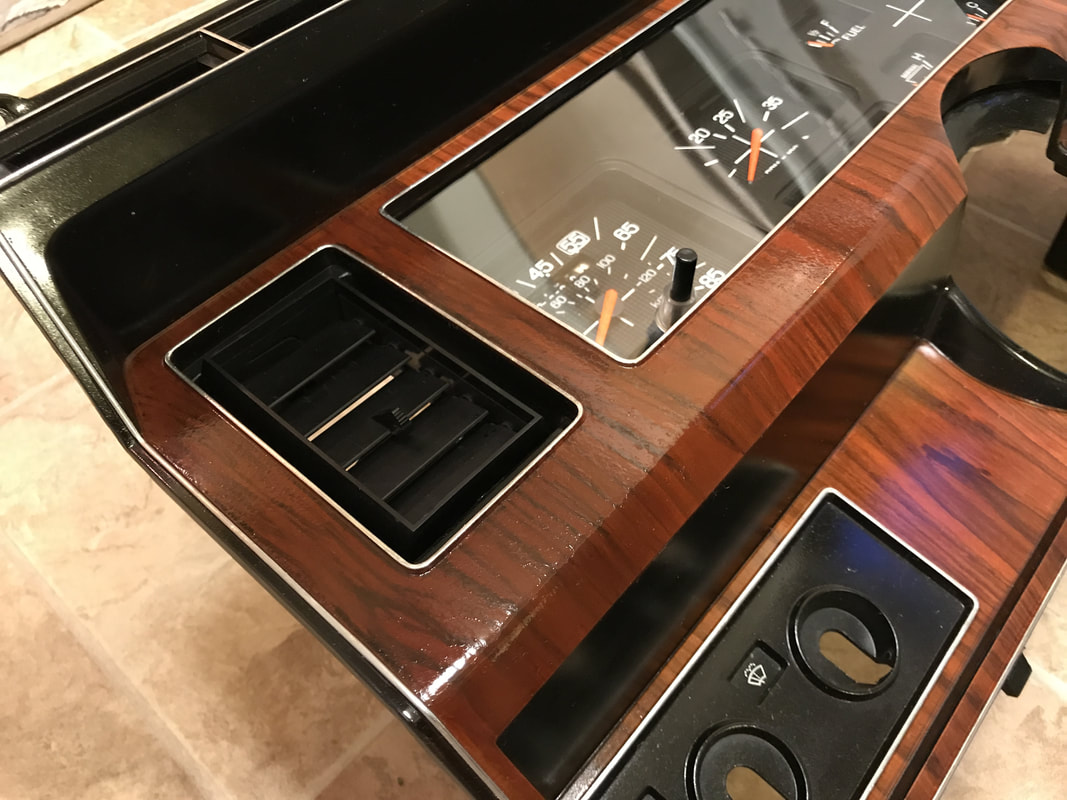
I might have given up on the product except I saw some very chrome-like paint dried on the side of the bottle. It occurred to me that the target surface has to be very glassy to achieve the desired result. The bezel surfaces were too porous and dull for the paint to gloss over. So, I tried some clear coat acrylic enamel spray paint on a junk bezel and was pleasantly surprised with the glassy surface luster and improved “wet” look of the woodgrain print. (*Please read the end-note on brands of clear coat product). I took the plunge and gave both bezels an all-over coat of the clear. Some may not like the high gloss (especially on the black sections), but I liked the result and I feel that the fragile woodgrain print layer is better protected. (One could mask off the black sections if desired).
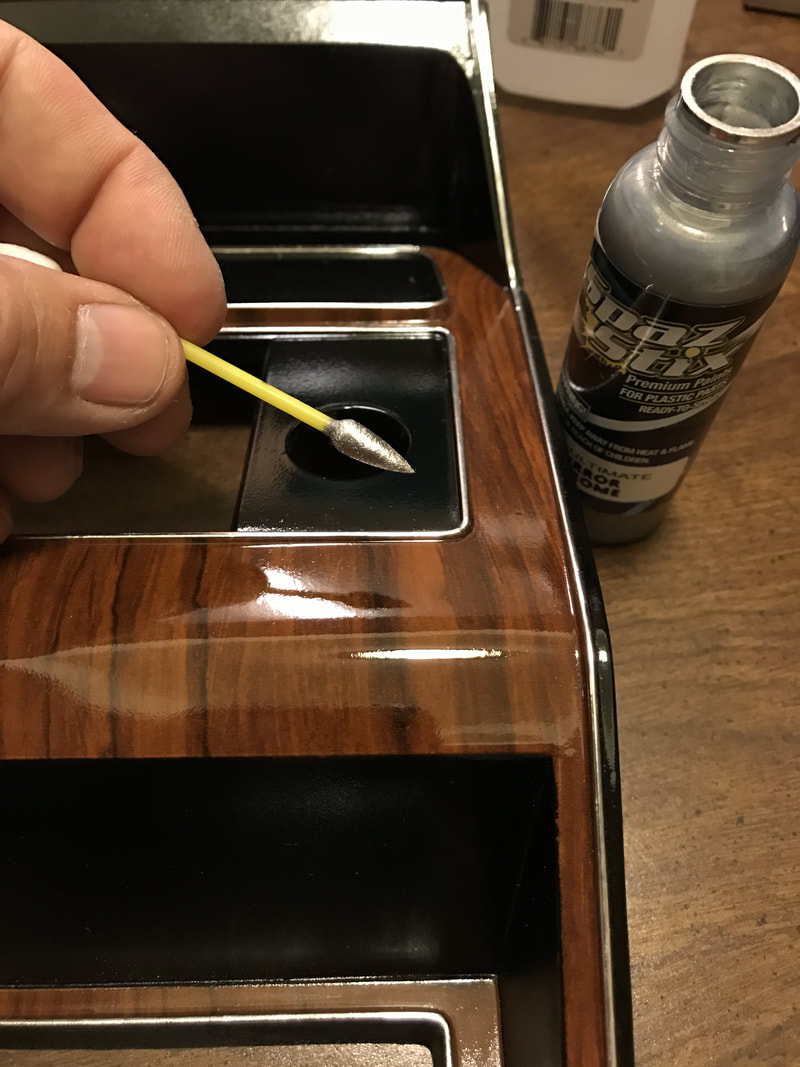
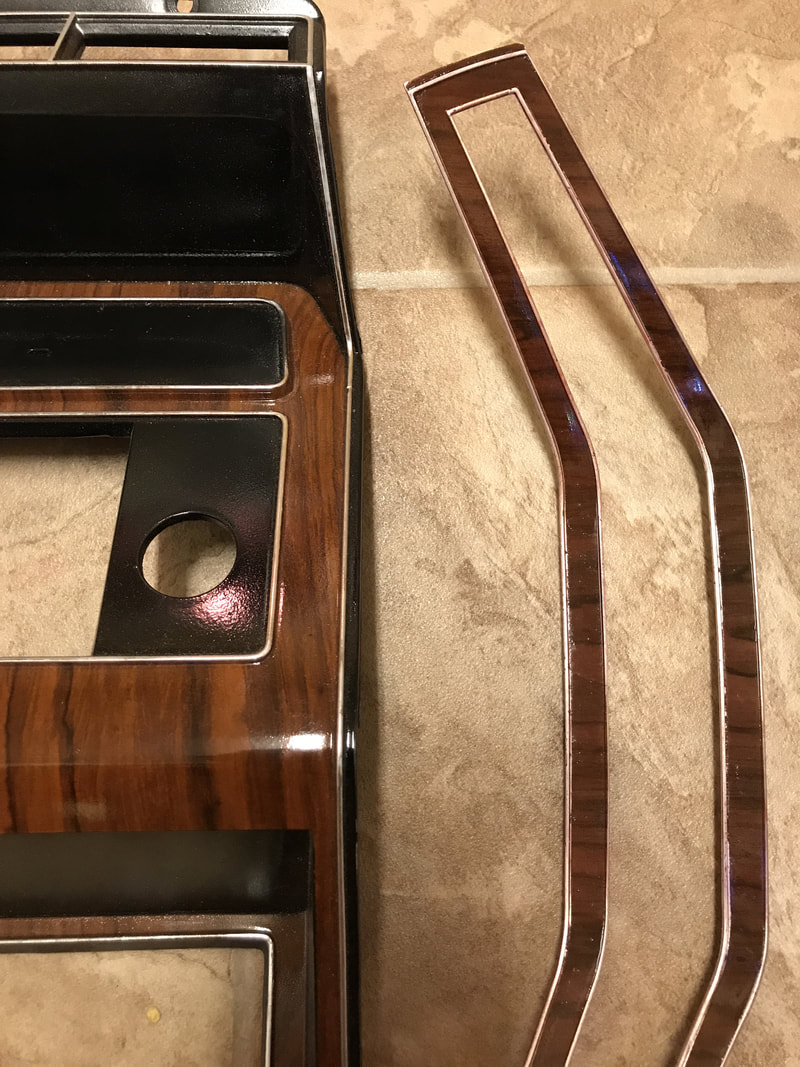
Once the bezels were clear coated, I tried again with the mirror chrome pant. I figured out that the superfine paint brushes I bought were not an effective applicator. They did not hold much paint, and released it all the instant the brush contacted the bezel bead. I had much better luck using pointed cosmetic Q-tips. They hold more paint and it wipes on evenly without bleeding out in a puddle. Don’t go cheap on the Q-tips, go to a beauty supply store and get good ones. The ones I saw at Walmart were fuzzy and not very dense. I bought mine at Sally’s Beauty Supply. They are Fran Wilson professional nail tees.
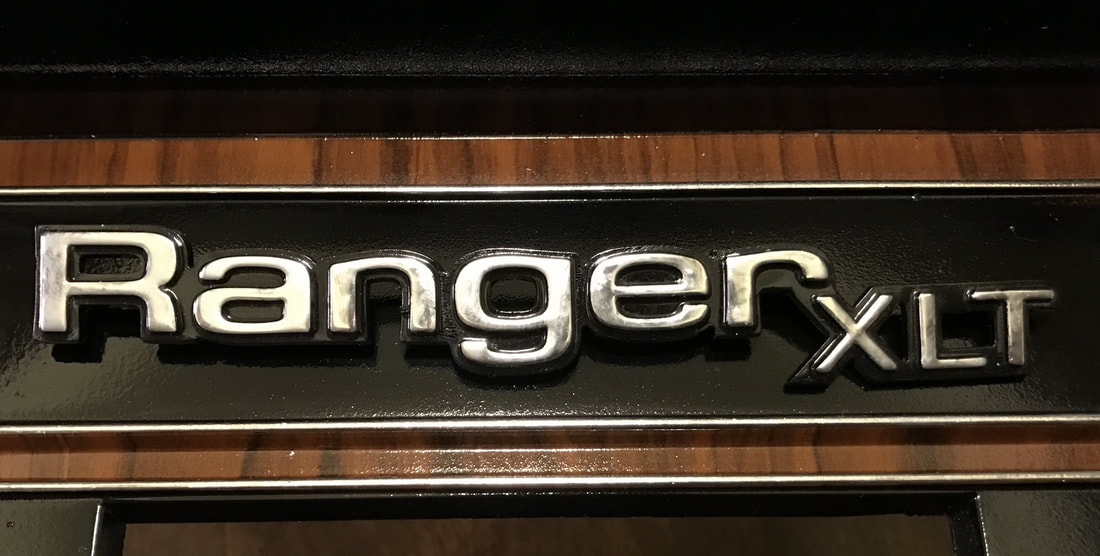
The paint dries almost instantly, and after 2-3 coats I was starting to smile. The result over the clear coat was indeed very chrome-like. Paint control with the Q-tip was about 10,000 times easier than the paint brush and any mistakes were easily erased with another Q-tip dipped in 90% isopropyl. The larger, flatter surfaces on the nameplate letters required some technique to pool the paint and master the surface tension to prevent blotchiness, but the result is quite superior to the dull flat silver of the paint pens and a huge improvement over the faded, worn-away original silver accents.
LEVEL 2 RESTORATION:
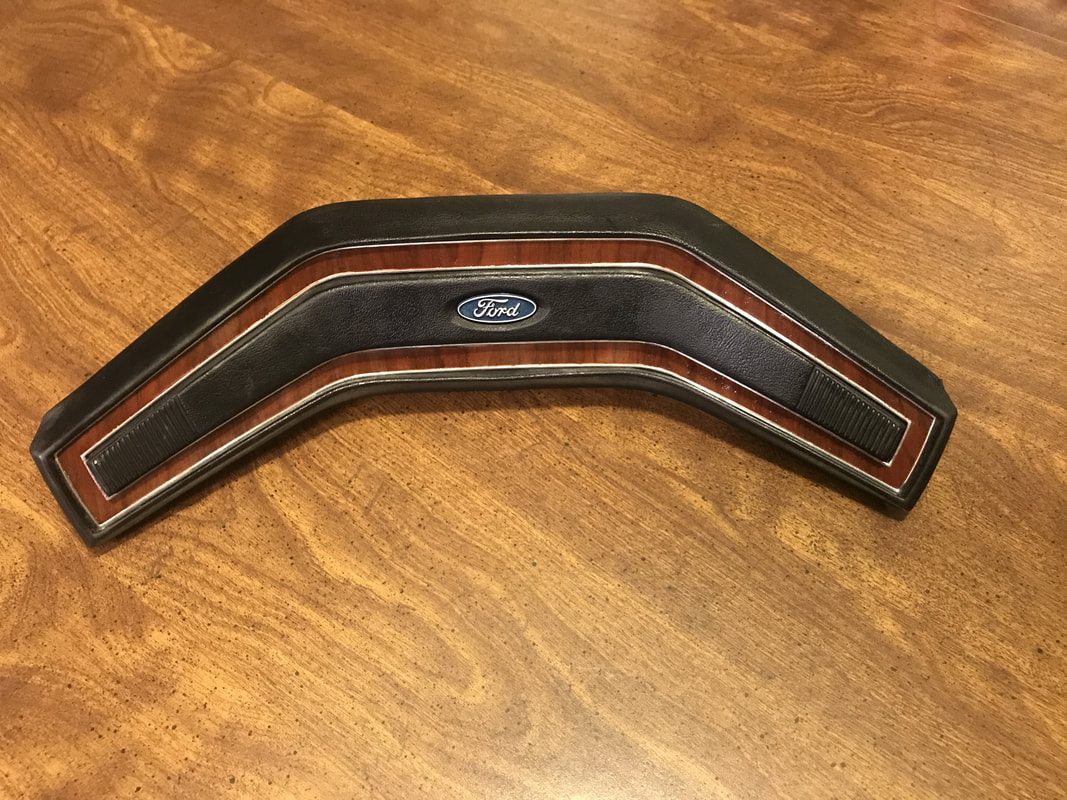
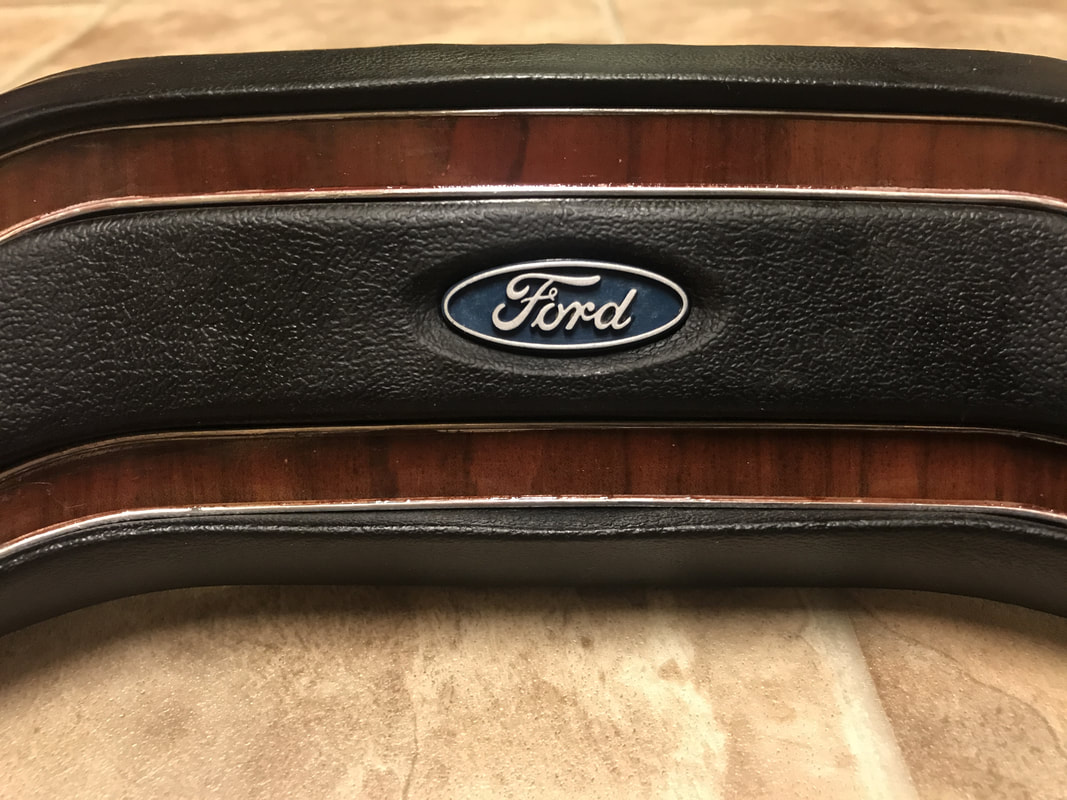
I was very pleased with the dash bezels, but I needed a matching rosewood horn pad to go with them. The junkyard specimen that I had to work with had complete wood print, but it was much more dull and grey-brown in color than the bezels. Even after disassembly and cleaning it was more of a walnut wood color than rosewood. I wanted to do something about it.
I was very pleased with the dash bezels, but I needed a matching rosewood horn pad to go with them. The junkyard specimen that I had to work with had complete wood print, but it was much more dull and grey-brown in color than the bezels. Even after disassembly and cleaning it was more of a walnut wood color than rosewood. I wanted to do something about it.

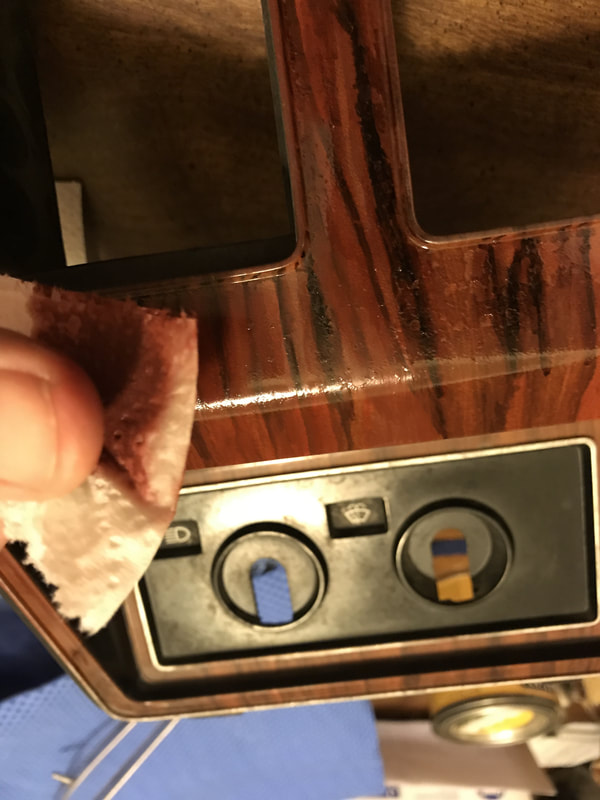
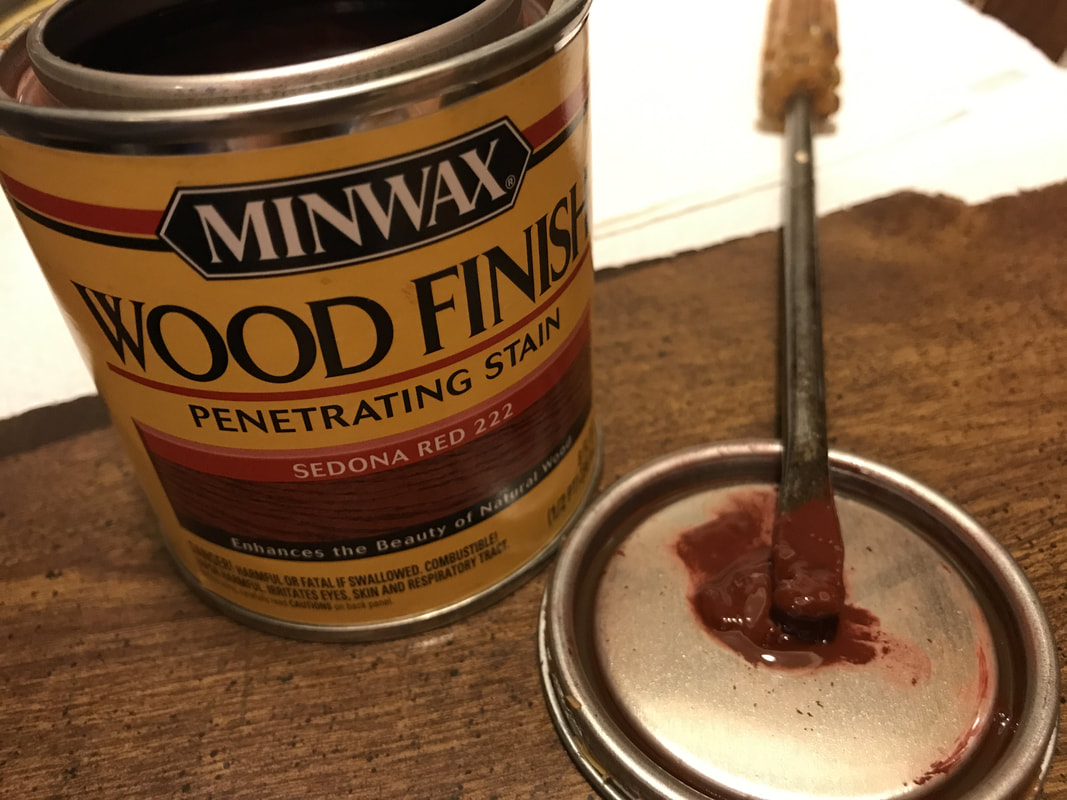
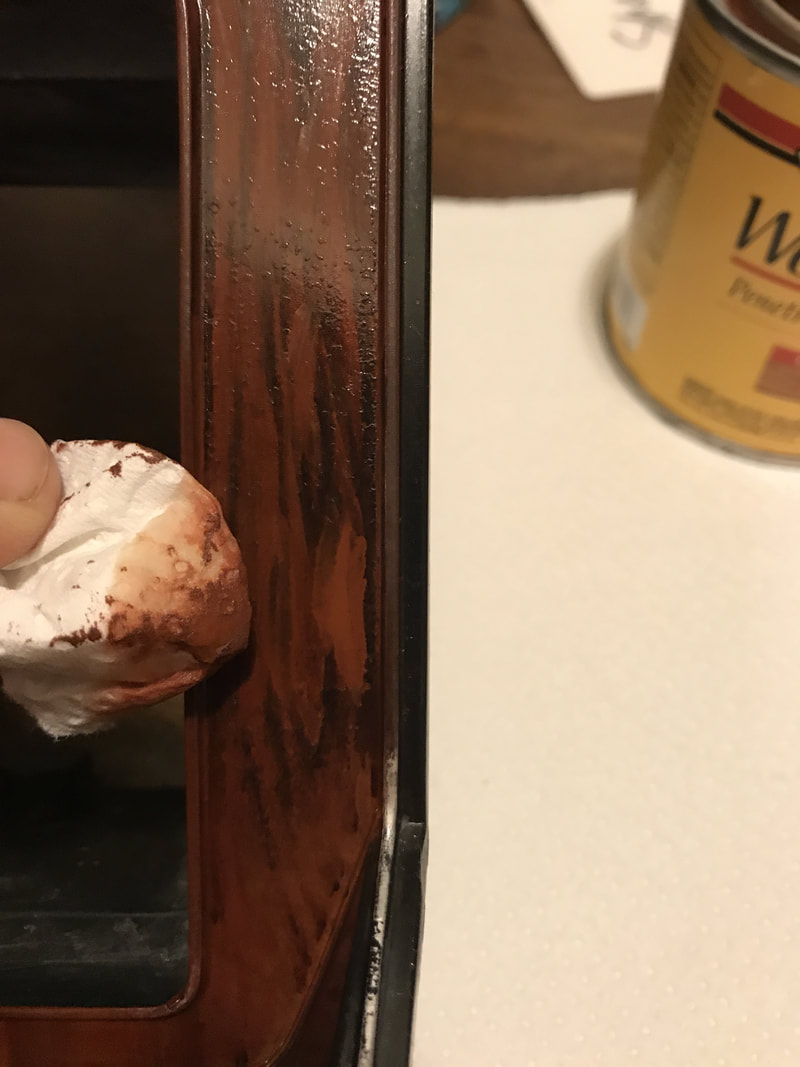
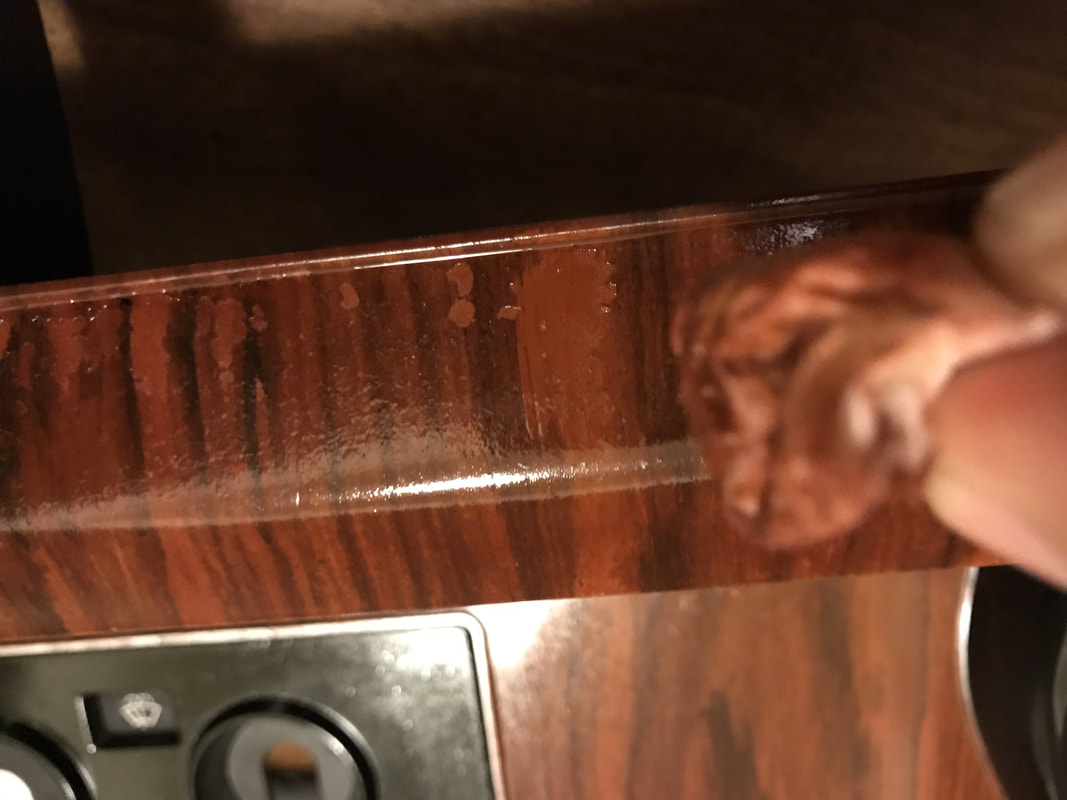
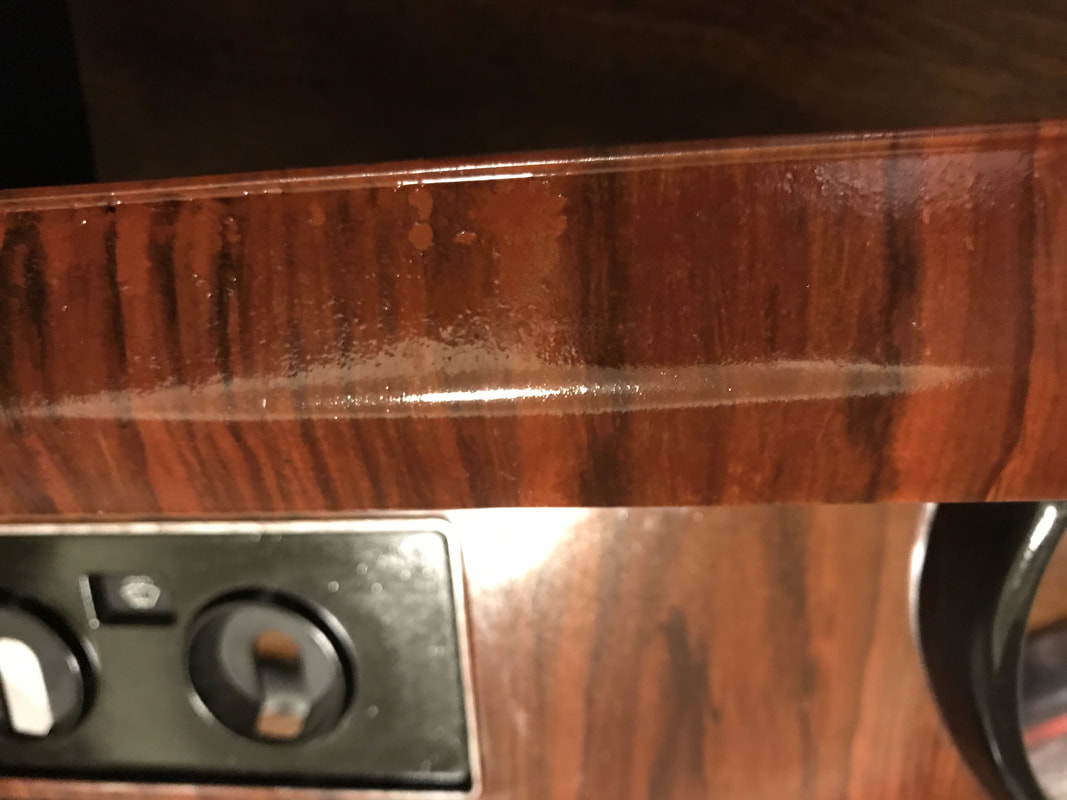
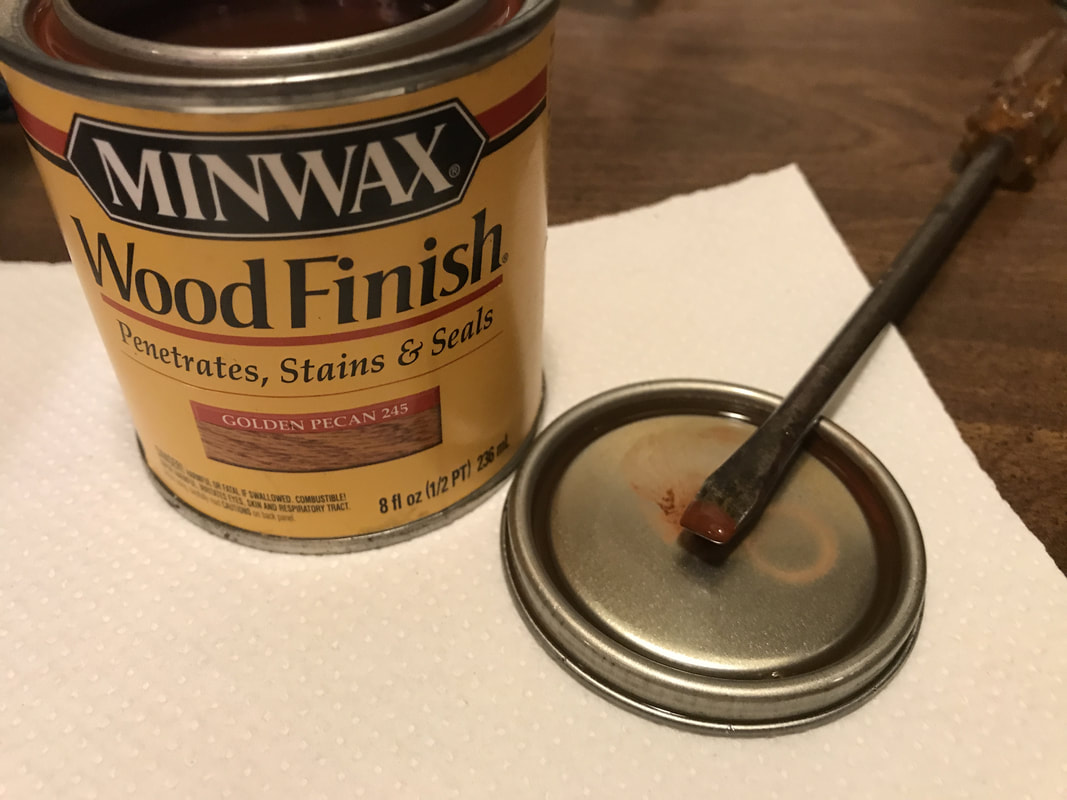
I used Minwax wood stain to add some color. DO NOT stir or agitate the can! The stain itself does not have enough pigment to do any good . You need to dig some of the sludge out of the bottom of the can with a screw driver. It will go on opaque like red barn paint. Just dab a little on with a paper towel, dip a corner of the paper towel in the stain can and wipe it on as a thinner, smear it, wipe and lift off excess sludge until you have a translucent film with the amount of color that you want. The oil will polymerize and leave a semi-gloss surface that is plastic-like and not sticky. It is a nice semi-gloss when left as-is.
I decided to clear coat the horn pad insert, and apply the mirror chrome to the bead around the edges. I scrubbed the rubber cover with detergent to remove grime and hand oil, then treated it with Mother’s ‘Back to Black’ automotive trim polish. The finished product was quite presentable and a good match for the instrument bezels.
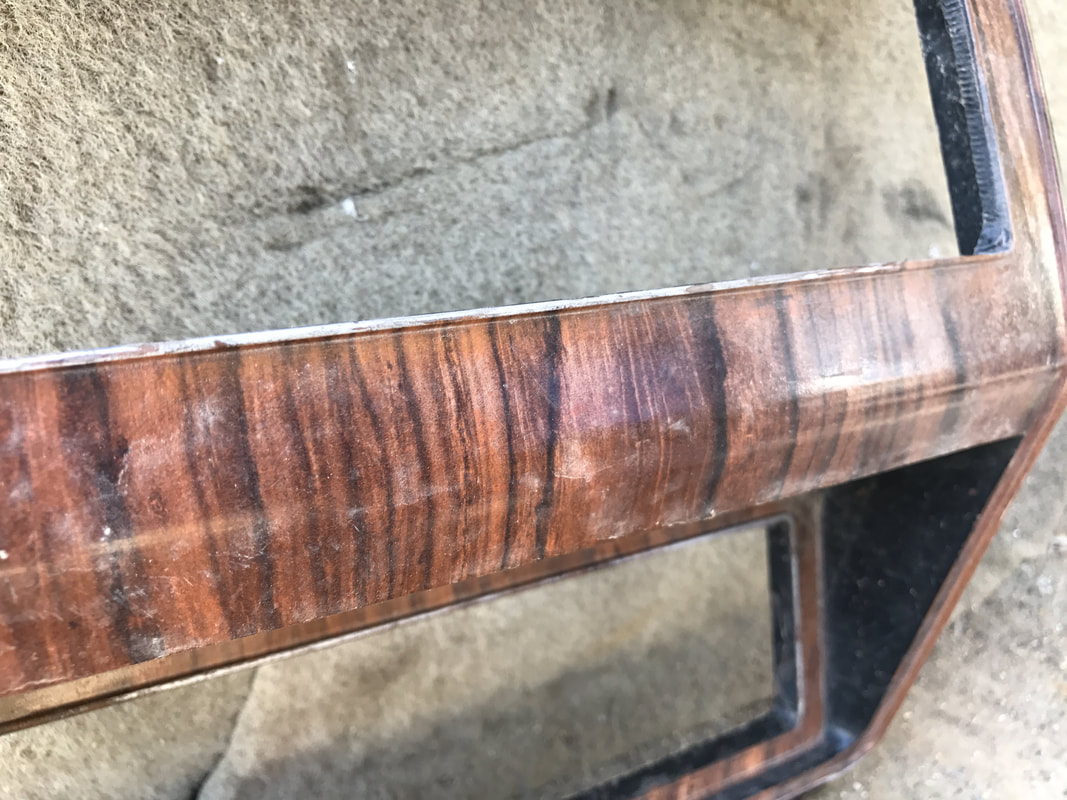
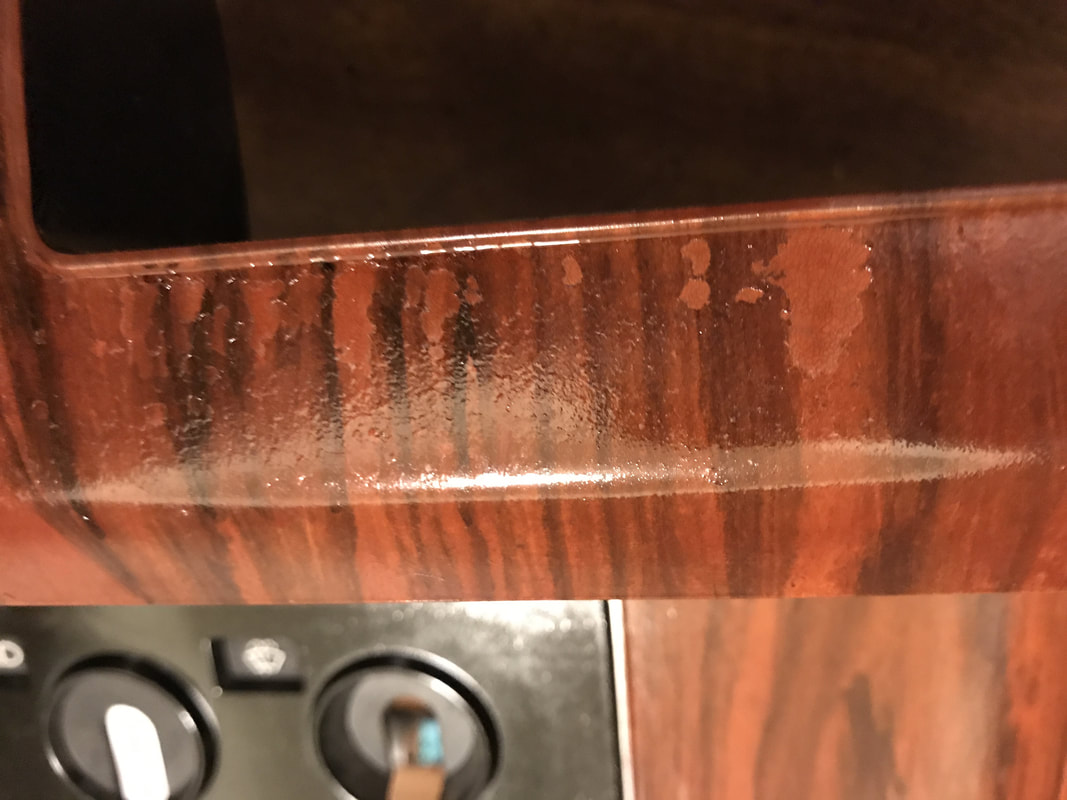
Since the stain trick worked on the dull horn pad, I decided to take it up a notch and see what it would do on a radio bezel that had intact wood grain print but was sun bleached. I used the same technique, except I applied the thin oil in the stain can to the black areas of the bezel as well as the wood grain. The finish was nice, almost like the clear coat but not as glassy. The particular color that I used (Minwax Sedona Red 222) was not exactly right (slightly more red than original), but it is very pleasing and if both bezels are treated you won’t have to worry about a match. The final step was clear coat and mirror chrome accents (see end note about clear coat).

LEVEL 3 RESTORATION:
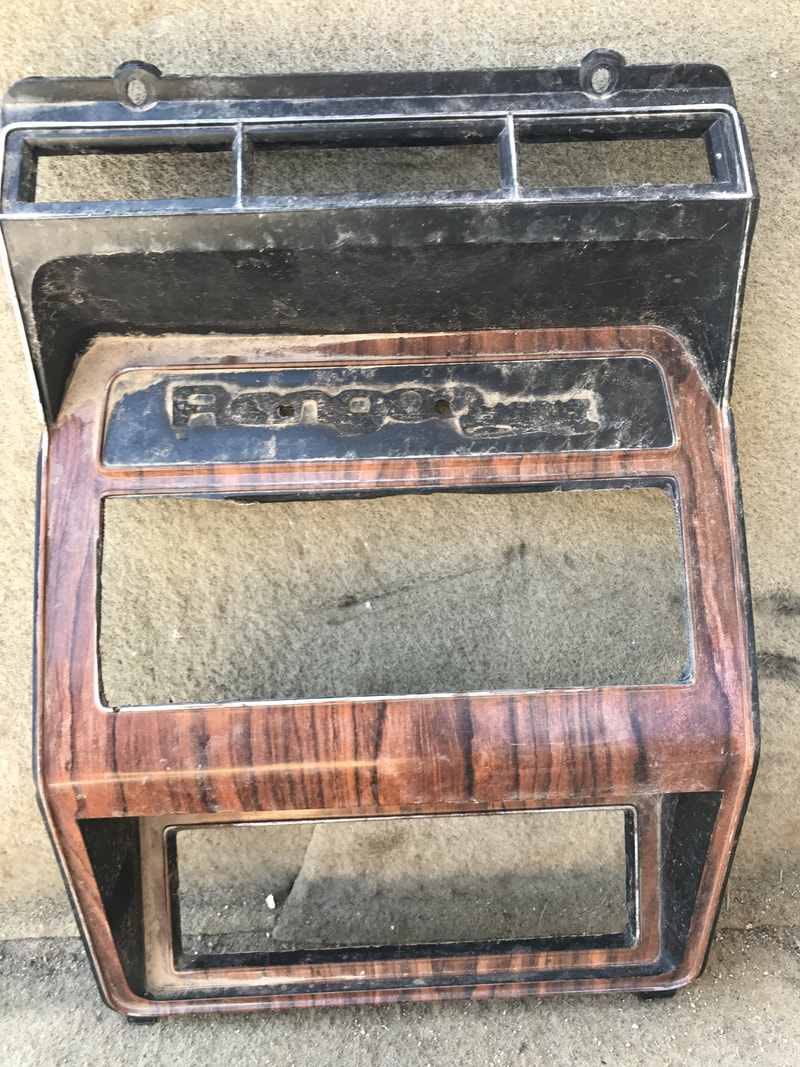
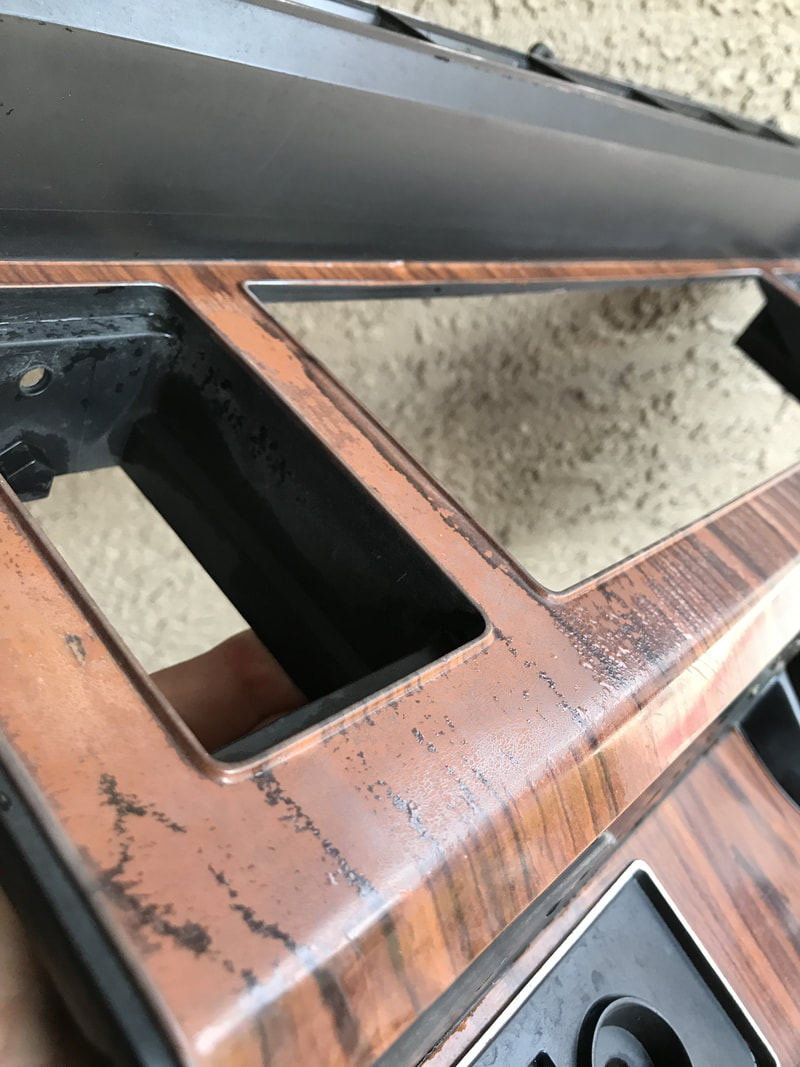
Now for the real challenge. What if you have a bezel where some of the woodgrain print is completely missing?
Now for the real challenge. What if you have a bezel where some of the woodgrain print is completely missing?

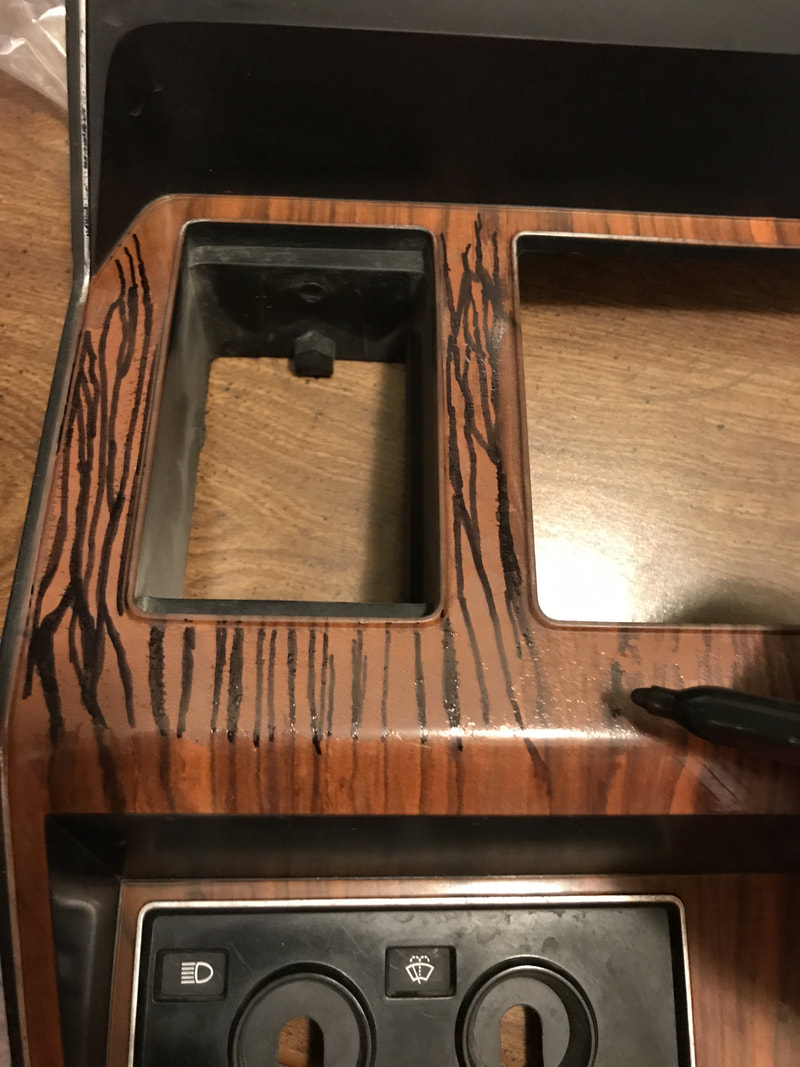
Are you ready? Get out a black sharpie, a brown sharpie, an orange sharpie, a can of Minwax Sedona Red 222 wood stain (not agitated), a can of Mixwax Golden Pecan 245 wood stain (not agitated), a screw driver/sludge digger, a stack of paper towels, and hold my beer (I don’t drink but you get the idea!).


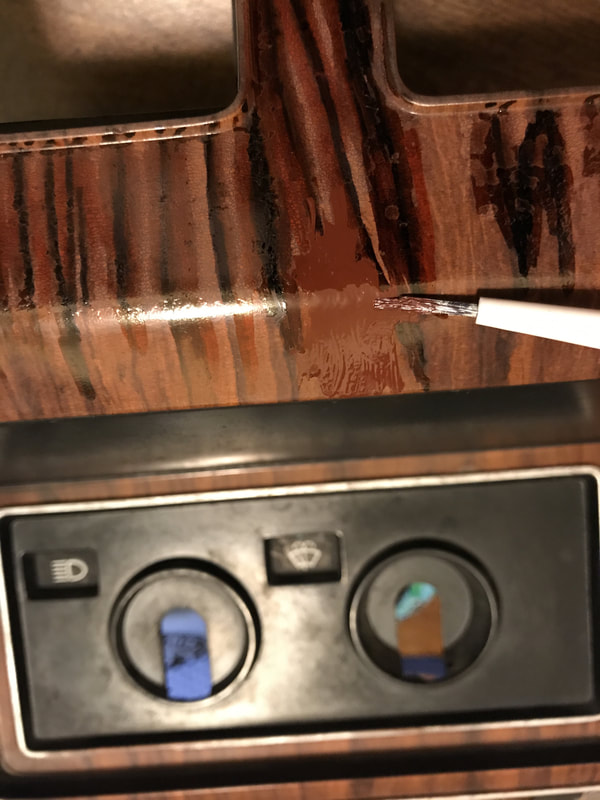
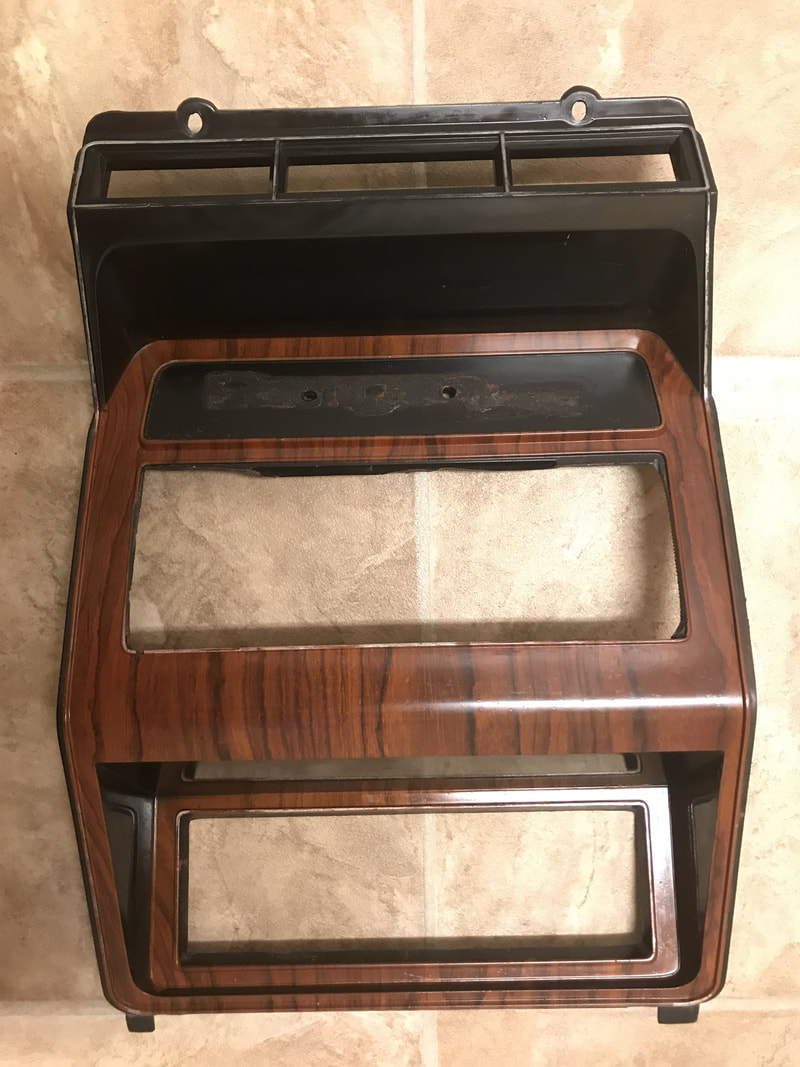
It looked pretty good after the Sedona Red, (I did the treatment over the whole bezel like I did with the faded radio bezel) but the repaired area was overall a bit too dark and lacked highlights. So I went at it again with the Golden Pecan sludge. This also helped to blend some of the blisters at the transition point between the repair and the original wood grain.

Don’t laugh… at arm’s distance it does not look ~that bad, it definitely has a better feel than the missing print. It is not a miracle, but it is okay for a low budget patch job
I proceeded to clear coat the bezel, and I ran into a problem: the clear coat saturated the stain pigment making it “wet” looking and more see-through than before. All of the nice blending and layering of the stain disappeared and the crude ugly sharpie marks showed through. In my frustration I forgot to document this with a picture. After the clear coat dried, I put more stain over the repaired area, but it remained slightly less glossy than the clear coated section. I then applied another coat of the gloss. This time the stained section stayed looking about the same only glossy like the rest of the bezel. If I tried this again in the future I might try a layer of the gloss over the sharpie marks before adding the stain sludge, but perhaps it was just the additional layers that provided the coverage. It is a bit of a mud cake, but at arm’s length where one would normally view it, the result is much better looking than the peeled woodgrain. I also learned that clear coat over the mirror chrome does not produce a desirable result. The clear coat slightly melts it and makes it blotchy. It was easy enough to re-do, but I wouldn't intentionally do this.
IMPORTANT END NOTE ABOUT CLEAR COAT BRANDS:
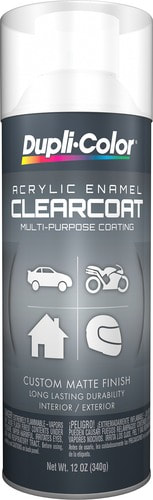
The clear coat I used at first was Duplicolor Acrylic Enamel Clear Coat DA-1692 “Crystal Clear”. It seems to have a thick, high-resin-content consistency. It is somewhat prone to orange peel and over spray frosting, but it produced a very nice result when it dried. Later I tried a Rustoleum brand clear coat that had more solvent in it. It went on more evenly, but did not cover as well. It ran and pooled in the corners of the bezel face and caused the woodgrain print to lift and peel off the plastic. NOT GOOD! Test whatever product you use on a spare/junk bezel if you have one, and avoid heavy coats that might allow enough time for the solvent to interact with the wood print while the clear coat is drying. The Duplicolor was not expensive at $6 per can, and if you can find it I recommend it. More expensive might not always be better! I will also add that the peel back happened on the stained radio bezel, so the clear coat over Minwax oil might have played a part. Artists who mix oil base and acrylic paints on the same piece follow the “fat over lean” rule to avoid cracking, peeling and other reactions. Clear coat over polymerized oil violates that rule. However, when I used the cheap Duplicolor clear coat over the Minwax I had no issues besides the clarifying effect that caused the marker lines to show through. As of this writing Autozone discontinued this product but O’Reiley Auto Parts stocks it.
The clear coat I used at first was Duplicolor Acrylic Enamel Clear Coat DA-1692 “Crystal Clear”. It seems to have a thick, high-resin-content consistency. It is somewhat prone to orange peel and over spray frosting, but it produced a very nice result when it dried. Later I tried a Rustoleum brand clear coat that had more solvent in it. It went on more evenly, but did not cover as well. It ran and pooled in the corners of the bezel face and caused the woodgrain print to lift and peel off the plastic. NOT GOOD! Test whatever product you use on a spare/junk bezel if you have one, and avoid heavy coats that might allow enough time for the solvent to interact with the wood print while the clear coat is drying. The Duplicolor was not expensive at $6 per can, and if you can find it I recommend it. More expensive might not always be better! I will also add that the peel back happened on the stained radio bezel, so the clear coat over Minwax oil might have played a part. Artists who mix oil base and acrylic paints on the same piece follow the “fat over lean” rule to avoid cracking, peeling and other reactions. Clear coat over polymerized oil violates that rule. However, when I used the cheap Duplicolor clear coat over the Minwax I had no issues besides the clarifying effect that caused the marker lines to show through. As of this writing Autozone discontinued this product but O’Reiley Auto Parts stocks it.