Hood Latch
1985 factory shop manual section of removing, installing, and adjusting the hood latch on Bullnose trucks.
Author: Shaun (salans7)
This is just a small how-to on replacing the cable on a locking hood release unit with the cable from a basic non-locking hood release. I am by no means a professional, so I take no responsibility for any damage you cause to either yourself, or your locking hood release cable. This is the method I used to repair the cable on my F150, and it worked great. Investigate all of your options before choosing to utilize this method of repair.
Tools:
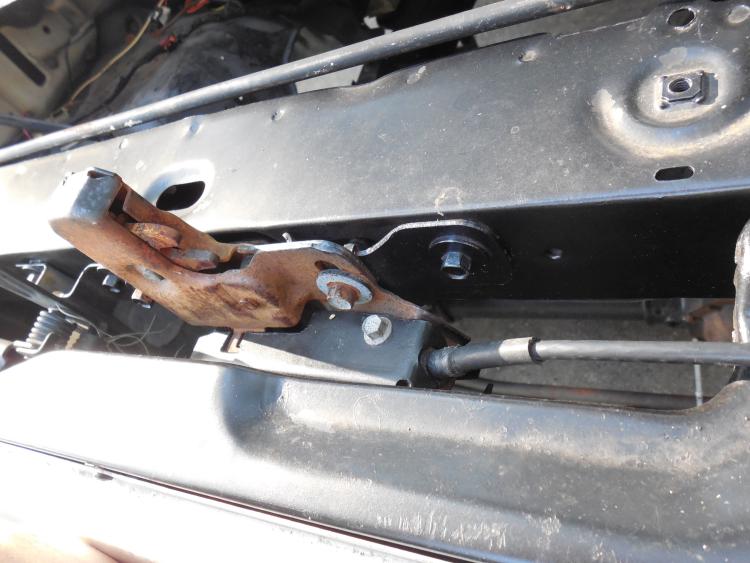
Step 1. Remove latch cable security plate. Bolt size is an 8MM. It is unnecessary to remove the latch assembly to do this, you just need to lift up on the upper grille support to gain clearance for the cover to slide out of it's position. But if you don't want to squeeze it through that way or you have an all original truck with perfect paint, remove the latch assembly to gain more room.
Tools:
- 10 mm socket for the under-dash mounting bolts (your truck may differ in size)
- 8 mm socket (latch mechanism cover)
- Small pry bar, large flathead screwdriver, or pliers (your choice).
- Grinder or cut off wheel. Electric or Air powered.
- Safety glasses and related PPE (Think smart, be safe)
- Drill and drill bit set (For rivets)
Step 1. Remove latch cable security plate. Bolt size is an 8MM. It is unnecessary to remove the latch assembly to do this, you just need to lift up on the upper grille support to gain clearance for the cover to slide out of it's position. But if you don't want to squeeze it through that way or you have an all original truck with perfect paint, remove the latch assembly to gain more room.
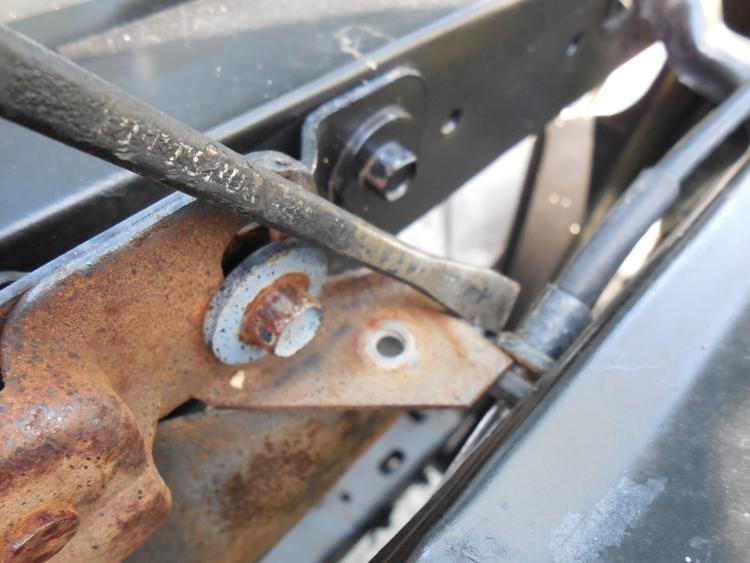
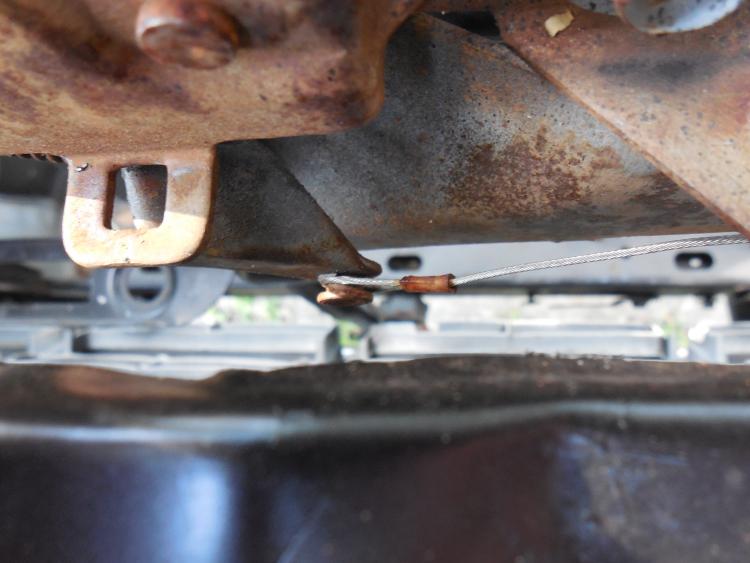
Step 2: Remove cable grommet from latch mechanism. This is best done with a pry bar as shown, but I have also used pliers to put pressure on the grommet and "push" it out. Once the grommet is free, pop the black plastic cover off the cable loop post if equipped. Slip the cable end loop off it's post, and remove the cable from it's holding clips along the top of the radiator support and the fender.
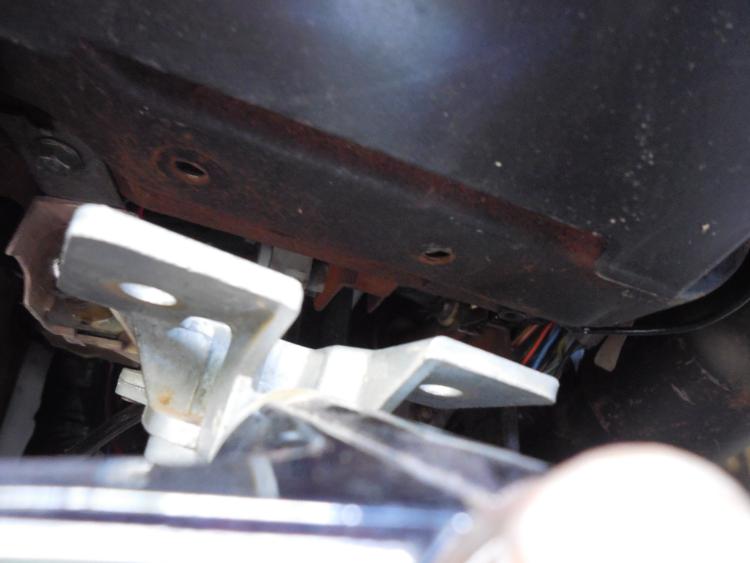
Step 3: Remove two bolts (10mm, your truck may differ) holding locking release handle from the bottom of the dash. Once the hood release handle assembly is free, slowly feed the release cable through the firewall and into the cab.
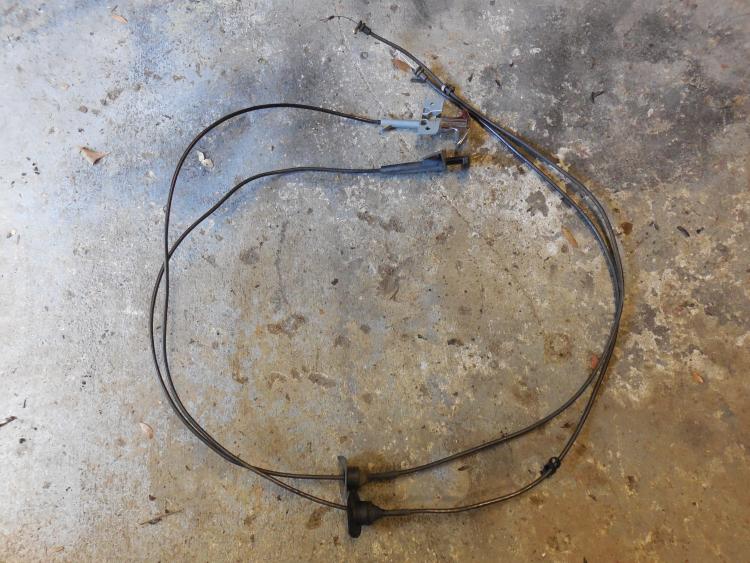
Both hood release cables together, we will use the non-locking version to repair the locking version
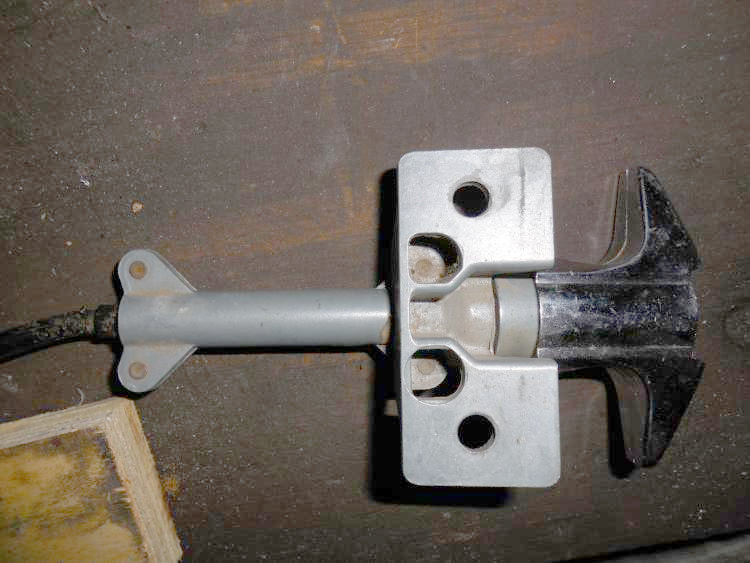
Locking hood release:
Non-locking hood release:
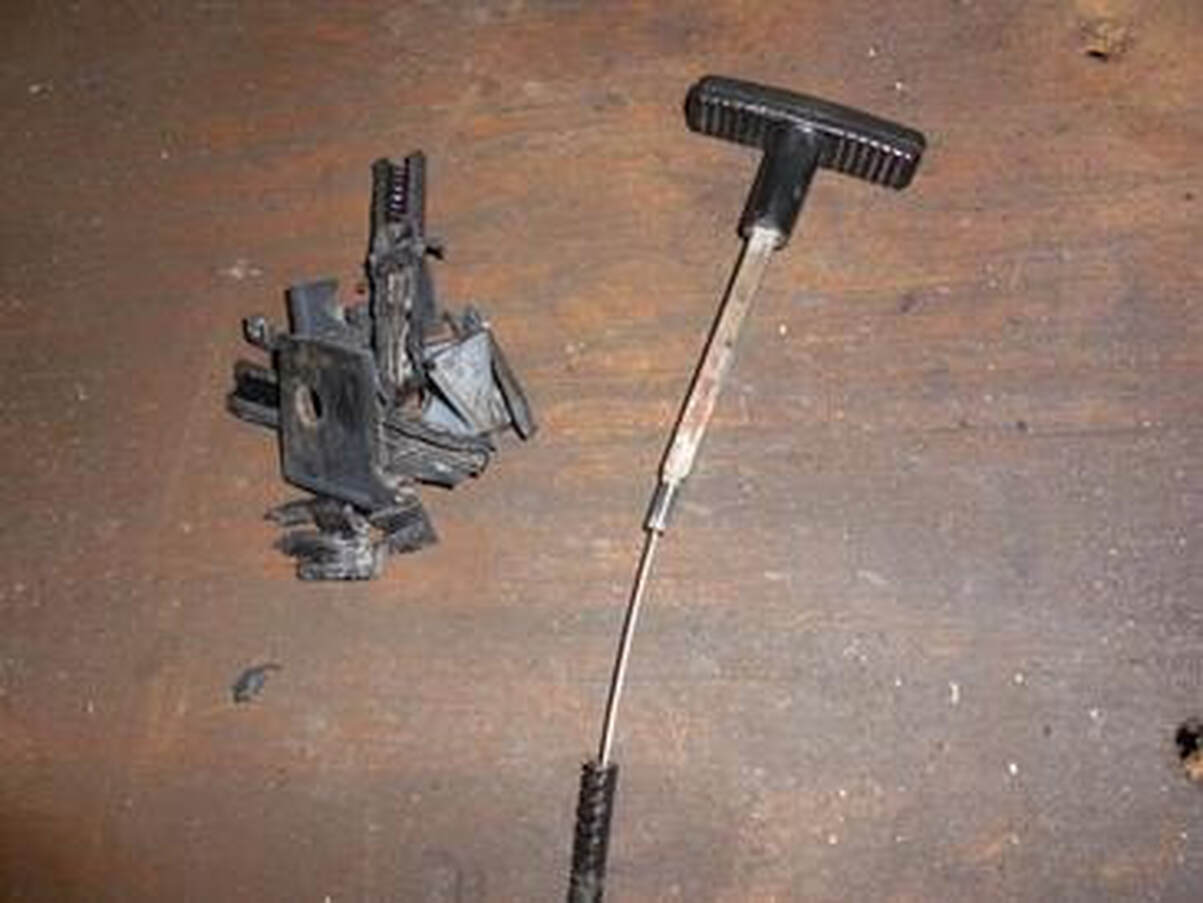
Step 4: Use whatever means you see fit to remove as much of the plastic on the handle as you can. I used a small cutoff wheel to cut the excess plastic away, and then crunched what was left in my vise so that I could peel it away from the handle assembly without having to worry about pinching the cable, you need to avoid any damage to the cable, sheath, or it's ferrule.
Step 5: Cut the handle section from the small ferrule. If you're wondering what a ferrule is, it is the section of the handle that the metal cable inserts into. It is the smaller section of the handle, and is in the shape of a hexagon. You will need to retain this ferrule, so try to cut on the square part of the handle, rather than the ferrule . Be careful not to over cut the ferrule or else the ferrule will fit loosely into the locking handle. Once you separate the two halves of the release handle in the next step, you will file down the ferrule until it fits tightly into the locking release handle.
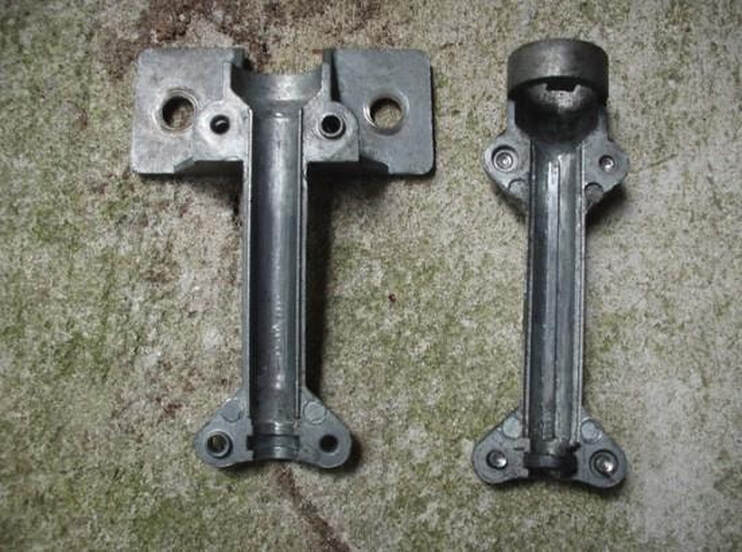
Step 6: You will have to drill out the rivets that hold the two lock handle housing halves together. There are 4 rivets total. You will see how the factory cable is held in place once you separate the two halves, and also how the ferrule fits into the chrome handle itself. I unfortunately do not have a picture of the handle by itself, but it should be self-explanatory. Before permanently installing the cable into the handle, take some time to address the large grommet in the firewall, as it is probably in poor shape after 30+ years and will be a source of leaks into the cab via the cable. Mine was in good shape so I do not have a section on how to fix the grommet.
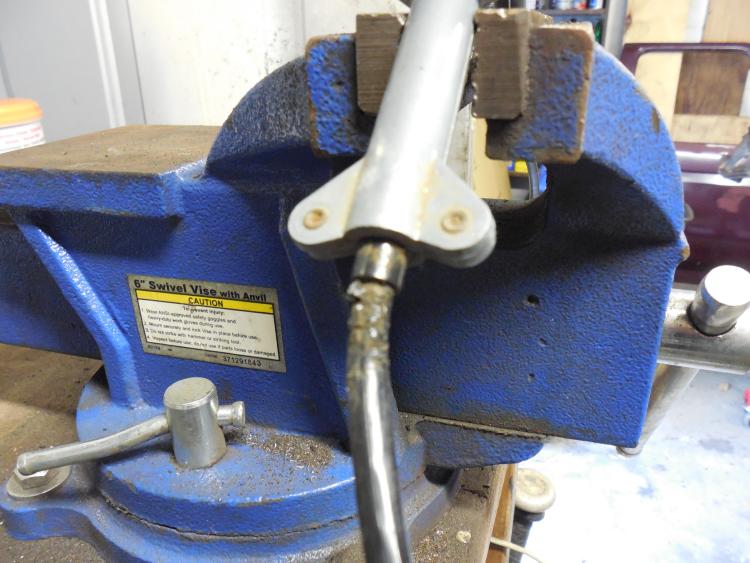
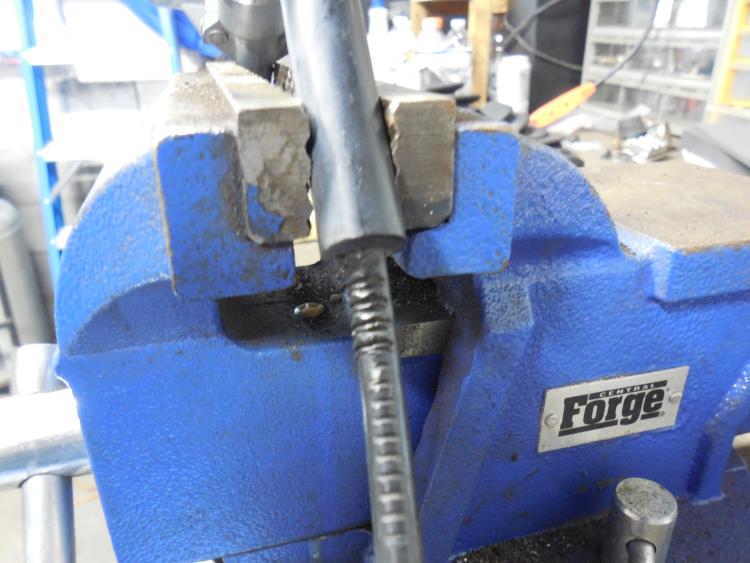
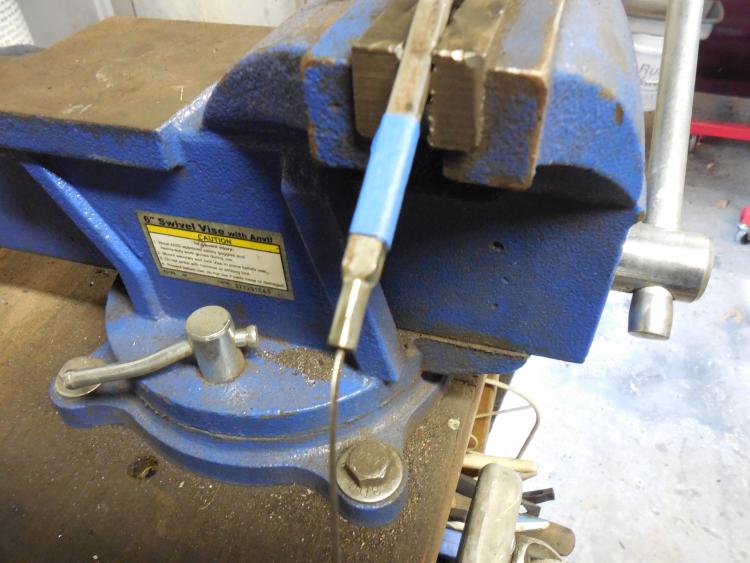
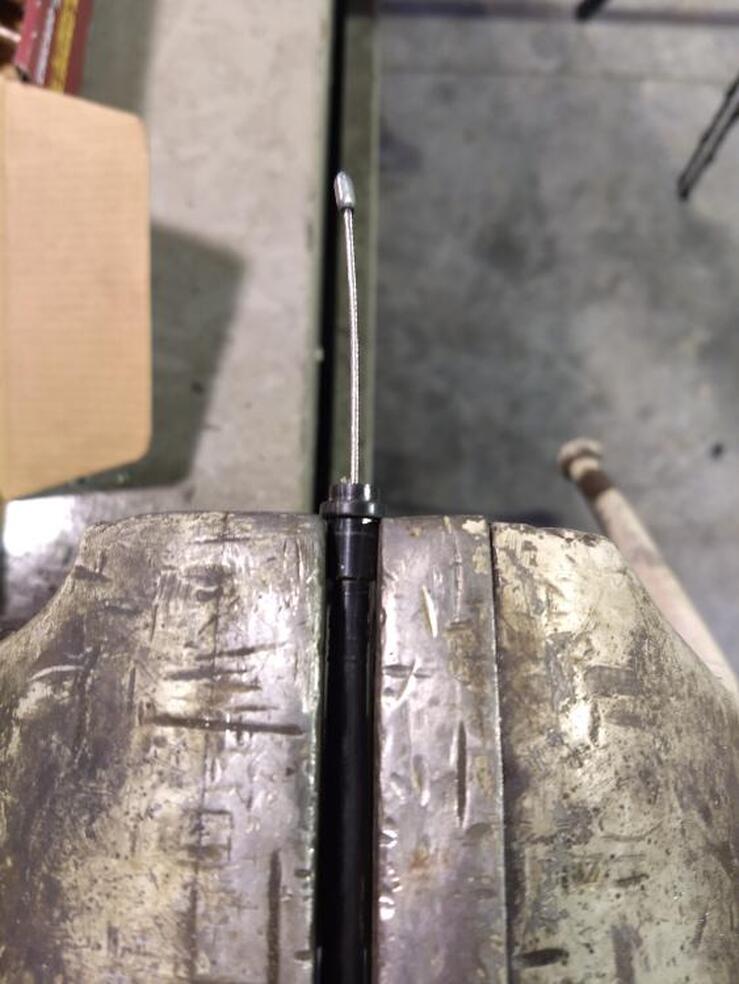
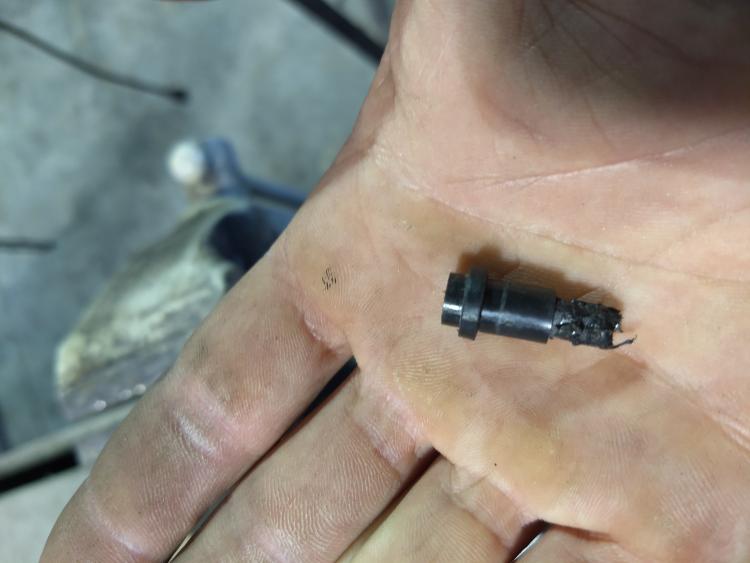
Step 7: (Written by Scott aka kramttocs) The L unit cable has a retaining ring piece adhered to it that we need to get onto the NL cable. You can see it here in the vice:
My hope was that I could heat it with a heat gun while pulling on the cable and the cable would slide out of the ring piece easy peasy. No such luck. It did come apart but it left some of the sheathing in it
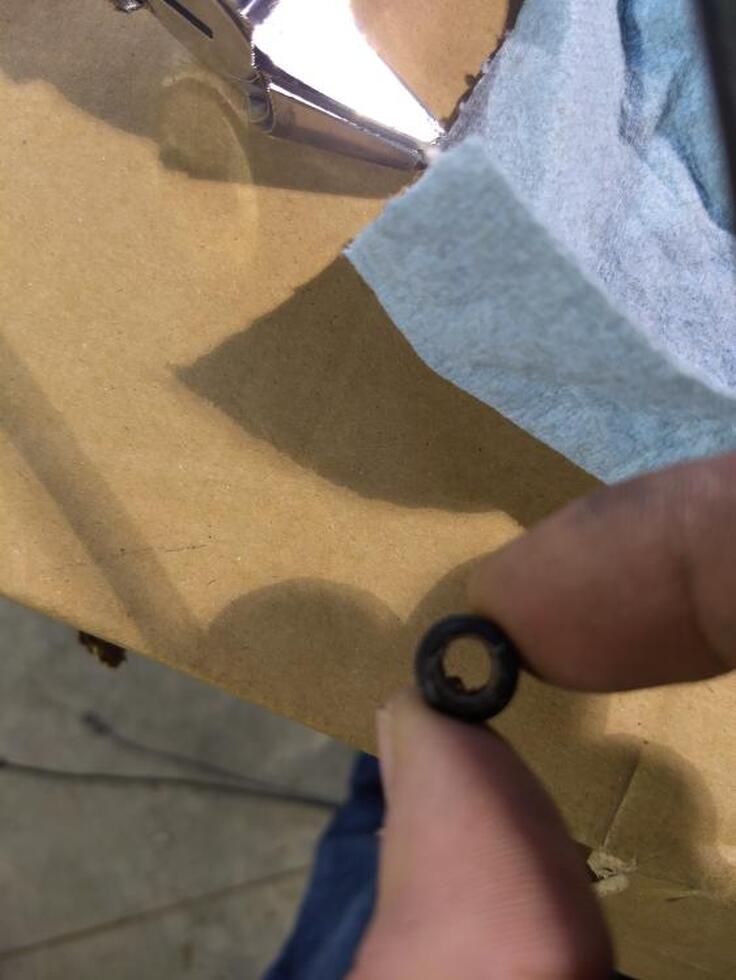
I used a drill to clean it out. It was a bit of a pain because there is a fine line between the ring spinning and crushing it in the vice. Eventually it was clean.
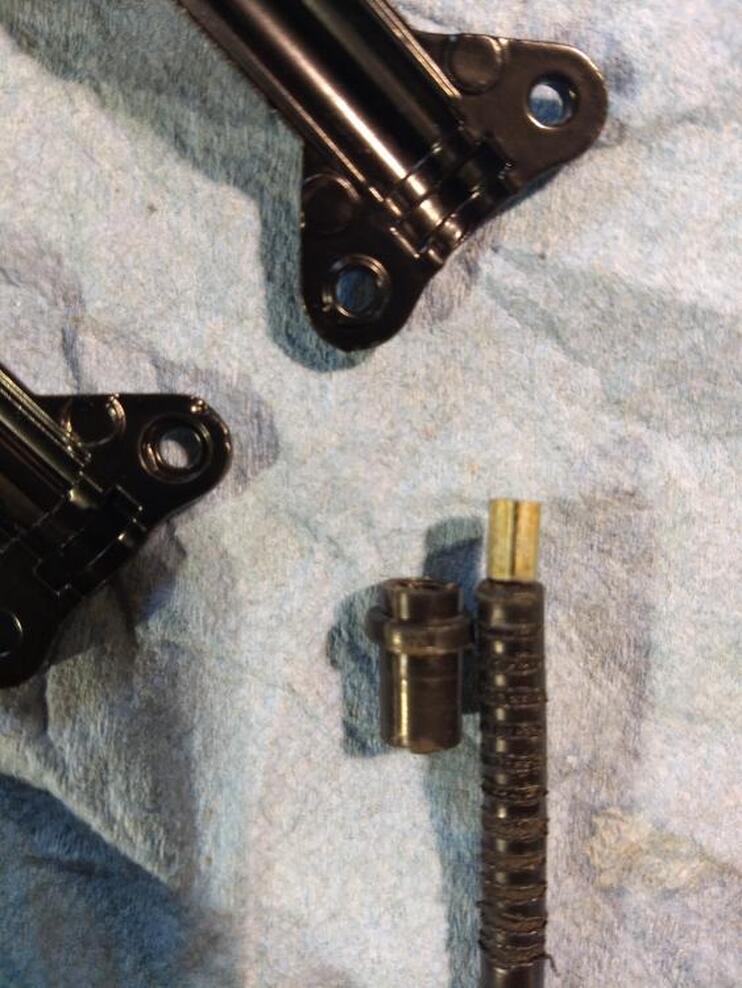
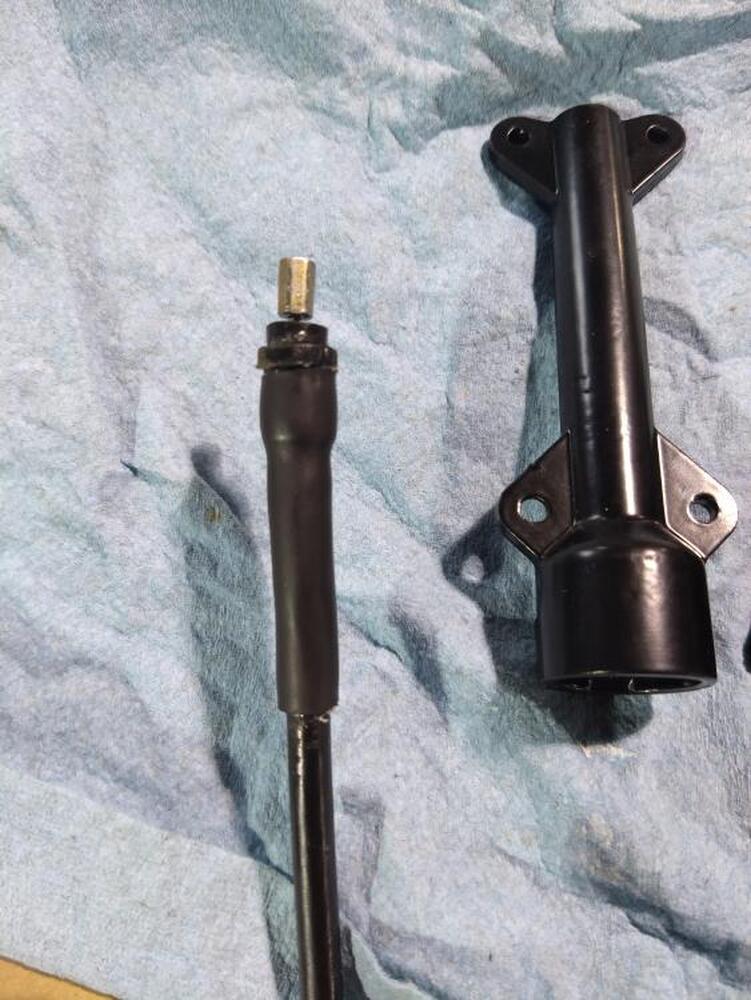
Here you can see the ring next to the previously cut off handle (now ferrule) that it needs to go on.
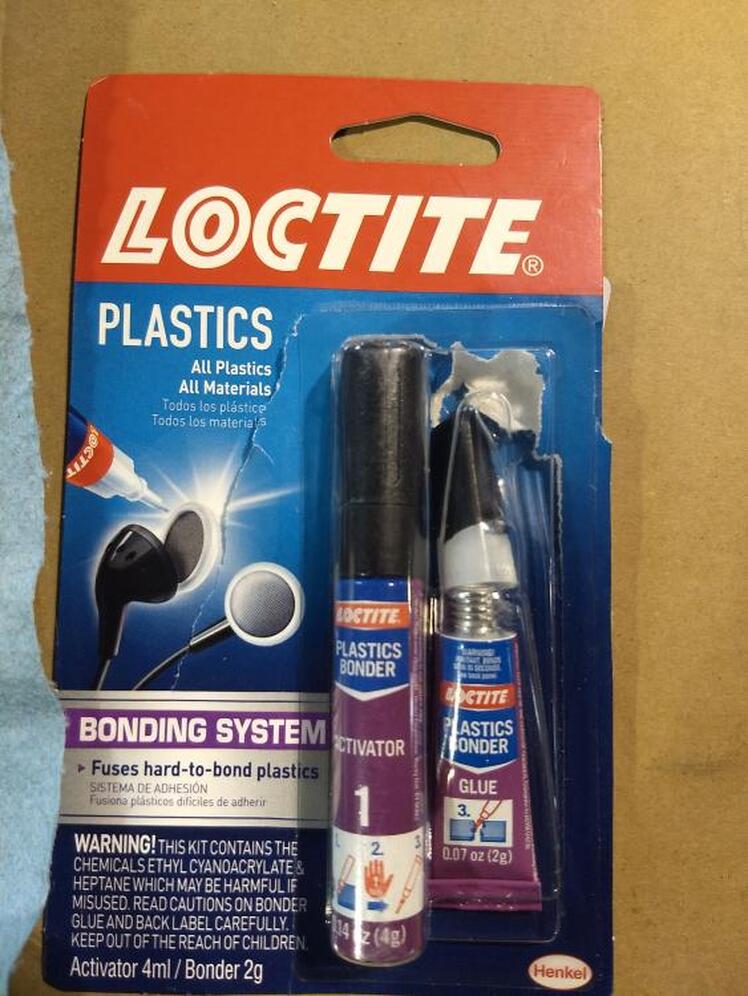
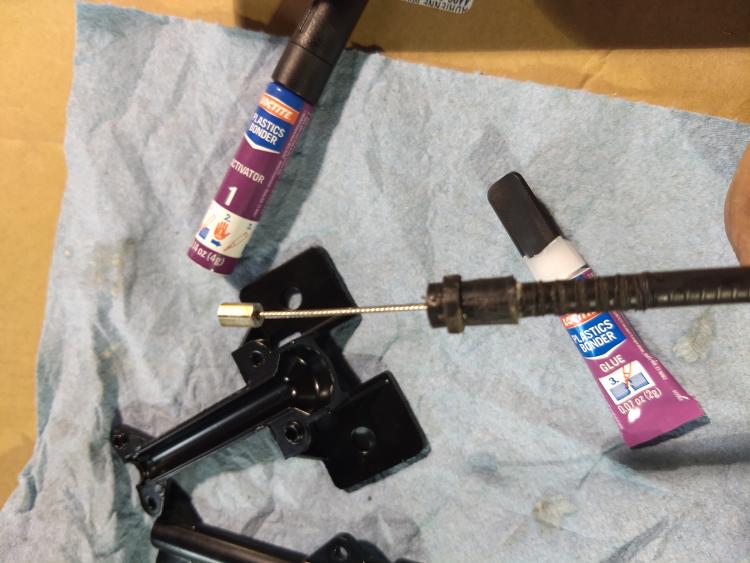
I picked up some loctite plastic glue (all types) since I didn't want to rely on just a friction fit.
Even with the ring cleaned out, dry fitting it wasn't happening. Because having some valleys (like the crimp marks in the sheathing) are a good thing for the glue to bite into I didn't want to shave the sheathing down smooth. Instead I used a 7mm tap/die to thread both pieces. This allowed the ring to thread on there while still retaining valleys for the glue. Applied the activator/glue and then threaded the ring so the end of the sheathing was flush.
I have no doubt the glue would have been enough but I wanted to put some adhesive heat shrink on it anyways
While it was out I applied a few drops of oil into the sheathing.
Step 8: It is your choice as to what you use to re-attach the two housing halves. Ford used rivets, but you can also use small bolt/nut combos, or maybe even just coarse thread bolts. Your choice, just make sure it's strong enough to keep the two halves together.
Step 9: Now you will need to re-run the new cable through the firewall and into the engine compartment. Installation is the reverse of removal. Make sure you test the hood release and lock function and make sure it works smoothly. If so, job well done.

