1980 Ford F-100
Vent Window Seal Replacement
By: Cash Billups
Vent Window Seal Replacement
By: Cash Billups
Note: The factory shop manual section on R&R'ing the vent window is here: Documentation/Body/Vent Window Mechanism.
Disclaimer: These are the steps that worked for my set up. Everyone’s set up may be different and steps may need to be altered accordingly.
Removing the vent window from door.
1. Remove the door panel from door. (I would recommend disconnecting the battery so the cab light doesn’t drain it)
1. Remove the door panel from door. (I would recommend disconnecting the battery so the cab light doesn’t drain it)
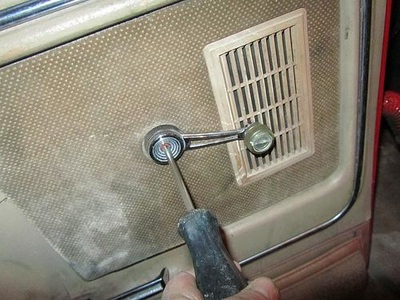
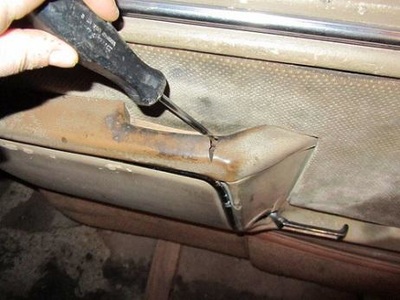
- First start off by unscrewing the window crank handle (Unless you are fancy and have power windows), then remove the screw in the pull handle. Remove any door locks that might be in the way.
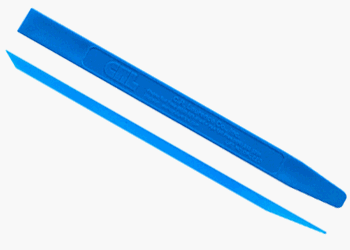
- Starting at the bottom, start pulling on the door panel and work your way up undoing the plastic clips that hold the door panel on as you go. If you have a clip removal tool use it, this will help keep the plastic clips from breaking and save you some money. Move onto the next step when you have the door panel off.
|
2. Loosen the bolt that is holding the rear window track on.
|
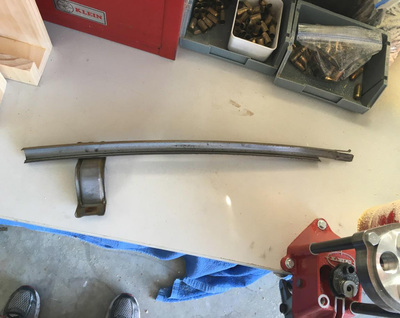
3. Remove the rear window track from door.
|
4. Remove main window from door. Open the vent window latch to give yourself some more room. Roll the window down about mid-way. Tilt the window and pull until you can get the window out of the bottom track. Set window out of your way in a VERY SAFE PLACE.
|
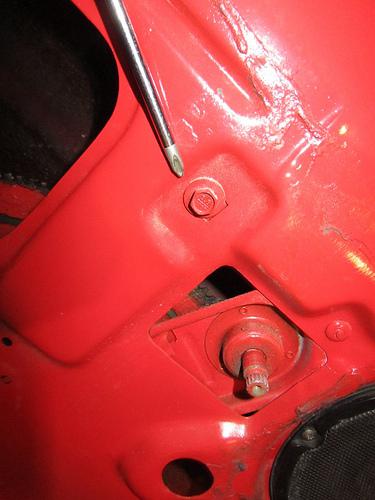
5. Loosen and remove the bolt holding in the vent window track.
|
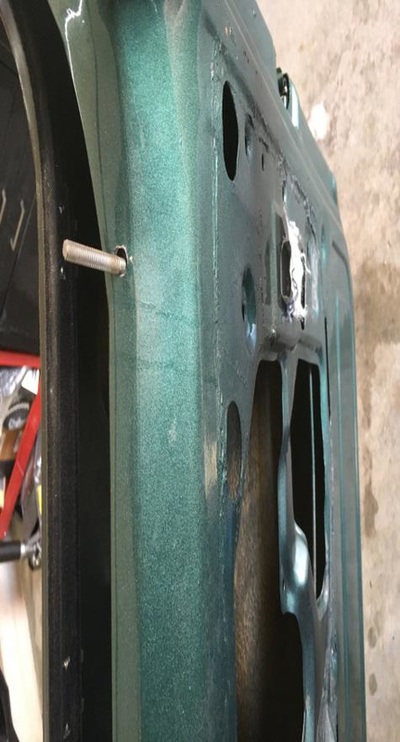
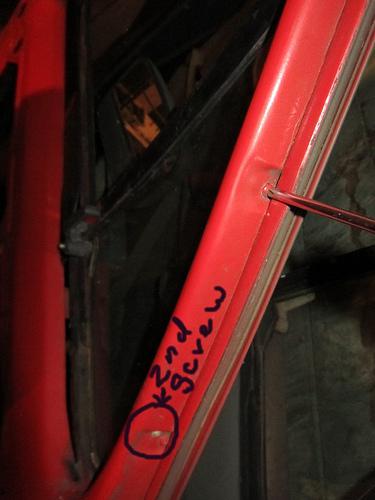
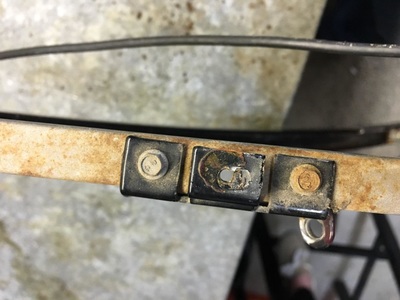
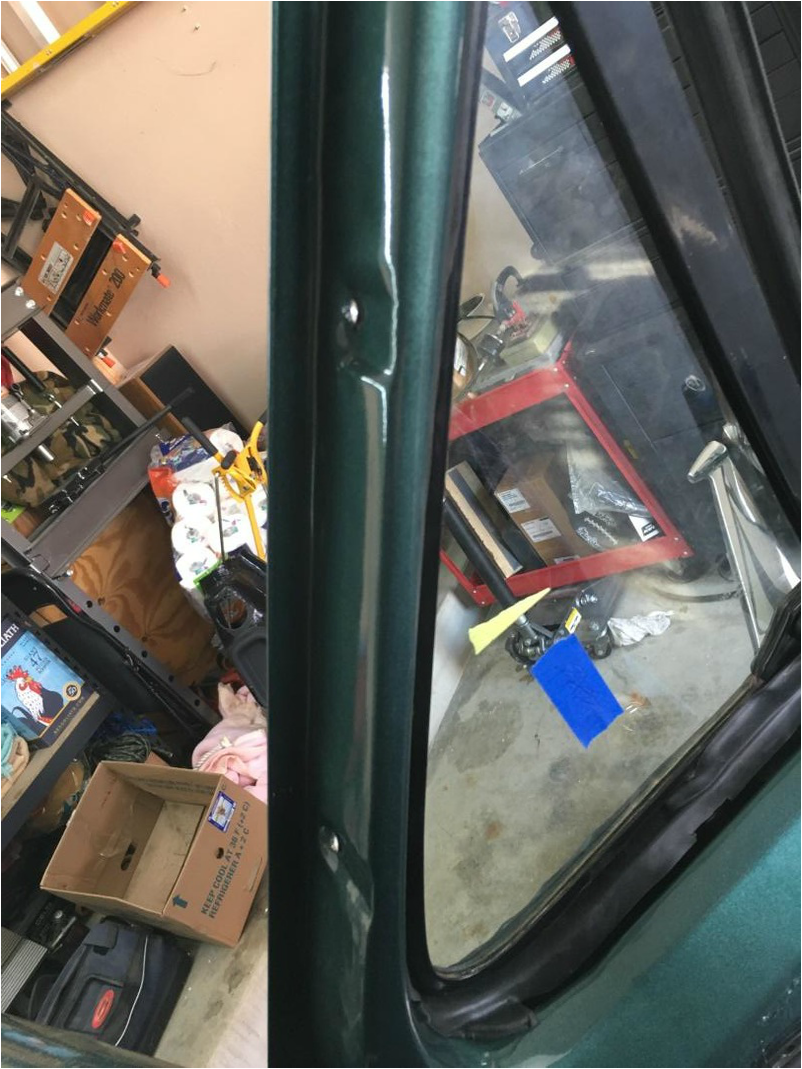
6. Loosen and remove the 2 screws on the door that hold the vent window in place.
|
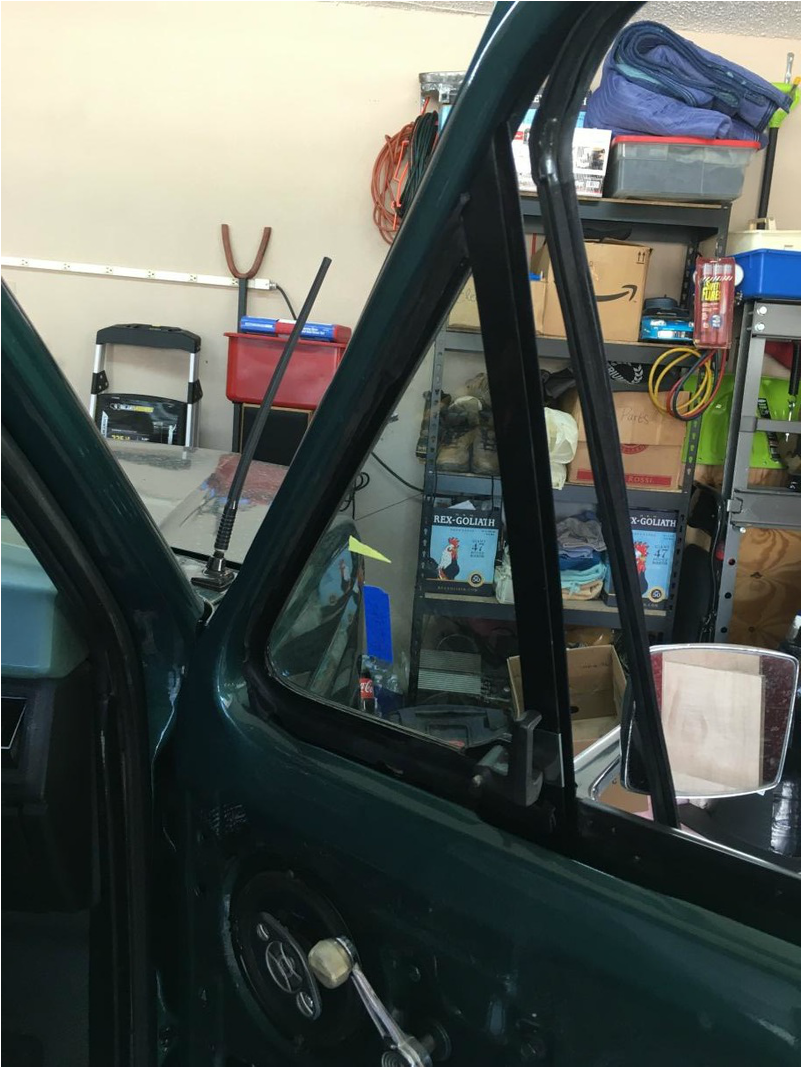
7. Remove the main window seal from the vent window track. Carefully pull up and out the vent window. I gave the window some love taps and it popped out.
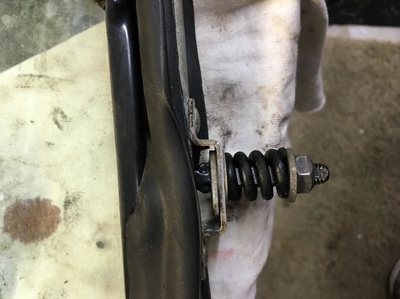
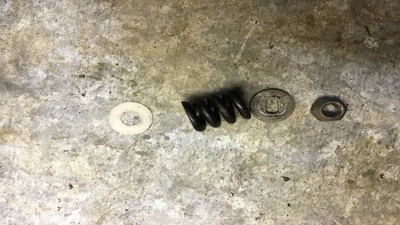
8. Lubricate the screw and spring on the bottom of the vent window. (NOTE: This is VERY easily broken and you will be up a creek unless you have a friend like Gary. So exercise all precautions during this step) loosen and remove the bolt (13MM socket) and spring pay attention to the order of the metal and plastic spacers.
8. Lubricate the screw and spring on the bottom of the vent window. (NOTE: This is VERY easily broken and you will be up a creek unless you have a friend like Gary. So exercise all precautions during this step) loosen and remove the bolt (13MM socket) and spring pay attention to the order of the metal and plastic spacers.
|
9. Loosen and remove the 2 screws on the frame of the vent window. (If you want to walk on the wild side like I did, drill and remove the rivet and re-rivet when done. I don’t recommend this!)
|
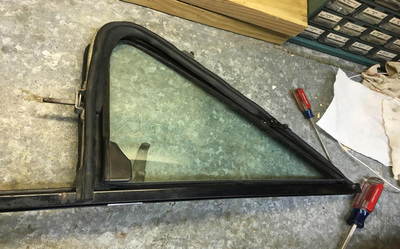
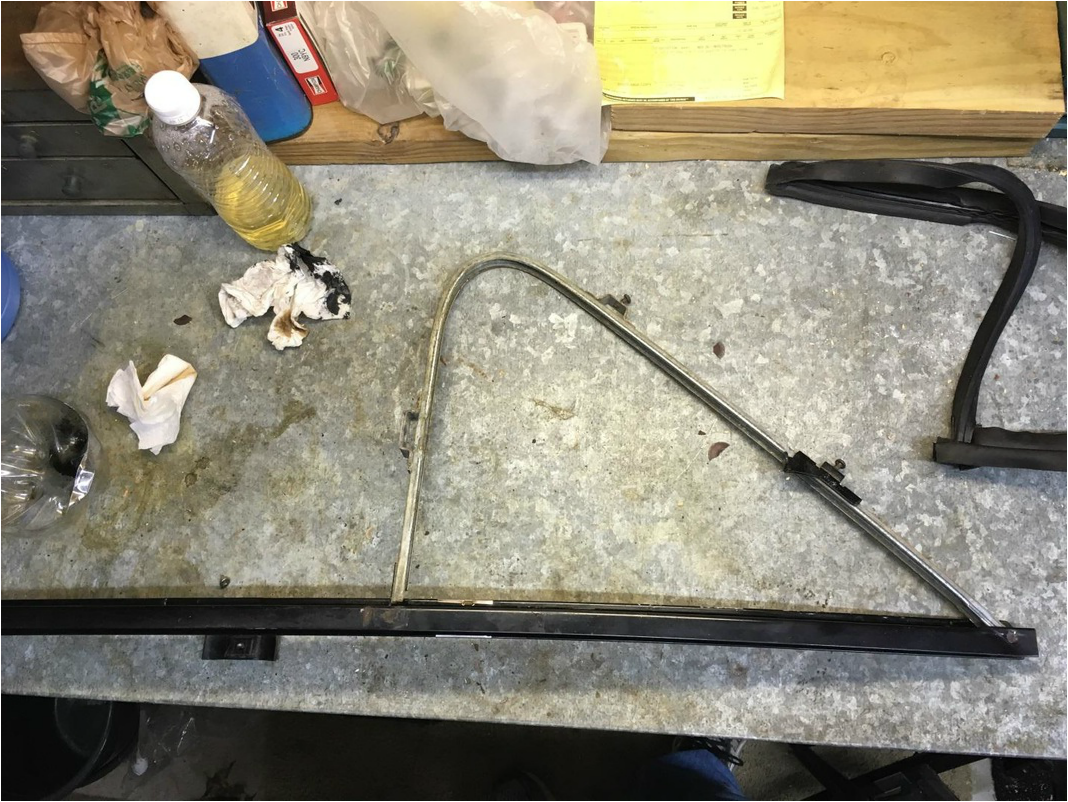
10. Remove the vent window from the frame, by pulling the top forward and lifting straight up until the bottom steam clears the frame
|
11. Remove the vent window seal from the vent window frame.
12. Clean the seat tracks very well, and remove any rust that might have formed.
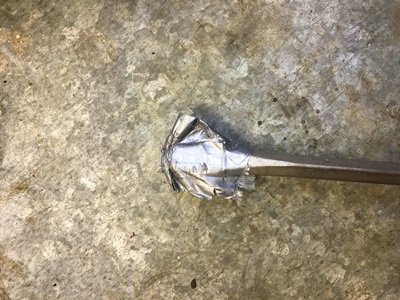
13. Buy a seal installer tool or make your own with a flat blade screw driver and wrap a lot of duct tape around the tip. When installing the new seal you will want to be cautious not to puncture the new seal with your screw driver.
13. Buy a seal installer tool or make your own with a flat blade screw driver and wrap a lot of duct tape around the tip. When installing the new seal you will want to be cautious not to puncture the new seal with your screw driver.
14. Install the new seal starting at the top where the vent window aka the top of the triangle and work your way down the outer band. It works best to set one side of the seal in place and go back with your tool to work the seal in on the other side. There are plenty of YouTube videos showing this process. Before you put the seal in the curve part of the channel install the end of the seal where the latch is. Work the curve part of the seal last.
15. Install the vent window back into the frame. The stem at the bottom of the window will puncture the seal just fine when installing the window.
15. Install the vent window back into the frame. The stem at the bottom of the window will puncture the seal just fine when installing the window.
- You will want to install the plastic and metal spacers before install the window completely into the frame. Install the 2 screws at the top of the window and the spring and bolt at the bottom.
- Tighten the bolt to your liking; the tighter the bolt is the harder the window will be to open. If you make the window too loose, it will close while traveling down the road.
17. Install the main window rear track. Leave the bolt loose so you can manipulate the track.
18. Install the main window seal in the same manner as the vent window seal (one side at a time).
19. Install the main window. Set the window track position to the lowest setting and tilt the window at an angle facing towards the front of truck until you can get the track and car to line up.
20. Adjust and tighten the rear main window track.
21. Make sure the window rolls up and down easily.
22. Install the door panel. Line up the plastic clips before hitting them into place. Install the screw in the pull handle and window crank.
23. Hook the battery backup and you’re ready to cruise down the road whistle free. (Unless you bought cheap vent window seals from JC Whitney like I did. I have been applying window sealant on top of the seals to cover up the gap between the seal and window.)
Special Thanks to Cassie my loving girlfriend and partner in crime, to DOHC Chump from Club FTE for the photos and information for removing the vent window, and to Gary Lewis for providing me with new vent windows! Without him Carlos would not still be living.

